As the leaves turn and the air gets crisp, I find myself craving fun, festive treats that bring a little magic to the kitchen. That’s where these delightful Strawberry Witch Brooms come in! They’re not just adorable; they’re a quick solution for busy days when you want to impress your loved ones without spending hours in the kitchen. With just a handful of ingredients, you can whip up these spooky snacks that are sure to be a hit at any Halloween gathering. Trust me, your family will love them, and you’ll enjoy the smiles they bring!
Print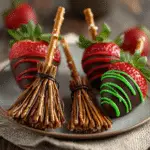
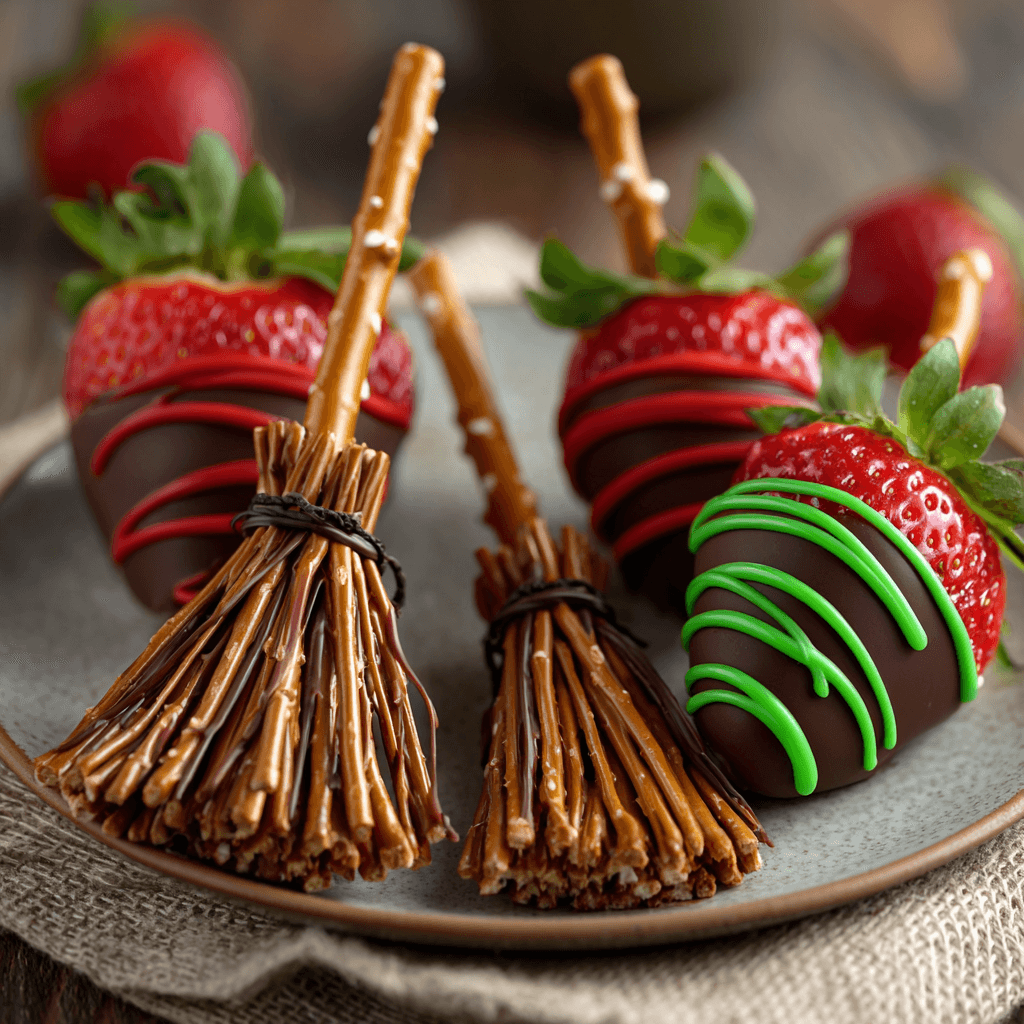
Strawberry Witch Brooms: Magical Treats You Must Try!
- Total Time: 20 minutes
- Yield: 12 servings 1x
- Diet: Vegetarian
Description
Strawberry Witch Brooms are delightful and spooky treats perfect for Halloween. Made with fresh strawberries and pretzel sticks, these fun snacks are easy to make and sure to impress.
Ingredients
- 12 large strawberries
- 12 pretzel sticks
- 1 cup of chocolate chips
- Green candy melts (for decoration)
- Edible eyes (optional)
Instructions
- Wash and dry the strawberries thoroughly.
- Melt the chocolate chips in a microwave-safe bowl, stirring every 30 seconds until smooth.
- Dip the bottom half of each strawberry into the melted chocolate, then place them on a parchment-lined baking sheet.
- Insert a pretzel stick into the top of each chocolate-dipped strawberry to create the broomstick.
- Melt the green candy melts and drizzle over the top of the strawberries to create a decorative effect.
- If desired, add edible eyes to the strawberries for a fun touch.
- Let the chocolate set in the refrigerator for about 30 minutes before serving.
Notes
- For a more intense chocolate flavor, use dark chocolate chips.
- These treats can be made a day in advance and stored in the refrigerator.
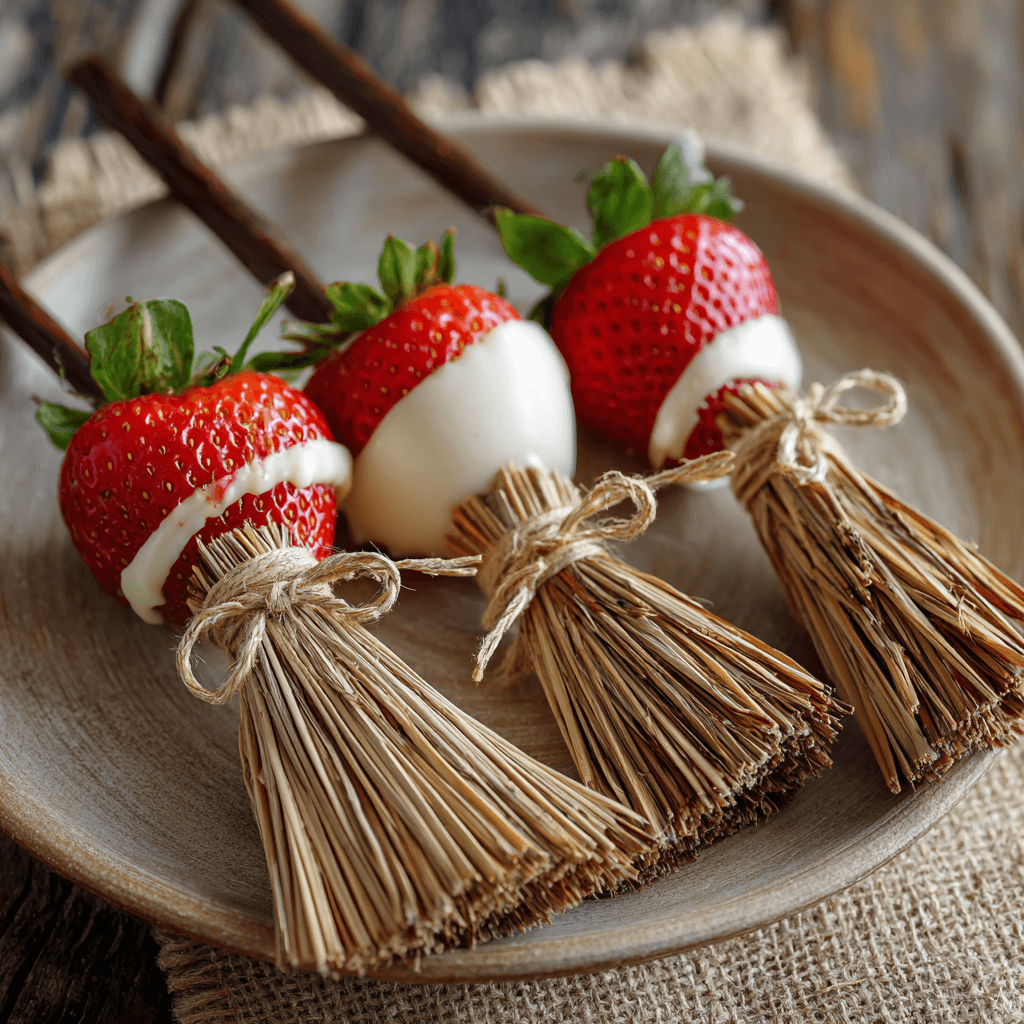
- Feel free to get creative with decorations!
- Prep Time: 15 minutes
- Cook Time: 5 minutes
- Category: Dessert
- Method: No-Bake
- Cuisine: American
Nutrition
- Serving Size: 1 broom
- Calories: 120
- Sugar: 10g
- Sodium: 50mg
- Fat: 7g
- Saturated Fat: 4g
- Unsaturated Fat: 2g
- Trans Fat: 0g
- Carbohydrates: 15g
- Fiber: 1g
- Protein: 1g
- Cholesterol: 0mg
Keywords: Strawberry Witch Brooms, Halloween treats, spooky snacks, chocolate strawberries
Table of Contents
Why You’ll Love This Strawberry Witch Brooms
These Strawberry Witch Brooms are a breeze to make, perfect for busy moms like us! In just 20 minutes, you can create a fun and festive treat that looks impressive. The combination of fresh strawberries and rich chocolate is simply irresistible. Plus, they’re a healthier option compared to traditional Halloween sweets, making them a guilt-free indulgence. Your kids will love them, and you’ll love how easy they are to prepare!
Ingredients for Strawberry Witch Brooms
Gathering the right ingredients is the first step to creating these magical Strawberry Witch Brooms. Here’s what you’ll need:
- Large strawberries: Fresh and juicy, these are the stars of the show! Look for firm strawberries that are bright red for the best flavor.
- Pretzel sticks: These add a delightful crunch and serve as the broomsticks. You can use regular or gluten-free pretzels based on your preference.
- Chocolate chips: Choose semi-sweet or dark chocolate chips for a rich, creamy coating. They melt beautifully and create a delicious contrast with the strawberries.
- Green candy melts: These are perfect for adding a pop of color and a whimsical touch. If you can’t find them, you can use white chocolate and tint it with green food coloring.
- Edible eyes (optional): These little decorations make your treats extra fun! They’re not necessary, but they add a playful element that kids will adore.
For exact quantities, check the bottom of the article where you can find everything available for printing. Now, let’s get ready to create some spooky magic in the kitchen!
How to Make Strawberry Witch Brooms
Step 1: Prepare the Strawberries
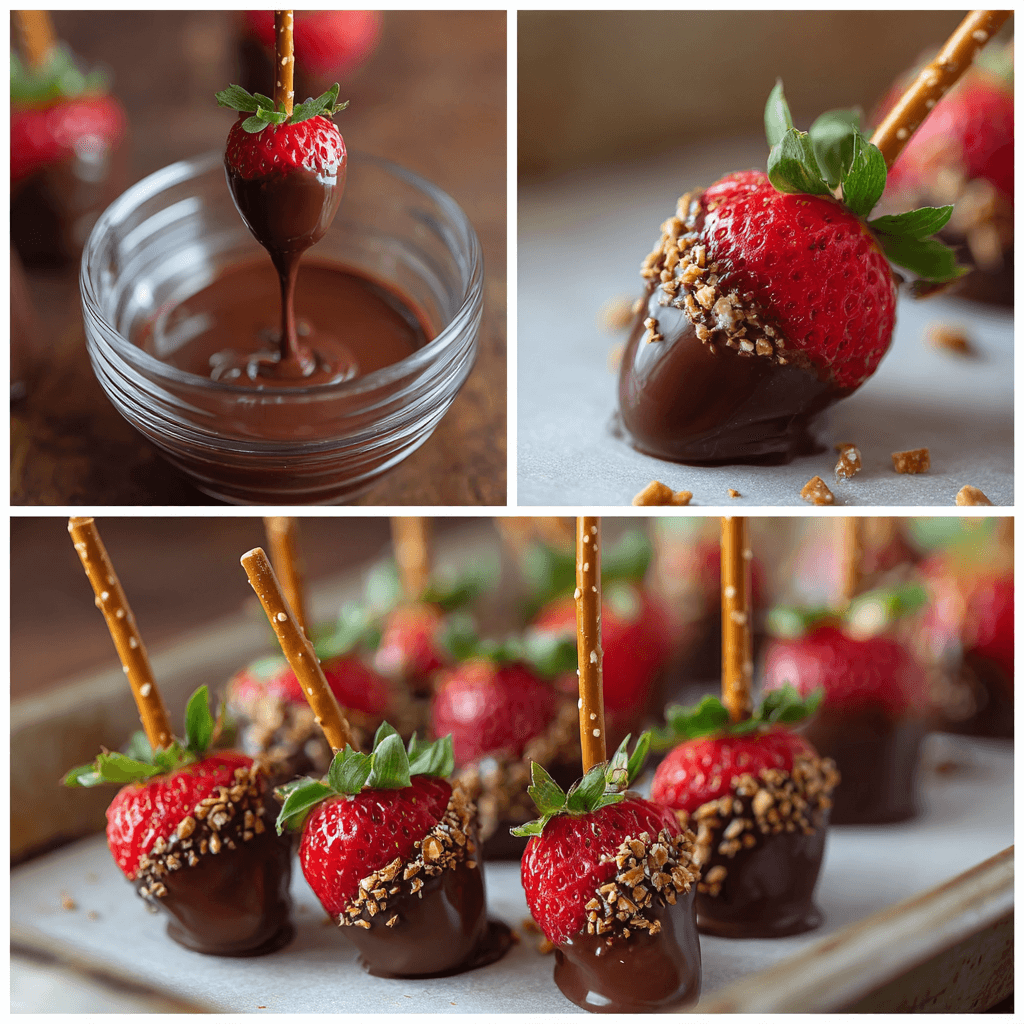
Start by washing and drying the strawberries thoroughly. This step is crucial to ensure they are clean and ready for dipping. A gentle pat with a paper towel will do the trick. Clean strawberries will help the chocolate adhere better, making your Strawberry Witch Brooms even more delightful!
Step 2: Melt the Chocolate
Next, melt the chocolate chips in a microwave-safe bowl. Heat them in 30-second intervals, stirring in between until smooth. This method prevents burning and ensures a creamy texture for dipping. The melted chocolate will create a luscious coating that pairs perfectly with the fresh strawberries.
Step 3: Dip the Strawberries
Now, dip the bottom half of each strawberry into the melted chocolate. Make sure to coat it well, then place them on a parchment-lined baking sheet. This creates the base for your broomsticks. The chocolate will harden beautifully, giving your treats a deliciously rich flavor.
Step 4: Insert the Pretzel Sticks
Insert a pretzel stick into the top of each chocolate-dipped strawberry. This step transforms your strawberries into broomsticks! The pretzel adds a fun and crunchy element that contrasts nicely with the soft fruit. Plus, it makes them look even more like magical brooms!
Step 5: Decorate with Candy Melts
Melt the green candy melts and drizzle them over the top of the strawberries. This adds a pop of color and enhances the Halloween theme. The vibrant green will make your Strawberry Witch Brooms stand out on any dessert table, making them even more festive and fun!
Step 6: Add Edible Eyes
If desired, add edible eyes to the strawberries for a whimsical touch. These little decorations make your treats more appealing to kids and add a playful element. It’s a simple step that brings your Strawberry Witch Brooms to life, making them even more magical!
Step 7: Chill and Serve
Finally, let the chocolate set in the refrigerator for about 30 minutes before serving. This ensures the chocolate hardens properly, making your treats easier to handle. Once chilled, they’re ready to be enjoyed at your Halloween gathering!
Tips for Success
- Choose strawberries that are firm and bright for the best flavor.
- Use a microwave-safe bowl for melting chocolate to avoid spills.
- Stir the chocolate frequently to prevent burning and achieve a smooth texture.
- Let the chocolate cool slightly before dipping to ensure a better coating.
- Get creative with decorations—try sprinkles or colored sugar for added fun!
Equipment Needed
- Microwave-safe bowl: Essential for melting chocolate. A glass bowl works great!
- Parchment paper: Perfect for lining your baking sheet. You can also use wax paper if needed.
- Spatula: Handy for stirring melted chocolate. A silicone spatula is ideal for easy cleanup.
- Cookie sheet: Use this to set your Strawberry Witch Brooms while they chill.
Variations of Strawberry Witch Brooms
- Nut Butter Drizzle: Instead of candy melts, drizzle melted almond or peanut butter over the strawberries for a nutty twist.
- Dark Chocolate Delight: Use dark chocolate chips for a richer flavor that pairs beautifully with the sweetness of strawberries.
- Fruit Skewers: Swap strawberries for other fruits like bananas or pineapple for a tropical broomstick treat.
- Gluten-Free Option: Use gluten-free pretzel sticks to make these treats suitable for those with dietary restrictions.
- Vegan Version: Opt for dairy-free chocolate chips and candy melts to create a vegan-friendly version of these spooky snacks.
Serving Suggestions for Strawberry Witch Brooms
- Spooky Platter: Arrange the Strawberry Witch Brooms on a festive Halloween-themed platter for a striking presentation.
- Pair with Hot Chocolate: Serve these treats alongside a warm cup of hot chocolate for a cozy treat.
- Fruit Salad Side: Complement with a fresh fruit salad for a refreshing balance.
- Halloween Punch: Offer a fun, non-alcoholic Halloween punch to enhance the festive spirit.
For more recipes follow me in page Facebook and Pinterest
FAQs about Strawberry Witch Brooms
Can I make Strawberry Witch Brooms in advance?
Absolutely! You can prepare these spooky snacks a day ahead. Just store them in the refrigerator until you’re ready to serve. This makes them a perfect treat for busy days!
What can I use instead of pretzel sticks?
If pretzel sticks aren’t your thing, you can use thin breadsticks or even candy canes for a festive twist. Just ensure they’re sturdy enough to hold the strawberries!
How do I store leftover Strawberry Witch Brooms?
Store any leftovers in an airtight container in the refrigerator. They’ll stay fresh for a couple of days, but I doubt there will be many left!
Can I use other fruits for this recipe?
Definitely! While strawberries are the star, you can experiment with bananas, grapes, or even apple slices. Just remember to adjust the dipping time based on the fruit’s texture.
Are Strawberry Witch Brooms suitable for kids?
Yes! These treats are not only fun but also a healthier option for kids. They’re perfect for Halloween parties or school events, and kids will love helping to make them!
Final Thoughts
Creating these Strawberry Witch Brooms is more than just making a treat; it’s about sharing joy and laughter with family. The smiles on my kids’ faces when they see these spooky snacks are priceless. They’re not only fun to make but also a delightful way to celebrate Halloween together. Plus, the combination of fresh strawberries and chocolate is simply irresistible! So, gather your loved ones, roll up your sleeves, and let the magic unfold in your kitchen. I promise, these treats will become a cherished tradition in your home, bringing sweetness and smiles for years to come!