
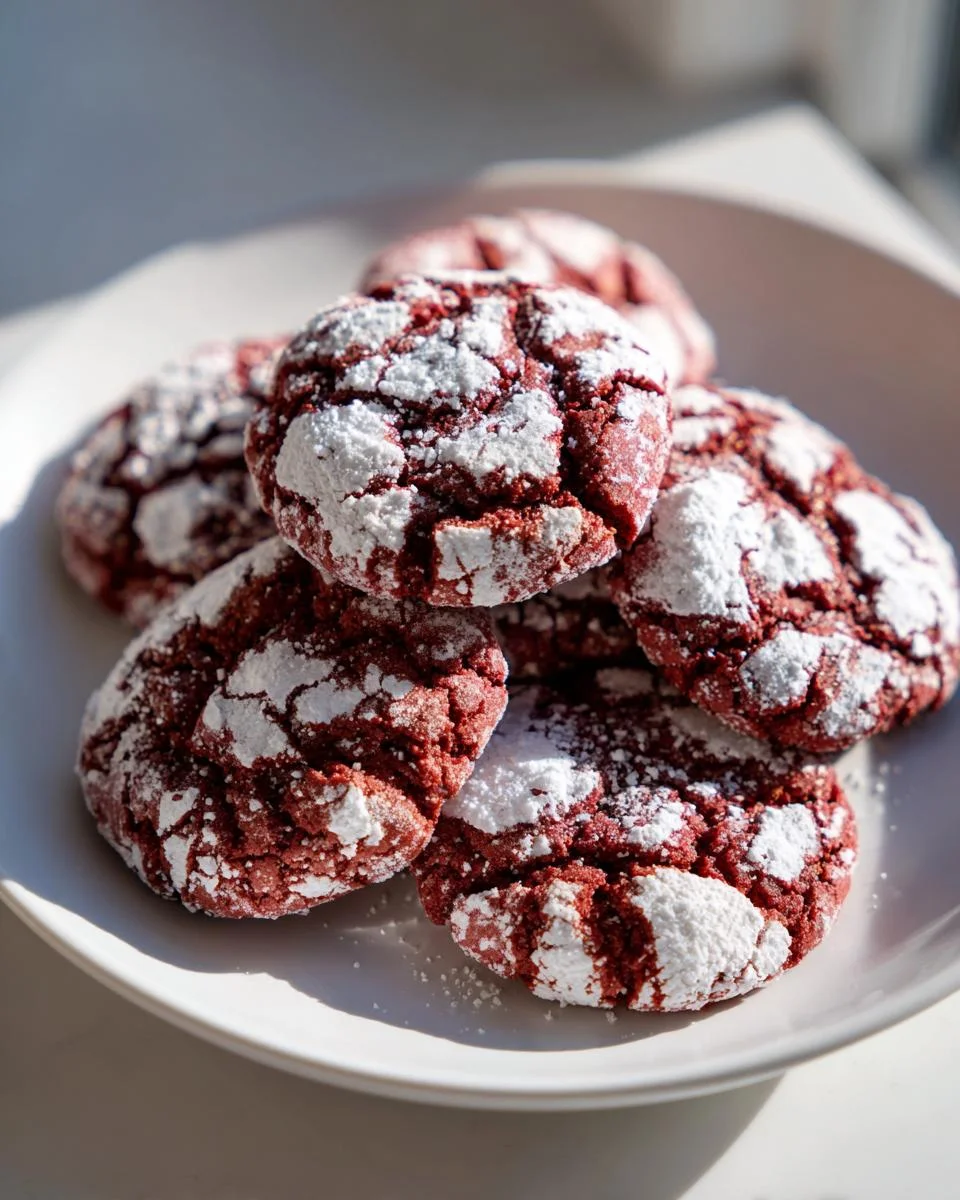
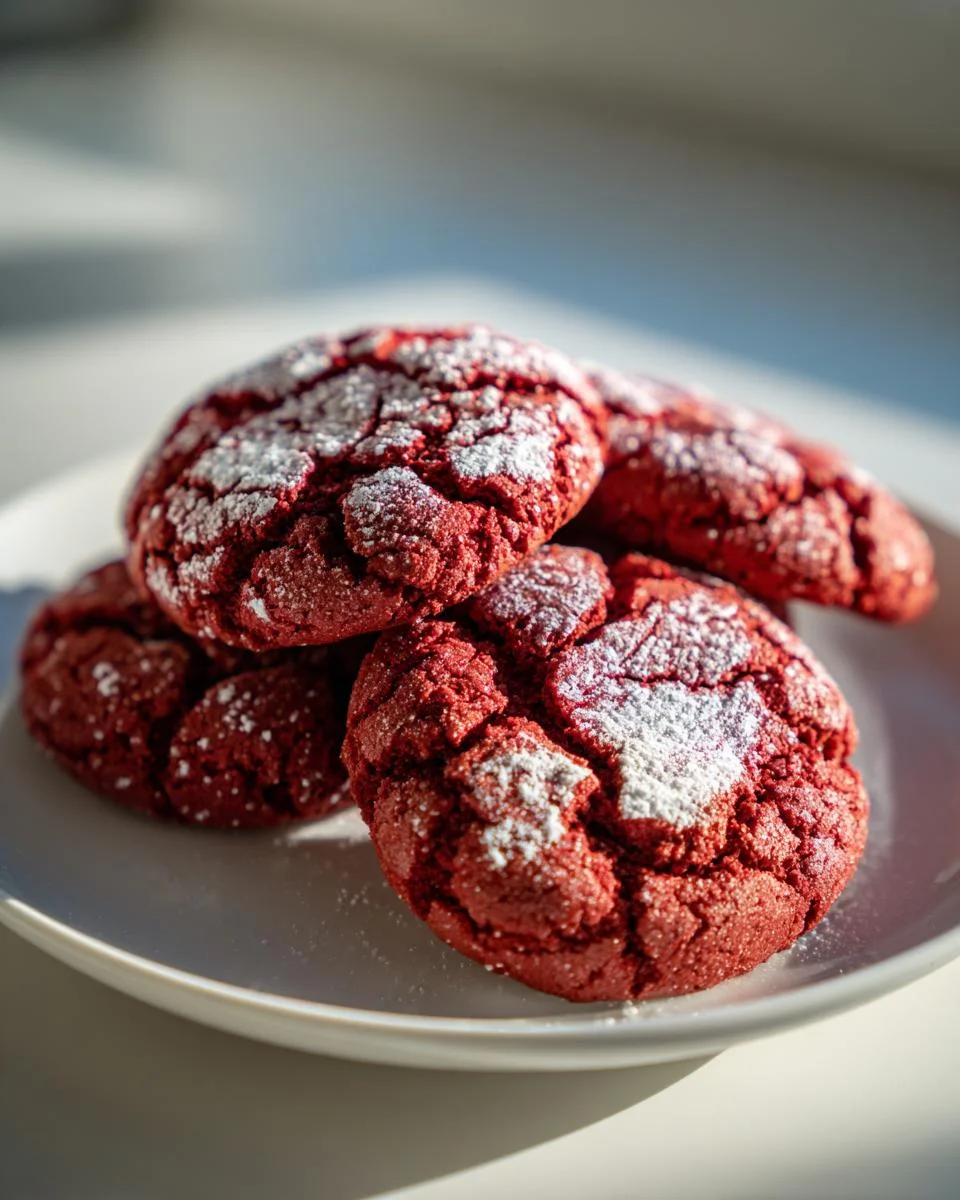
Oh my goodness, let me tell you about these Red Velvet Crinkle Cookies! They’re like little bites of happiness, soft and chewy with that rich chocolate flavor that just melts in your mouth. And can we talk about that stunning red color? Wow! It’s like a celebration on a plate! These cookies not only look beautiful but taste absolutely divine, making them perfect for any occasion – from cozy nights at home to festive gatherings with friends and family.
What I love most about these crinkle cookies is how easily they come together. It’s pretty much a no-fail recipe, and you’ll be amazed at how simple it is to whip up a batch. Trust me, once you take that first bite, you’ll be hooked! They’re perfect for sharing or just indulging in all by yourself (no judgment here!). So, let’s dive in and get baking these delightful treats that are sure to impress everyone!
Ingredients List
Here’s what you’ll need to make these delightful Red Velvet Crinkle Cookies. Make sure to gather everything before you start, so you can dive right into the baking!
- 1/2 cup unsalted butter, softened
- 3/4 cup light brown sugar, packed
- 1/2 cup granulated sugar
- 2 large eggs, at room temperature
- 2 teaspoons vanilla extract
- 1/2 teaspoon professional red food coloring
- 2 cups all-purpose flour
- 1/3 cup cocoa powder
- 1 1/2 teaspoons baking powder
- 1/2 teaspoon salt
- 1/2 cup granulated sugar (for coating)
- 1/2 cup powdered sugar (for coating)
Make sure your butter is softened – it really helps in creaming with the sugars for that fluffy texture we all love. And don’t forget to pack that brown sugar; it adds that lovely richness to the cookies. Let’s get these ingredients together and make some cookie magic happen!
How to Prepare Red Velvet Crinkle Cookies
Alright, let’s get down to the fun part – making these delicious Red Velvet Crinkle Cookies! Follow these steps, and you’ll be well on your way to cookie perfection. Trust me, it’s easier than you think!
Preheat and Prepare
First things first, you’ll want to preheat your oven to 350°F (that’s 175°C for my metric friends). This step is super important because it helps your cookies bake evenly. While the oven is warming up, line a baking sheet with parchment paper. Not only does this prevent sticking, but it also makes cleanup a breeze. Lay the parchment down nice and smooth, and you’re ready to roll!
Creaming the Mixture
Next up, grab a large mixing bowl and toss in your softened unsalted butter, packed light brown sugar, and granulated sugar. Now, here’s the key: cream those together until the mixture is light and fluffy. You can use a hand mixer or a stand mixer if you have one. This step is crucial because it creates tiny air pockets that give your cookies that soft, chewy texture we all adore. Just keep mixing for about 2-3 minutes until it looks like whipped cream – it should be a pale golden color!
Incorporating Eggs and Flavor
Now, it’s time to add in the eggs! Crack them in one at a time, mixing well between each addition. This helps incorporate everything nicely and gives you that wonderful richness. Once the eggs are in, add the vanilla extract and food coloring. The food coloring is what gives these cookies their stunning red hue, so don’t skimp on it! Mix until everything is well combined, and your dough starts to look fabulous.
Mixing Dry Ingredients
In a separate bowl, sift together your all-purpose flour, cocoa powder, baking powder, and salt. Sifting is key here, folks! It helps eliminate lumps and ensures even distribution of the dry ingredients, which results in a smooth and delightful cookie dough. Plus, it keeps the cookies from becoming dense – nobody wants that!
Combining Wet and Dry Ingredients
Now, it’s time to bring the wet and dry ingredients together! Gradually add the dry mixture to the wet ingredients, mixing until just combined. Be careful not to overmix – we want a tender cookie, not a tough one! You should see a few flour streaks as you mix, and that’s perfectly fine. Set it aside and get ready for the next exciting step!
Rolling and Coating Cookies
Here comes the fun part – rolling the cookie dough! Use a 1-ounce cookie scoop (or a tablespoon) to scoop out portions of the dough. Roll each scoop into a ball, and then it’s time for the coating! First, roll the balls in granulated sugar, then give them a nice dusting in powdered sugar. This double-coating is what creates that beautiful crinkly appearance and adds a touch of sweetness. Make sure to coat them well; it’s all about that texture!
Baking the Cookies
Finally, place the coated cookie balls on your prepared baking sheet, spacing them about an inch apart. Pop them in the oven and bake for about 10 minutes. Keep an eye on them! You’ll know they’re done when they puff up and crack a bit on top, but are still a little gooey in the center. That’s the sweet spot! Once they’re out of the oven, let them cool for a few minutes on the sheet before transferring them to a wire rack. And just like that, you’ve got yourself a batch of beautiful, delicious cookies!
FAQ Section
Can I use different food coloring?
Absolutely! While I love the vibrant red from professional red food coloring, you can experiment with other brands or even natural options like beet juice. Just keep in mind that the shade might vary a bit. If you go for a gel or liquid food coloring, you might need to adjust the amount to achieve that eye-catching hue. Have fun with it!
How do I store leftover cookies?
To keep your Red Velvet Crinkle Cookies fresh and delicious, store them in an airtight container at room temperature. They’ll stay soft and chewy for about a week. If you can resist the temptation, you can even layer them with parchment paper to prevent sticking. Trust me, you’ll want to savor every last crumb!
Can I freeze these cookies?
Yes, you can freeze these delightful cookies! Once they’re baked and cooled completely, place them in an airtight container or a resealable freezer bag. They’ll keep well for up to three months. When you’re ready to enjoy them, just let them thaw at room temperature, or pop them in the microwave for a few seconds to get that fresh-baked warmth back. Yum!
Why You’ll Love This Recipe
- Easy to Make: This recipe is straightforward and requires no fancy techniques, making it perfect for bakers of all levels. You’ll be amazed at how quickly they come together!
- Stunning Presentation: The vibrant red color and crinkly appearance make these cookies a showstopper at any gathering. They’re perfect for holidays, parties, or just a fun treat at home.
- Rich Chocolate Flavor: With a delicious chocolatey taste combined with that classic red velvet essence, these cookies will satisfy any chocolate lover’s cravings.
- Soft and Chewy Texture: Each bite is a delightful mix of softness and chewiness, making them irresistibly addictive. Trust me, once you start, you won’t want to stop!
- Perfect for Sharing: These cookies are great for sharing with friends and family. They’re sure to impress everyone, so you’ll be the star of any dessert table!
Tips for Success
Alright, friends, here are my top tips to ensure your Red Velvet Crinkle Cookies turn out absolutely perfect every time! With a little attention to detail, you’ll be baking like a pro in no time!
Use Room Temperature Ingredients
Make sure your butter and eggs are at room temperature before you start mixing. This little step makes a huge difference! It helps everything blend together smoothly, giving you that light and fluffy texture in your cookies. I usually take my butter and eggs out of the fridge about 30 minutes before I start baking.
Don’t Overmix the Dough
When you’re combining your wet and dry ingredients, mix just until everything is incorporated. Overmixing can lead to tougher cookies, and we definitely want them soft and chewy! A few flour streaks are totally okay – they’ll bake out nicely.
Pay Attention to Baking Time
Keep an eye on your cookies while they bake! Every oven is a little different, so your baking time might vary slightly. You want to pull them out when they’re puffed up and have those lovely cracks on top, but still a bit gooey in the center. If you leave them in too long, you’ll lose that delightful softness!
Chill the Dough for Better Flavor
If you have a bit more time, consider chilling your cookie dough for about 30 minutes before rolling and baking. This helps enhance the flavors and can even lead to thicker cookies. Just remember to let it sit out for a few minutes if it gets too hard to scoop.
Experiment with Toppings
Feeling adventurous? Try adding some chocolate chips or nuts to the dough for an extra layer of flavor and texture. Just be careful not to overload the dough, as it can change the baking time and texture. But a little surprise in every bite is always fun!
Follow these tips, and you’ll be well on your way to creating the most delicious and stunning Red Velvet Crinkle Cookies that will have everyone coming back for seconds (or thirds!). Happy baking!
Nutritional Information Section
It’s always nice to know what you’re indulging in, right? Here’s the estimated nutritional breakdown for each Red Velvet Crinkle Cookie. Keep in mind that these values can vary based on the specific ingredients you use, but this should give you a good idea:
- Calories: 150
- Fat: 6g
- Saturated Fat: 4g
- Unsaturated Fat: 2g
- Trans Fat: 0g
- Cholesterol: 25mg
- Sodium: 60mg
- Carbohydrates: 22g
- Fiber: 1g
- Sugar: 12g
- Protein: 2g
So, whether you’re baking for a special occasion or just treating yourself, these cookies bring a delightful balance of flavor and sweetness without going overboard. Enjoy every bite, and remember, it’s all about moderation!
Serving Suggestions
Now that you’ve baked up a batch of those gorgeous Red Velvet Crinkle Cookies, let’s talk about how to enjoy them even more! These cookies are perfectly delightful on their own, but pairing them with the right treats can take your dessert game to the next level. Here are some of my favorite serving suggestions!
- Milk: There’s nothing quite like a classic pairing of cookies and milk. A tall glass of cold milk complements the rich chocolate flavor of the cookies and helps balance their sweetness. You can even try flavored milk, like chocolate or vanilla, for an extra twist!
- Coffee: For the adults in the room, a warm cup of coffee or espresso is a fantastic match. The bitterness of the coffee beautifully contrasts the sweetness of the cookies, enhancing their flavor. Plus, it gives you that cozy café vibe right at home!
- Ice Cream: Want to really elevate your dessert? Serve these cookies with a scoop of vanilla or cream cheese ice cream! The cold, creamy texture pairs wonderfully with the warm, chewy cookies. You could even make an ice cream sandwich for a fun treat!
- Fruit: Fresh fruit can add a refreshing touch to your dessert table. Sliced strawberries or raspberries would beautifully complement the red velvet theme while adding a lovely tartness that balances the cookies’ sweetness.
- Chocolate Drizzle: For an extra touch of decadence, consider drizzling some melted chocolate over your cookies before serving. It not only looks stunning but also adds an additional layer of chocolatey goodness that’s hard to resist!
These serving suggestions will not only make your Red Velvet Crinkle Cookies shine even brighter but also create a delightful experience for you and your loved ones. So go ahead, mix and match, and enjoy your delicious creations in style!
For more recipes follow me in page Pinterest.
Print
Red Velvet Crinkle Cookies: 5 Irresistible Bites of Joy
- Total Time: 25 minutes
- Yield: 24 cookies 1x
- Diet: Vegetarian
Description
Red Velvet Crinkle Cookies are soft and chewy with a rich chocolate flavor and a vibrant red color.
Ingredients
- 1/2 cup unsalted butter, softened
- 3/4 cup light brown sugar, packed
- 1/2 cup granulated sugar
- 2 large eggs, room temperature
- 2 teaspoons vanilla extract
- 1/2 teaspoon professional red food coloring
- 2 cups all-purpose flour
- 1/3 cup cocoa powder
- 1 1/2 teaspoons baking powder
- 1/2 teaspoon salt
- 1/2 cup granulated sugar (for coating)
- 1/2 cup powdered sugar (for coating)
Instructions
- Preheat the oven to 350°F and line a baking sheet with parchment paper. Set aside.
- Cream the butter, brown sugar, and granulated sugar together in a large bowl until light and fluffy.
- Scrape down the bowl and add the eggs one at a time, beating between each addition.
- Add the vanilla and red food coloring, and mix well.
- In a separate bowl sift together the flour, cocoa powder, baking powder, and salt.
- Add the dry ingredients to the wet and beat together until combined.
- Fill one bowl with granulated sugar and one bowl with powdered sugar.
- Use a 1 ounce cookie scoop (or tablespoon) to scoop cookies out.
- Roll the balls first in the granulated sugar and then in the powdered sugar to coat.
- Place on the prepared cookie sheet an inch apart.
- Bake for 10 minutes or until the cookies have puffed up and cracked, but are still a little gooey in the center.
- Allow to cool and enjoy with a glass of milk!
Notes
- Food coloring varies a lot. Use more if using a store-bought gel or liquid food coloring.
- Prep Time: 15 minutes
- Cook Time: 10 minutes
- Category: Dessert
- Method: Baking
- Cuisine: American
Nutrition
- Serving Size: 1 cookie
- Calories: 150
- Sugar: 12g
- Sodium: 60mg
- Fat: 6g
- Saturated Fat: 4g
- Unsaturated Fat: 2g
- Trans Fat: 0g
- Carbohydrates: 22g
- Fiber: 1g
- Protein: 2g
- Cholesterol: 25mg
Keywords: Red Velvet Crinkle Cookies