
Hey there, fellow food lovers! If you’re like me, you know that life can get pretty hectic. Between juggling work, family, and everything in between, finding time to whip up something delicious can feel like a challenge. That’s where pickled banana peppers come in! These tangy, crunchy delights are not just a quick solution for a busy day; they’re also a fantastic way to elevate your meals. Whether you’re adding them to sandwiches, salads, or even tacos, they bring a burst of flavor that’s hard to resist. Let’s dive into this simple recipe that’s sure to impress your loved ones!
Print
Pickled Banana Peppers: Discover Their Delicious Benefits!
- Total Time: 25 minutes
- Yield: 4 jars 1x
- Diet: Vegetarian
Description
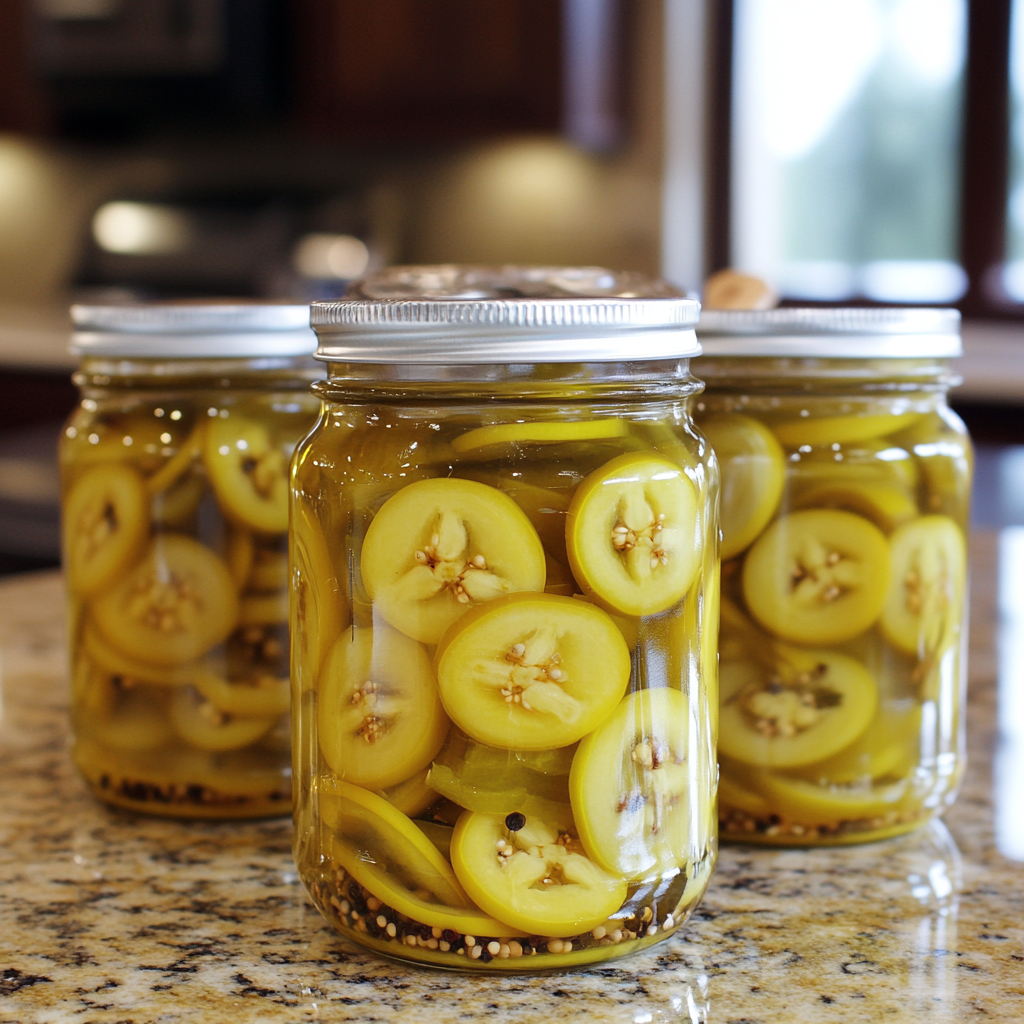
Pickled banana peppers are a tangy and flavorful addition to various dishes, offering a delightful crunch and a hint of heat.
Ingredients
- 10 banana peppers
- 2 cups white vinegar
- 1 cup water
- 1 tablespoon salt
- 1 tablespoon sugar
- 2 cloves garlic, minced
- 1 teaspoon black peppercorns
- 1 teaspoon mustard seeds
Instructions
- Wash and slice the banana peppers into rings.
- In a saucepan, combine vinegar, water, salt, sugar, garlic, black peppercorns, and mustard seeds.
- Bring the mixture to a boil, stirring until the salt and sugar dissolve.
- Pack the sliced banana peppers into sterilized jars.
- Pour the hot vinegar mixture over the peppers, ensuring they are fully submerged.
- Seal the jars and let them cool to room temperature.
- Refrigerate for at least 24 hours before consuming for best flavor.
Notes
- These pickled peppers can last up to 2 months in the refrigerator.
- Adjust the amount of sugar and salt to taste.
- Great for sandwiches, salads, and as a pizza topping.
- Prep Time: 15 minutes
- Cook Time: 10 minutes
- Category: Condiment
- Method: Pickling
- Cuisine: American
Nutrition
- Serving Size: 1 jar (about 1/2 cup)
- Calories: 50
- Sugar: 2g
- Sodium: 500mg
- Fat: 0g
- Saturated Fat: 0g
- Unsaturated Fat: 0g
- Trans Fat: 0g
- Carbohydrates: 12g
- Fiber: 1g
- Protein: 1g
- Cholesterol: 0mg
Keywords: pickled banana peppers, pickling, condiments, recipes
Table of Contents
Why You’ll Love This Pickled Banana Peppers
What’s not to love about pickled banana peppers? They’re incredibly easy to make, taking just 25 minutes from start to finish. Plus, they add a delightful crunch and a hint of heat to any dish. Whether you’re a busy mom or a professional on the go, these peppers are a quick way to jazz up your meals. Trust me, once you try them, you’ll wonder how you ever lived without them!
Ingredients for Pickled Banana Peppers
Gathering the right ingredients is key to making delicious pickled banana peppers. Here’s what you’ll need:
- Banana Peppers: These mild peppers are the star of the show. Their sweet flavor and crunchy texture make them perfect for pickling.
- White Vinegar: This tangy liquid is essential for the pickling process. It gives the peppers their signature zing.
- Water: Used to dilute the vinegar, balancing the acidity for a more palatable flavor.
- Salt: A crucial ingredient for flavor and preservation. It helps draw out moisture and enhances the peppers’ taste.
- Sugar: Just a touch of sweetness balances the tanginess of the vinegar. You can adjust this to your taste.
- Garlic: Minced garlic adds a savory depth to the brine, making each bite even more flavorful.
- Black Peppercorns: These little gems add a subtle heat and complexity to the pickling brine.
- Mustard Seeds: They contribute a unique flavor and a slight crunch, enhancing the overall experience.
Feel free to get creative! You can add spices like dill or red pepper flakes for an extra kick. If you can’t find banana peppers, jalapeños or even bell peppers can work as substitutes. For exact measurements, check the bottom of the article where you can find everything available for printing.
How to Make Pickled Banana Peppers
Step 1: Prepare the Peppers
First things first, let’s get those banana peppers ready! Start by washing them under cool running water to remove any dirt. Once they’re clean, slice the peppers into rings. I like to wear gloves during this step to avoid any lingering heat on my hands. The vibrant yellow and green colors of the peppers are so inviting, and they’ll add a beautiful pop to your dishes!
Step 2: Make the Pickling Brine
Now, let’s whip up the pickling brine! In a medium saucepan, combine the white vinegar, water, salt, sugar, minced garlic, black peppercorns, and mustard seeds. Stir everything together until the salt and sugar are well mixed. The aroma of the garlic and vinegar will fill your kitchen, making it hard to resist the anticipation of those pickled banana peppers!
Step 3: Boil the Mixture
Next, bring the mixture to a gentle boil over medium heat. Keep stirring occasionally to ensure the salt and sugar dissolve completely. Once it reaches a boil, let it simmer for a minute or two. This step is crucial as it helps to infuse the flavors into the brine, making your pickled banana peppers even more delicious!
Step 4: Pack the Jars
It’s time to pack those jars! Carefully place the sliced banana peppers into sterilized jars, packing them tightly but not too tightly. You want to make sure they have enough room to soak up all that flavorful brine. I usually use pint-sized jars, which are perfect for this recipe. The sight of those colorful rings is just so satisfying!
Step 5: Pour the Brine
Now, pour the hot vinegar mixture over the packed peppers, ensuring they are fully submerged. Use a spoon to gently press down the peppers if needed. This step is essential for ensuring every slice gets that tangy goodness. The steam rising from the jars is a reminder of the deliciousness that’s about to unfold!
Step 6: Seal and Cool
Once the jars are filled, seal them tightly with lids. Let them cool to room temperature on your kitchen counter. This cooling process allows the flavors to meld together beautifully. I often find myself sneaking a peek at the jars, eagerly anticipating the moment I can dig in!
Step 7: Refrigerate
Finally, pop those jars into the refrigerator. For the best flavor, let them chill for at least 24 hours before enjoying. This waiting period allows the peppers to soak up all that tangy brine. Trust me, the wait is worth it! You’ll be rewarded with a burst of flavor that will elevate any meal.
Tips for Success
- Always wear gloves when handling hot peppers to avoid irritation.
- Use sterilized jars to ensure your pickled banana peppers last longer.
- Feel free to experiment with spices like dill or coriander for unique flavors.
- Store the jars in the back of the fridge for optimal freshness.
- Label your jars with the date to keep track of freshness.
Equipment Needed
- Medium Saucepan: A regular pot works too, just ensure it’s large enough for the brine.
- Cutting Board: Any sturdy surface will do for slicing the peppers.
- Knife: A sharp knife makes slicing easier and safer.
- Sterilized Jars: Mason jars are ideal, but any glass jar with a tight seal will work.
- Measuring Cups: Use standard cups or even a liquid measuring jug for accuracy.
Variations
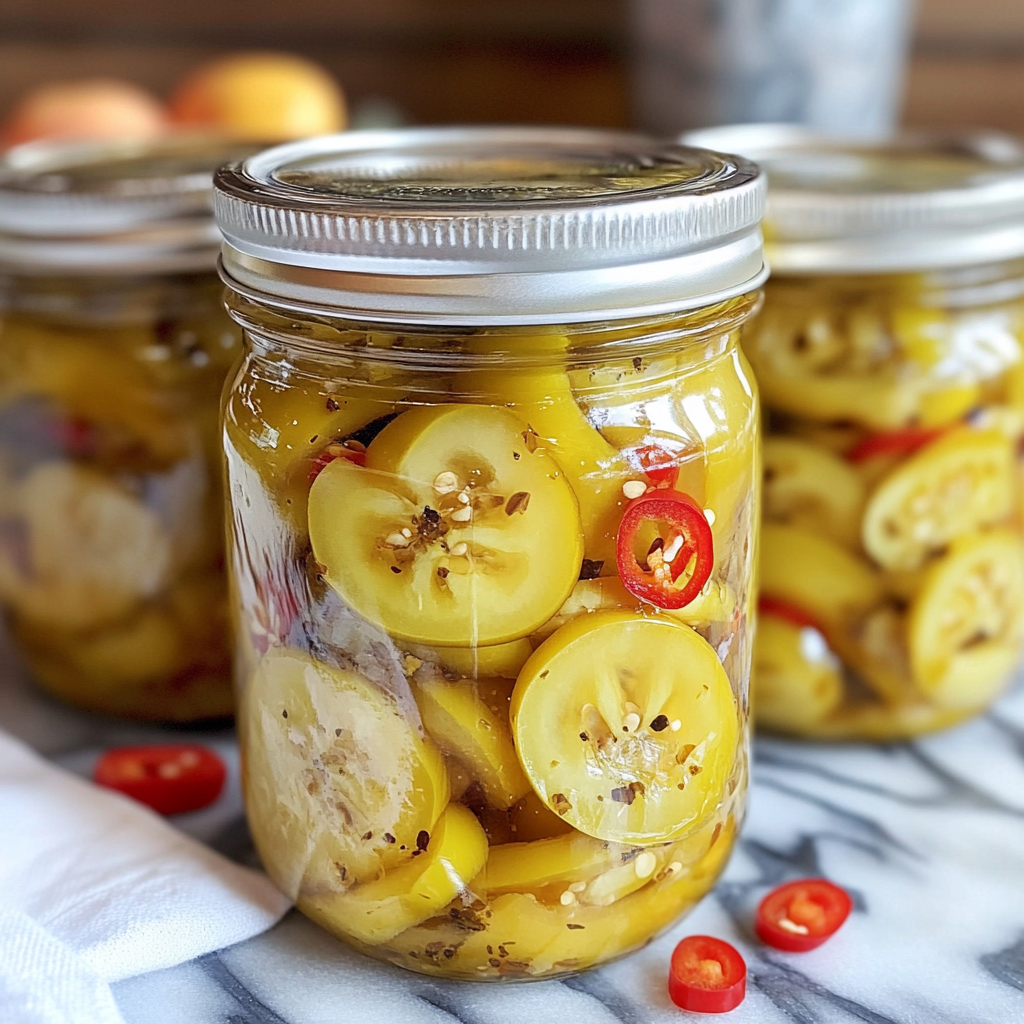
- Spicy Kick: Add sliced jalapeños or red pepper flakes to the brine for an extra heat boost.
- Herb Infusion: Toss in fresh herbs like dill or thyme for a fragrant twist.
- Sweet and Sour: Increase the sugar for a sweeter profile, perfect for those who love a balance of flavors.
- Garlic Lovers: Add more minced garlic or even whole cloves for a bolder garlic flavor.
- Vinegar Variety: Experiment with apple cider vinegar or rice vinegar for a different tang.
Serving Suggestions
- Top your favorite sandwiches with pickled banana peppers for a zesty crunch.
- Add them to salads for a burst of flavor and color.
- Serve alongside grilled meats for a tangy contrast.
- Pair with a refreshing iced tea or lemonade for a delightful meal.
- Present in a small bowl as a colorful appetizer at gatherings.
For more recipes follow me in page Facebook and Pinterest
FAQs about Pickled Banana Peppers
How long do pickled banana peppers last?
Pickled banana peppers can last up to two months in the refrigerator. Just make sure they’re sealed properly and stored in a cool place. You’ll want to enjoy them while they’re at their best!
Can I use other types of peppers?
Absolutely! While banana peppers are perfect for pickling, you can also use jalapeños, bell peppers, or even serrano peppers. Each type will bring its own unique flavor and heat level to your pickled creation.
What dishes can I use pickled banana peppers in?
The possibilities are endless! You can add them to sandwiches, salads, tacos, or even pizzas. They also make a great topping for burgers or a zesty addition to charcuterie boards.
Can I adjust the sweetness of the brine?
Yes! Feel free to tweak the amount of sugar in the brine to suit your taste. If you prefer a sweeter profile, add a bit more sugar. If you like it tangy, reduce the sugar for a more pronounced vinegar flavor.
Is it necessary to refrigerate pickled banana peppers?
Yes, refrigerating your pickled banana peppers is essential for preserving their flavor and crunch. The cold environment helps maintain their freshness and ensures they stay delicious for longer.
Final Thoughts
Making pickled banana peppers is more than just a recipe; it’s a delightful culinary adventure! The joy of transforming simple ingredients into a tangy, crunchy condiment is truly rewarding. Each jar holds the promise of flavor-packed meals, ready to elevate your dishes. Whether you’re enjoying them on a busy weeknight or sharing them at a gathering, these pickled peppers bring a burst of joy to every bite. So, roll up your sleeves, embrace the process, and savor the satisfaction of homemade goodness. Trust me, once you start, you’ll find yourself reaching for those jars again and again!