
As a busy mom, I know how challenging it can be to whip up something fun and delicious for the kids, especially during the Halloween season. That’s why I love to make these fun Halloween dirt cups for a treat the kids will love! They’re not only quick to prepare but also a delightful way to get the little ones excited about dessert. With layers of creamy chocolate pudding, crunchy cookie crumbs, and squirmy gummy worms, these cups are sure to bring smiles and giggles. Plus, they’re a fantastic way to involve the kids in the kitchen!
Print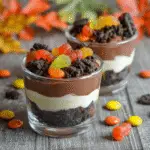
Make these fun Halloween dirt cups for a tasty treat!
- Total Time: 30 minutes (including chilling time)
- Yield: 4 servings 1x
- Diet: Vegetarian
Description
These fun Halloween dirt cups are a delightful treat that kids will love, featuring layers of chocolate pudding, crushed cookies, and gummy worms.
Ingredients
- 1 package chocolate pudding mix
- 2 cups milk
- 1 package chocolate sandwich cookies (like Oreos)
- 1 cup gummy worms
- Whipped cream (optional)
Instructions
- Prepare the chocolate pudding according to the package instructions using the milk.
- Crush the chocolate sandwich cookies into fine crumbs.
- In clear cups, layer the chocolate pudding and crushed cookies, starting with pudding at the bottom.
- Add a layer of gummy worms on top of the cookie layer.
- Repeat the layers until the cups are filled, finishing with a layer of crushed cookies.
- Top with whipped cream and additional gummy worms if desired.
- Chill in the refrigerator for at least 30 minutes before serving.
Notes
- For a spooky effect, use green or purple gummy worms.
- These cups can be made a day in advance for convenience.
- Feel free to add other Halloween-themed candies for decoration.
- Prep Time: 15 minutes
- Cook Time: 0 minutes
- Category: Dessert
- Method: No-bake
- Cuisine: American
Nutrition
- Serving Size: 1 cup
- Calories: 250
- Sugar: 20g
- Sodium: 150mg
- Fat: 10g
- Saturated Fat: 3g
- Unsaturated Fat: 7g
- Trans Fat: 0g
- Carbohydrates: 35g
- Fiber: 1g
- Protein: 3g
- Cholesterol: 5mg
Keywords: Halloween, dirt cups, dessert, kids treat
Table of Contents
Why You’ll Love This Halloween Dirt Cups Recipe
These fun Halloween dirt cups are a lifesaver for busy moms like me! They come together in just 15 minutes, making them perfect for last-minute treats. The kids will love the playful presentation, and you’ll appreciate how easy they are to customize. Plus, the combination of rich chocolate pudding and crunchy cookies creates a taste that’s simply irresistible. It’s a win-win for everyone!
Ingredients for Make These Fun Halloween Dirt Cups for a Treat the Kids Will Love
Gathering the right ingredients is half the fun! Here’s what you’ll need to create these delightful Halloween dirt cups:
- Chocolate pudding mix: This is the star of the show, providing a rich and creamy base that kids adore.
- Milk: Essential for preparing the pudding, it adds creaminess and helps achieve that perfect texture.
- Chocolate sandwich cookies: Think Oreos! These cookies add a crunchy layer that mimics dirt, making it a fun visual treat.
- Gummy worms: These squirmy candies are the perfect spooky touch, adding a playful element that kids will love.
- Whipped cream (optional): A dollop on top adds a fluffy finish, making the cups even more enticing.
Feel free to get creative! You can use green or purple gummy worms for a spookier effect. If you want to save time, you can prepare the pudding a day in advance. For exact quantities, check the bottom of the article where you can find everything available for printing.
How to Make These Fun Halloween Dirt Cups for a Treat the Kids Will Love
Step 1: Prepare the Chocolate Pudding
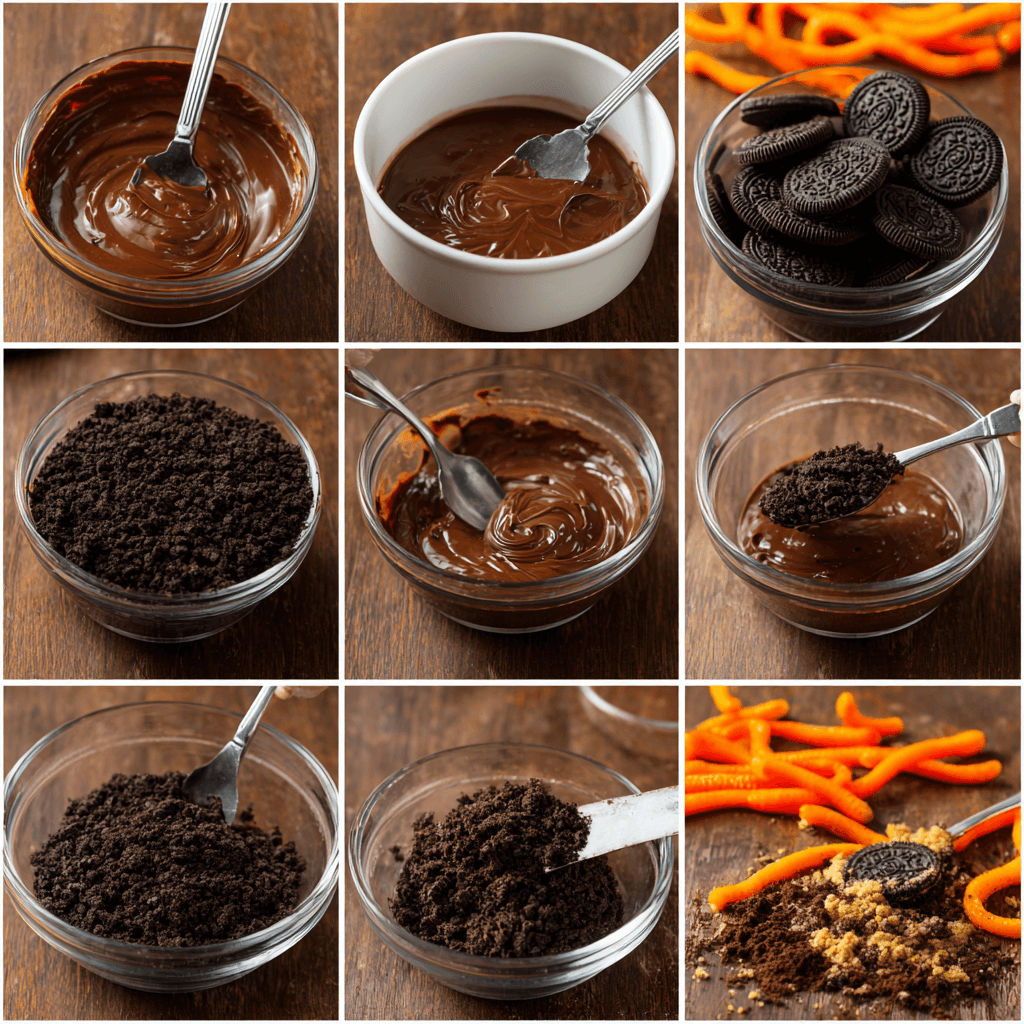
Start by preparing the chocolate pudding according to the package instructions. In a mixing bowl, combine the chocolate pudding mix with the milk. Whisk it together until smooth and creamy. This step is where the magic begins! The rich chocolate flavor will be the foundation of your dirt cups. Let it sit for a few minutes to thicken up nicely.
Step 2: Crush the Cookies
Next, grab your chocolate sandwich cookies and place them in a zip-top bag. Using a rolling pin or your hands, crush the cookies into fine crumbs. You want them to resemble dirt, so don’t be shy! This crunchy layer will add texture and fun to your Halloween dirt cups.
Step 3: Layer the Ingredients
Now, it’s time to assemble your dirt cups! Take clear cups and start with a layer of chocolate pudding at the bottom. This creamy layer sets the stage for the fun to come. Next, sprinkle a generous layer of crushed cookies on top. The contrast of textures will make each bite exciting. Repeat this process until the cups are filled, leaving some cookie crumbs for the top.
Step 4: Add Gummy Worms
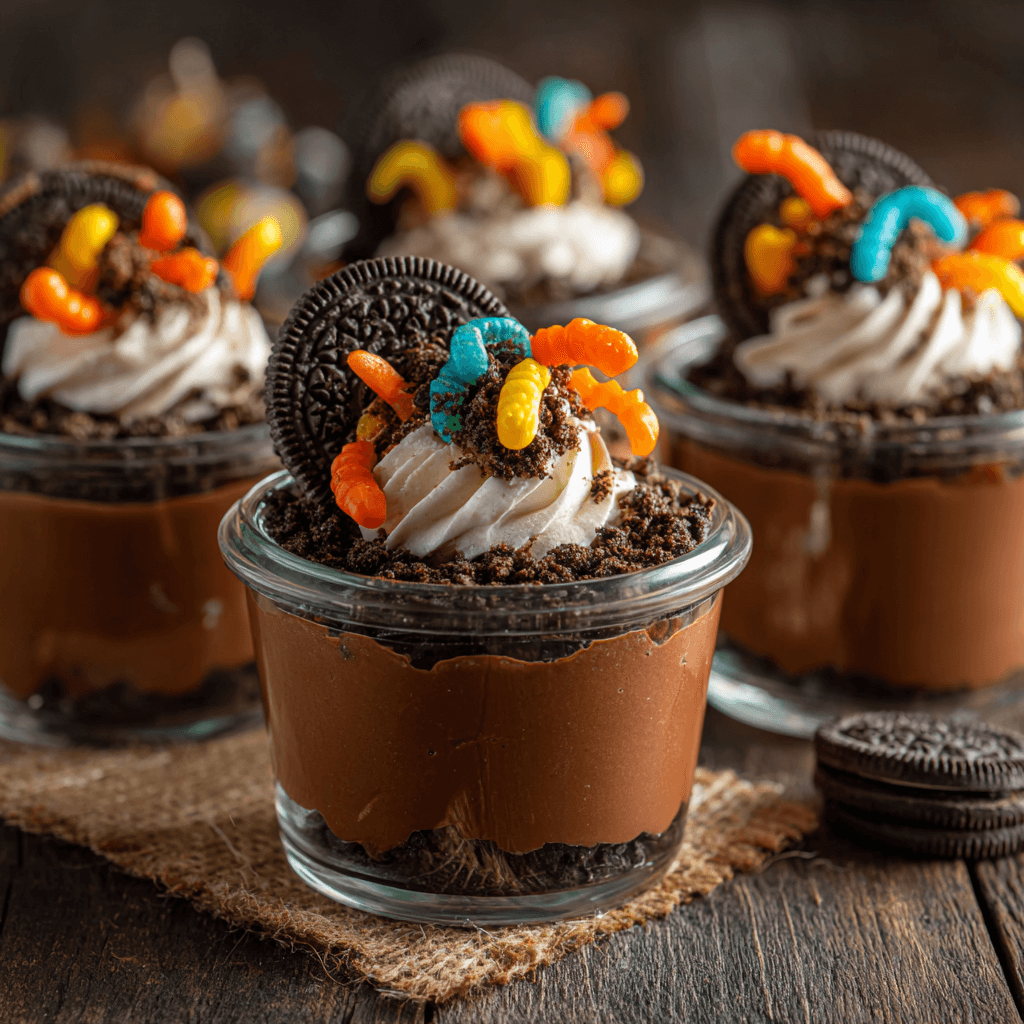
Once your layers are set, it’s time to add the gummy worms! Gently place a few gummy worms on top of the cookie layer. Let them peek out, as if they’re wriggling in the dirt. This playful touch is what makes these cups so fun and perfect for Halloween. The kids will love it!
Step 5: Repeat the Layers
Continue to repeat the layers of pudding and crushed cookies until your cups are filled to the brim. Finish with a final layer of crushed cookies on top. This not only looks great but also adds that extra crunch. The layers create a beautiful visual effect that will impress everyone!
Step 6: Top with Whipped Cream
For the grand finale, top each cup with a dollop of whipped cream. This fluffy addition makes the cups even more enticing. If you’re feeling extra festive, add a few more gummy worms on top for decoration. It’s all about the presentation, and this will surely wow the kids!
Step 7: Chill Before Serving
Finally, place your assembled dirt cups in the refrigerator for at least 30 minutes. Chilling allows the flavors to meld together and gives the pudding a chance to set properly. Plus, it makes for a refreshing treat when you’re ready to serve. Trust me, the wait will be worth it!
Tips for Success
- Use clear cups to showcase the fun layers; it makes the presentation pop!
- For a smoother pudding, whisk vigorously to eliminate lumps.
- Crush cookies in small batches for even texture; it’s easier to control.
- Chill the cups longer if you can; it enhances the flavors.
- Get the kids involved! Let them help with layering and decorating.
Equipment Needed
- Mixing bowl: A medium-sized bowl works well for preparing the pudding.
- Whisk: Use a whisk for smooth pudding; a fork can work in a pinch.
- Zip-top bag: Perfect for crushing cookies; a food processor is an alternative.
- Clear cups: Use any clear cups for layering; mason jars add a fun twist.
- Spoon: A regular spoon is great for layering and serving.
Variations for Make These Fun Halloween Dirt Cups for a Treat the Kids Will Love
- Use different pudding flavors: Try vanilla or butterscotch pudding for a unique twist on the classic chocolate.
- Swap the cookies: Use gluten-free chocolate cookies for a gluten-free version that everyone can enjoy.
- Add fruit: Layer in some sliced strawberries or bananas for a fruity surprise amidst the chocolate.
- Incorporate nut butter: Drizzle a bit of peanut butter or almond butter between layers for added flavor and richness.
- Make it dairy-free: Use almond milk or coconut milk with dairy-free pudding mix for a vegan-friendly option.
Serving Suggestions
- Pair these fun Halloween dirt cups with fresh fruit skewers for a colorful side.
- Serve with a glass of cold milk or a fun Halloween-themed punch.
- For a festive touch, decorate the table with Halloween-themed napkins and plates.
- Consider adding spooky decorations like mini pumpkins or ghost figurines for extra flair.
For more recipes follow me in page Facebook and Pinterest
FAQs about Make These Fun Halloween Dirt Cups for a Treat the Kids Will Love
Can I make these Halloween dirt cups in advance?
Absolutely! You can prepare these fun Halloween dirt cups a day ahead. Just layer everything and store them in the fridge. This way, they’ll be ready to serve when you need them!
What can I use instead of gummy worms?
If gummy worms aren’t your thing, feel free to use other Halloween-themed candies. Candy corn or chocolate spiders can add a spooky touch while keeping the fun alive!
How can I make these dirt cups healthier?
To make these cups a bit healthier, consider using low-sugar pudding mix and whole-grain cookies. You can also add some fruit layers for a nutritious twist!
Can I use a different type of cookie?
Definitely! While chocolate sandwich cookies are traditional, you can experiment with graham crackers or even vanilla wafers for a different flavor profile.
What’s the best way to store leftovers?
Store any leftover dirt cups in an airtight container in the fridge. They should stay fresh for up to two days, but trust me, they’ll likely be gone before then!
Final Thoughts
Making these fun Halloween dirt cups is more than just a recipe; it’s an opportunity to create joyful memories with your kids. The laughter and excitement as they help layer the ingredients is priceless. Watching their faces light up when they see the finished cups is a joy that warms my heart. Plus, these treats are a fantastic way to celebrate the spooky season without spending hours in the kitchen. So, gather your little helpers, and let’s make some delicious dirt cups that will be the highlight of your Halloween festivities!