
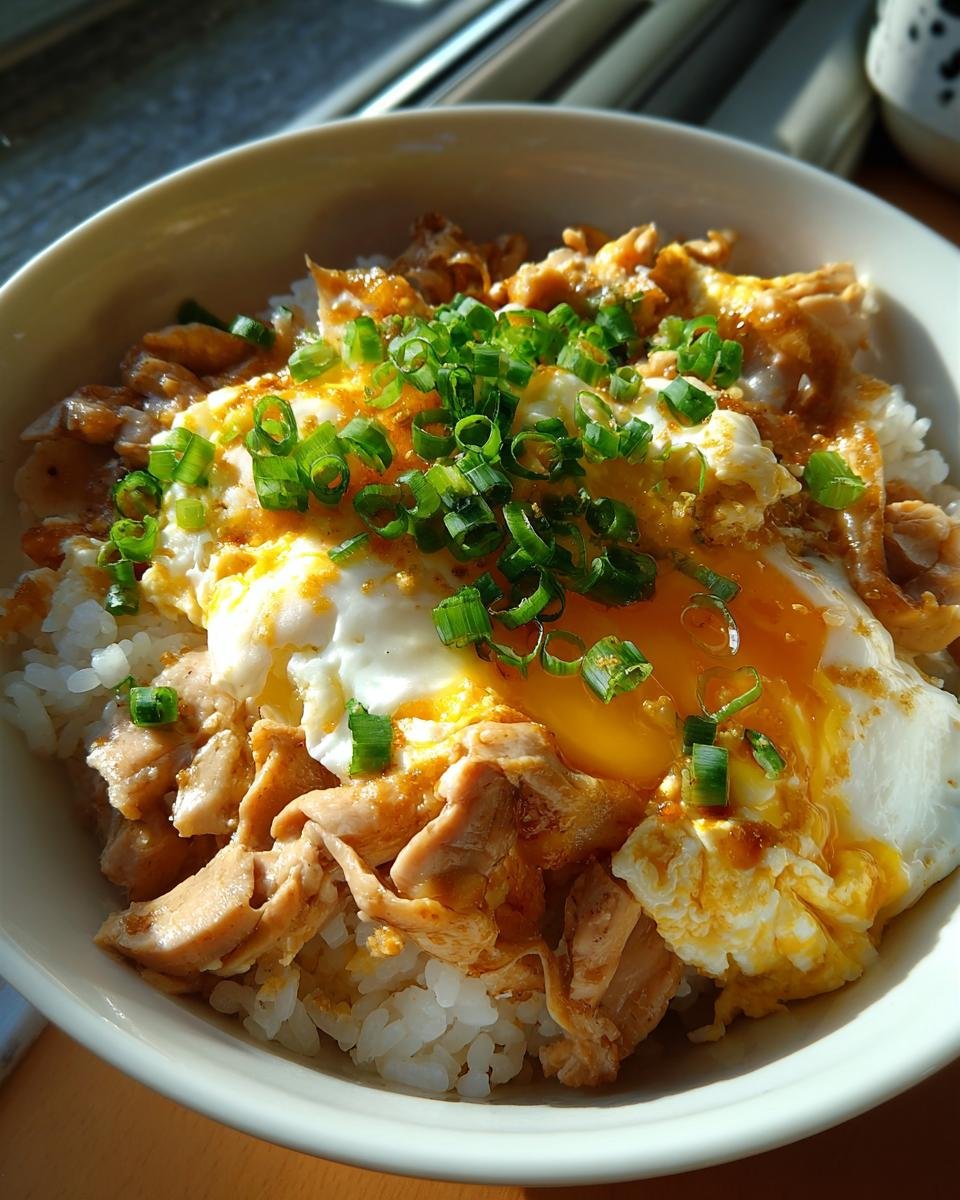
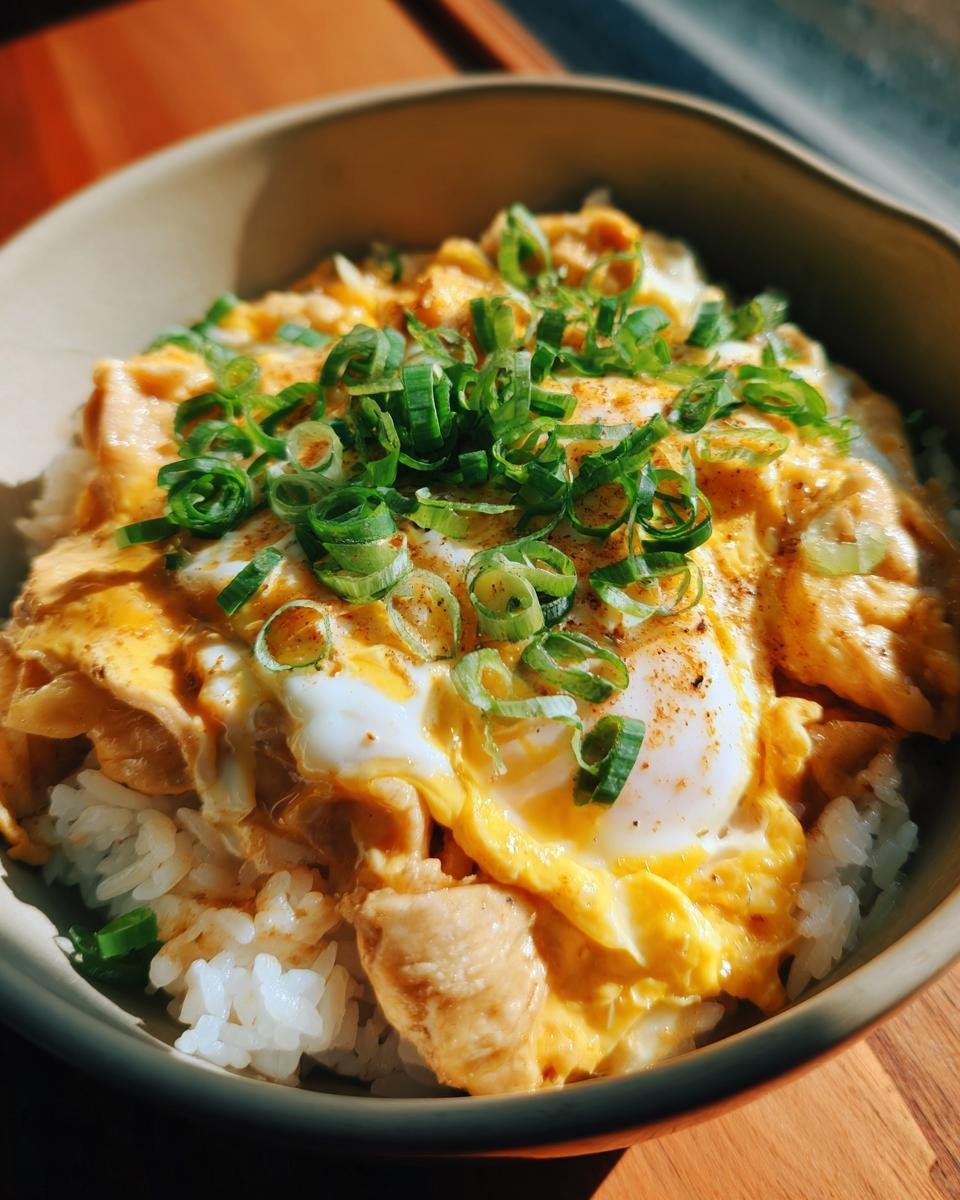
Oh, Oyakodon! This delightful dish is a true gem in Japanese cuisine, and honestly, it’s one of my absolute comfort foods. Imagine tender chicken and fluffy eggs simmered together in a savory dashi broth, all served over a steaming bowl of rice. It’s like a warm hug in a bowl! Oyakodon, which translates to “parent-and-child rice bowl,” perfectly represents the harmony of flavors that come together to create something magical. The best part? You can whip it up in just about 25 minutes! Whether it’s a busy weeknight dinner or a cozy weekend treat, this dish has a way of making everything feel just a little bit brighter. Trust me, once you make delicious Oyakodon at home, you’ll wonder why you didn’t try it sooner. So, let’s dive into the world of this heartwarming Japanese comfort food and get cooking!
Ingredients for Oyakodon
To make delicious Oyakodon, you’ll need a handful of simple yet flavorful ingredients that come together beautifully. Here’s what you’ll need:
- 2 cups cooked rice – I always use short-grain rice for that perfect sticky texture.
- 2 chicken thighs, sliced – Boneless is best for tenderness, but feel free to use chicken breast if you prefer.
- 2 eggs – Fresh eggs are key for that rich flavor and creamy texture.
- 1 onion, sliced – Sweet onions work wonders in this dish!
- 1 cup dashi broth – You can use homemade or instant dashi, but I highly recommend making it from scratch if you have the time.
- 2 tablespoons soy sauce – This adds that essential umami punch.
- 1 tablespoon mirin – For a touch of sweetness.
- 1 tablespoon sugar – Just a little to balance the flavors.
- Green onions, for garnish – They add a pop of color and freshness!
Gather these ingredients, and you’re all set to create a heartwarming bowl of Oyakodon!
How to Prepare Oyakodon
Now that you’ve gathered all your ingredients, it’s time to roll up your sleeves and get cooking! Making delicious Oyakodon is truly a step-by-step joy, and I promise you’ll feel accomplished as you create this heartwarming dish. Let’s dive right in!
Step 1: Heat the Dashi Broth
Start by pouring your dashi broth into a medium-sized pan and place it over medium heat. You want it to warm up gently; this usually takes about 3-5 minutes. Keep an eye on it, and don’t let it boil! The goal is to bring out that lovely umami flavor without losing its delicate essence.
Step 2: Cook the Onion
Once your broth is warmed through, it’s time to add the sliced onion. Toss them into the broth and let them simmer for about 3-4 minutes until they become translucent. This step is crucial, as the sweet onions will infuse the broth with flavor. You’ll know they’re ready when they turn soft and aromatic—oh, the smell is divine!
Step 3: Add the Chicken
Next, add the sliced chicken thighs to the pan. Cook them for about 5-7 minutes, stirring gently until they’re no longer pink. This step is all about ensuring the chicken is cooked through while soaking up that flavorful broth. If you see any broth bubbling away, that’s a sign you’re on the right track!
Step 4: Mix the Sauce
Now, it’s time to add some magic! In a small bowl, mix together the soy sauce, mirin, and sugar, then pour this mixture into the pan. Stir everything together and let it simmer for another 2-3 minutes. This sauce is what elevates your Oyakodon, bringing a perfect balance of savory and sweet to the dish.
Step 5: Add the Eggs
Crack your eggs into a bowl and beat them lightly. Slowly pour the eggs over the chicken and onion mixture in the pan. Don’t stir it just yet! Cover the pan with a lid and let it cook for about 4-5 minutes. This allows the eggs to set beautifully, creating that lovely soft layer on top. You’ll want them just cooked, with a hint of creaminess left.
Step 6: Serve Over Rice
Finally, it’s time to serve! Scoop generous portions of your cooked rice into bowls, then top it with the chicken and egg mixture from the pan. Garnish with finely chopped green onions for that extra pop of flavor and color. Trust me, when you present this dish, everyone will be eagerly waiting to dig in!
Nutritional Information
Now, let’s talk about the nutritional values for your delicious Oyakodon! Each serving is packed with goodness, making it a balanced meal perfect for any time of the day. Here’s a breakdown of the typical values you can expect:
- Calories: 600
- Fat: 20g
- Protein: 30g
- Carbohydrates: 80g
- Sugar: 5g
- Sodium: 800mg
These values are estimates, of course, as they can vary based on the specific ingredients you use. But rest assured, this comforting bowl is not only satisfying but also nourishes your body with wholesome ingredients!
Why You’ll Love This Recipe
There are so many reasons to adore this Oyakodon recipe! Here are just a few that make it a must-try:
- Quick and Easy: You can whip up this delicious meal in just 25 minutes, making it perfect for busy weeknights!
- Flavor Explosion: The combination of tender chicken, fluffy eggs, and savory dashi broth creates a flavor profile that’s simply irresistible.
- Comfort Food at Its Best: Oyakodon is the ultimate cozy dish, wrapping you in warmth and nostalgia with every bite.
- Customizable: Feel free to add your favorite veggies or adjust seasonings to make it your own!
Once you try it, I promise you’ll be hooked!
Tips for Success
To ensure your Oyakodon turns out perfectly every time, here are my top tips that make all the difference:
- Choose Quality Ingredients: Fresh chicken and eggs elevate the dish’s flavor. I always recommend using organic or free-range options if possible; it truly makes a difference!
- Control the Heat: Keep your broth at a gentle simmer to prevent boiling. High heat can toughen the chicken and overcook the eggs, ruining that silky texture we love.
- Egg Technique: When you pour the beaten eggs, do it slowly and cover the pan immediately. The steam helps cook the eggs evenly, giving you that perfect soft finish.
- Taste as You Go: Don’t hesitate to adjust the seasoning! Everyone’s palate is different, so feel free to add a bit more soy sauce or mirin to suit your taste.
- Garnish Generously: Green onions are a must! They add a fresh crunch that complements the dish beautifully, making each bite even more delightful.
With these tips, your Oyakodon will be a comforting bowl of happiness every time!
Variations of Oyakodon
One of the best parts about Oyakodon is its versatility! While the classic version is undeniably delicious, you can easily switch things up to keep it exciting. Here are a few ideas to inspire your culinary creativity:
- Different Proteins: Swap out chicken for thinly sliced beef, pork, or even tofu for a vegetarian twist. Each option brings its unique flavor!
- Veggie Boost: Add in some colorful vegetables like bell peppers, mushrooms, or spinach. They not only enhance the dish’s nutrition but also add vibrant colors!
- Spice It Up: If you’re craving a kick, try adding a splash of chili oil or a sprinkle of togarashi for that extra heat.
- Rice Alternatives: Use quinoa or cauliflower rice for a lower-carb option while still enjoying the comforting flavors of Oyakodon.
Feel free to mix and match these ideas to create your perfect bowl of Oyakodon!
Storage & Reheating Instructions
If you’ve got leftovers of your delicious Oyakodon, you’re in luck! Storing this comforting dish is easy. Simply transfer any uneaten portions to an airtight container and pop it in the fridge. It should keep well for 2-3 days. When you’re ready to enjoy it again, I recommend reheating it gently on the stovetop over low heat. Add a splash of dashi broth or water to help bring back that lovely moisture. Stir occasionally until it’s warmed through, and voilà! You’ll have a comforting bowl that tastes almost as good as freshly made. Just remember, the eggs might not be as fluffy as the first time, but it’ll still be delicious!
Your Turn to Make Delicious Oyakodon!
Now it’s your turn to dive into the delightful world of Oyakodon! I’d love to hear about your cooking adventures. Did you add any special ingredients or make any tweaks to the recipe? Share your experiences, thoughts, and photos in the comments below. Happy cooking!
For more recipes follow me in page Pinterest.

Make Delicious Oyakodon: 5 Steps to Comforting Bliss
- Total Time: 25 minutes
- Yield: 2 servings 1x
- Diet: Gluten Free
Description
Make Delicious Oyakodon, a Japanese Comfort Food
Ingredients
- 2 cups cooked rice
- 2 chicken thighs, sliced
- 2 eggs
- 1 onion, sliced
- 1 cup dashi broth
- 2 tablespoons soy sauce
- 1 tablespoon mirin
- 1 tablespoon sugar
- Green onions, for garnish
Instructions
- In a pan, heat dashi broth over medium heat.
- Add sliced onion and cook until translucent.
- Add chicken slices and cook until no longer pink.
- Mix soy sauce, mirin, and sugar in the pan.
- Beat the eggs and pour over the chicken and onion.
- Cover and cook until eggs are set.
- Serve over cooked rice.
- Garnish with green onions.
Notes
- Use fresh ingredients for best taste.
- Adjust seasoning to your preference.
- Oyakodon can be served with pickles.
- Prep Time: 10 minutes
- Cook Time: 15 minutes
- Category: Main Dish
- Method: Stovetop
- Cuisine: Japanese
Nutrition
- Serving Size: 1 bowl
- Calories: 600
- Sugar: 5g
- Sodium: 800mg
- Fat: 20g
- Saturated Fat: 5g
- Unsaturated Fat: 15g
- Trans Fat: 0g
- Carbohydrates: 80g
- Fiber: 2g
- Protein: 30g
- Cholesterol: 200mg
Keywords: Oyakodon, Japanese Comfort Food, Chicken and Egg Rice Bowl