Hey there, fellow food lovers! If you’re looking for a delightful treat that’s as cute as a button, you’ve come to the right place. Today, I’m excited to share how to make the cutest caramel apple! This recipe is perfect for busy moms like us who want to whip up something special without spending hours in the kitchen. Whether it’s for a family gathering, a school event, or just a sweet surprise for your loved ones, these adorable caramel apples are sure to dazzle. Let’s dive into this fun and easy culinary adventure together!
Print
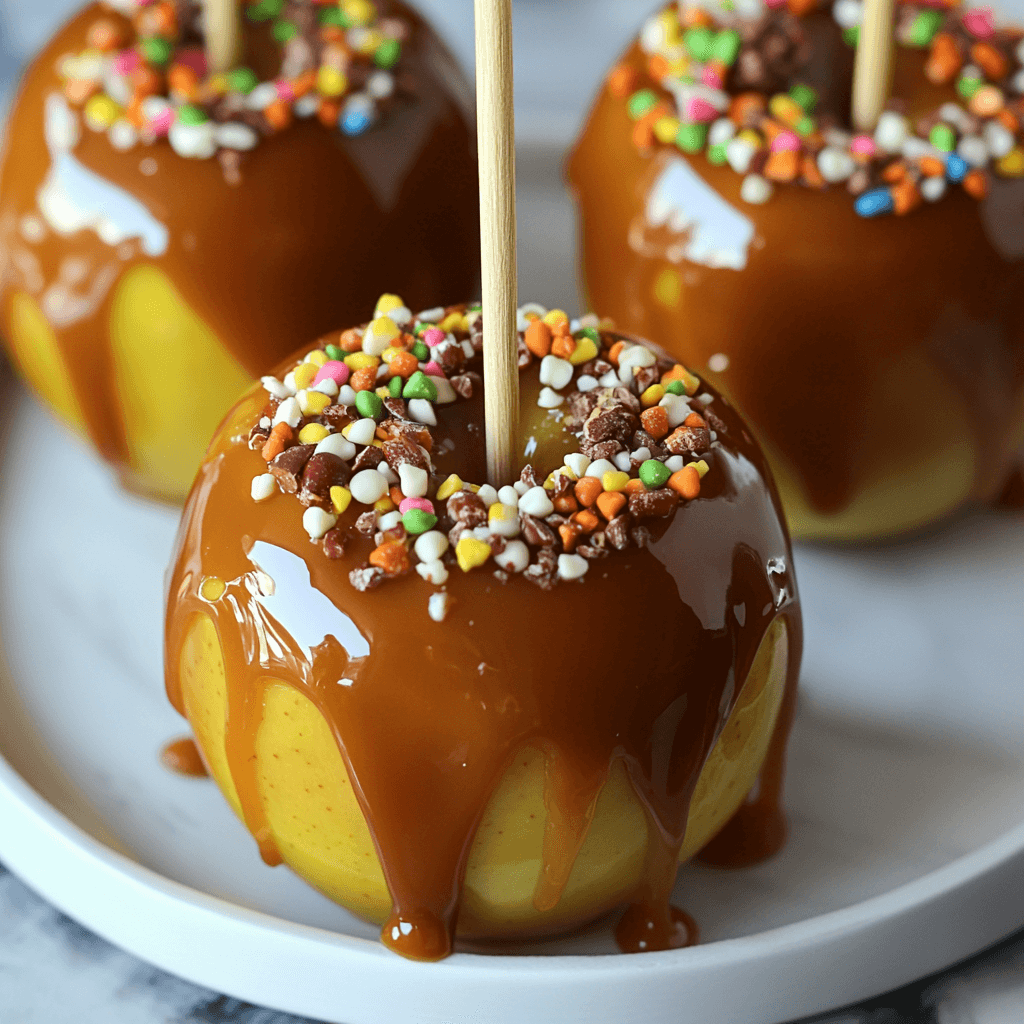
How to Make the Cutest Caramel Apple That Dazzles!
- Total Time: 25 minutes
- Yield: 6 caramel apples 1x
- Diet: Vegetarian
Description
Learn how to create adorable caramel apples that are perfect for any occasion!
Ingredients
- 6 medium apples
- 2 cups caramel candies
- 2 tablespoons milk
- Chocolate sprinkles
- Chopped nuts
- Wooden sticks
Instructions
- Wash and dry the apples thoroughly.
- Insert wooden sticks into the top of each apple.
- Melt the caramel candies with milk in a saucepan over low heat.
- Dip each apple into the melted caramel, ensuring it’s fully coated.
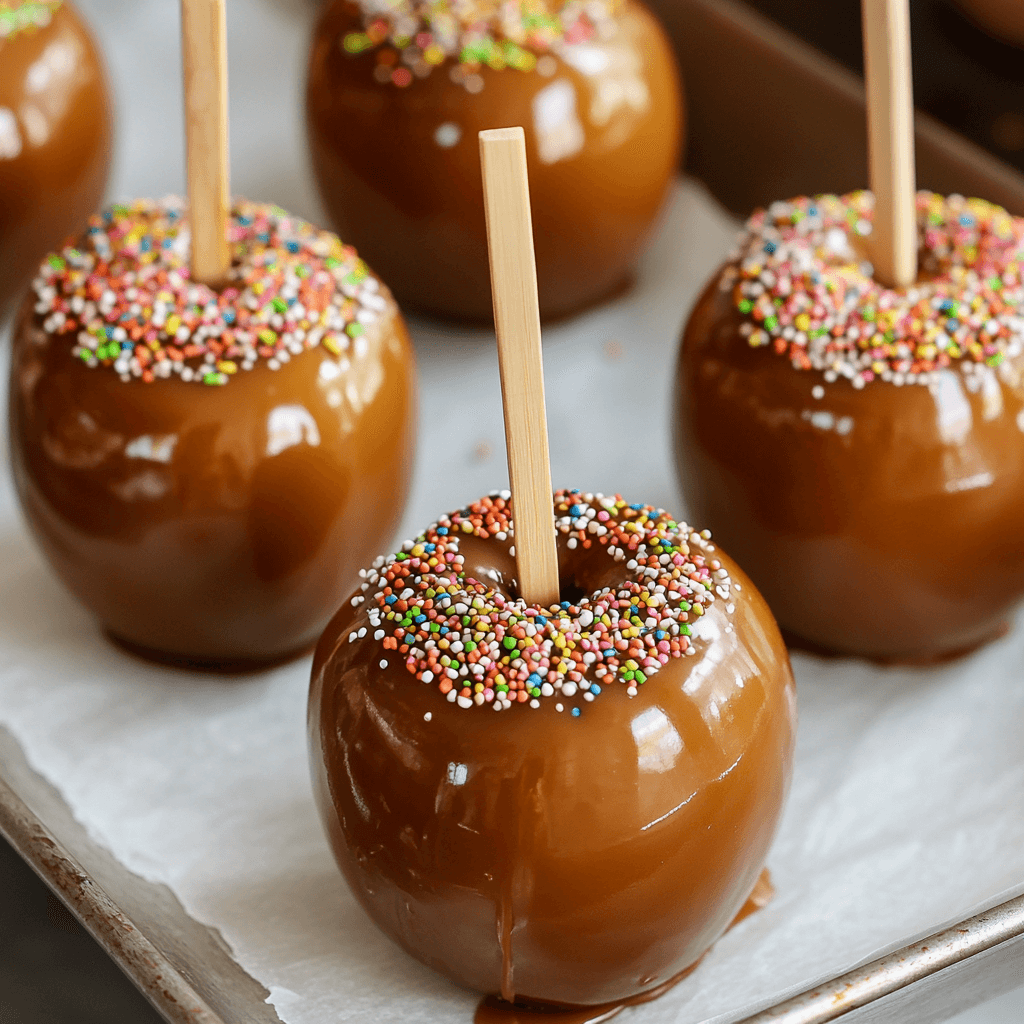
- Allow excess caramel to drip off and place the apples on a parchment-lined baking sheet.
- Sprinkle chocolate sprinkles or chopped nuts on the caramel while it’s still warm.
- Let the caramel set at room temperature or refrigerate for faster setting.
- Serve and enjoy your cute caramel apples!
Notes
- Use tart apples for a nice contrast with the sweet caramel.
- Experiment with different toppings like crushed cookies or coconut.
- Store in a cool place to keep the caramel from melting.
- Prep Time: 15 minutes
- Cook Time: 10 minutes
- Category: Dessert
- Method: Stovetop
- Cuisine: American
Nutrition
- Serving Size: 1 caramel apple
- Calories: 250
- Sugar: 30g
- Sodium: 50mg
- Fat: 10g
- Saturated Fat: 5g
- Unsaturated Fat: 3g
- Trans Fat: 0g
- Carbohydrates: 40g
- Fiber: 2g
- Protein: 1g
- Cholesterol: 0mg
Keywords: Caramel Apple, Cute Caramel Apple, How to Make Caramel Apple
Table of Contents
Why You’ll Love This How to Make the Cutest Caramel Apple
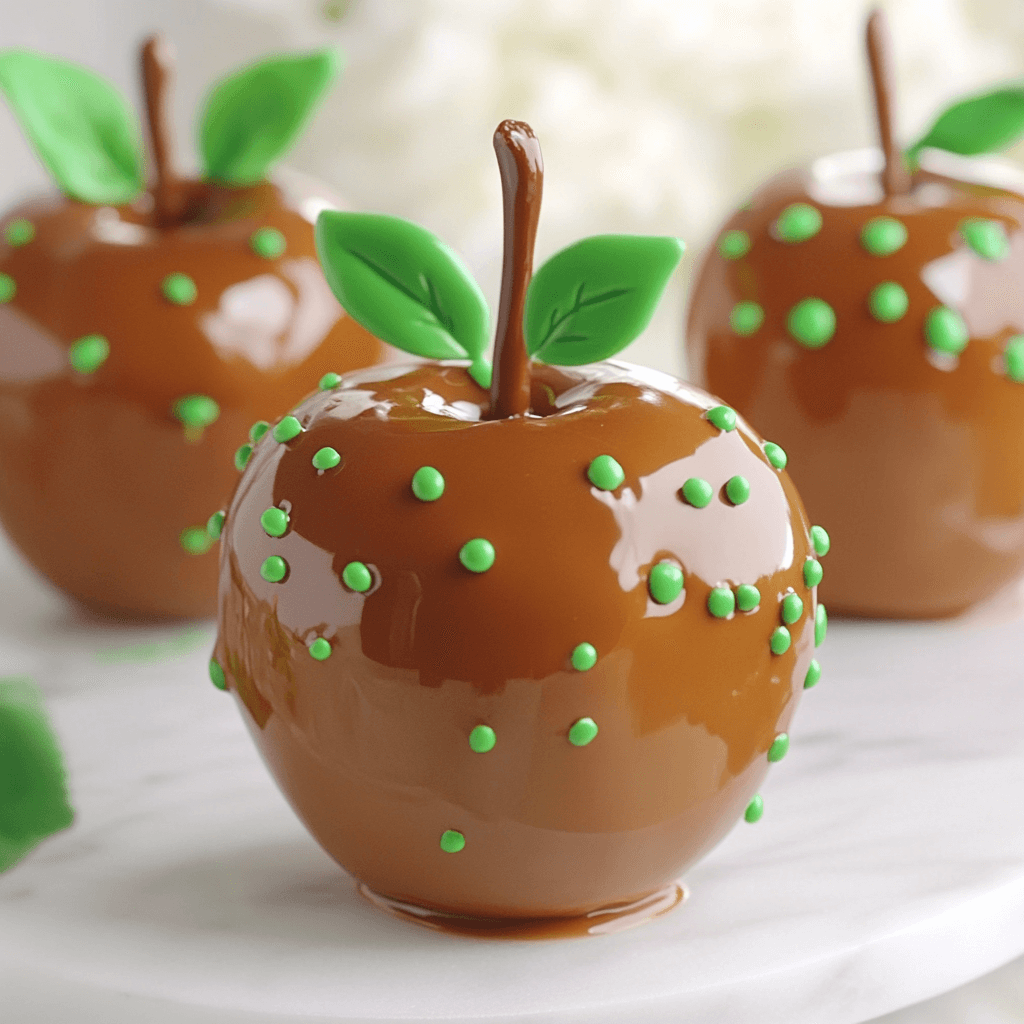
Making the cutest caramel apple is a breeze! With just a few simple ingredients and steps, you can create a delightful dessert that’s both fun and delicious. It’s a quick solution for busy days, and the kids will love getting involved. Plus, the sweet, gooey caramel paired with a crisp apple is a match made in heaven. Trust me, these treats will bring smiles all around!
Ingredients for How to Make the Cutest Caramel Apple
Gathering the right ingredients is the first step in our sweet adventure! Here’s what you’ll need to create these adorable caramel apples:
- Medium apples: Choose your favorite variety! Tart apples like Granny Smith work wonderfully, balancing the sweetness of the caramel.
- Caramel candies: These are the star of the show! Look for high-quality caramel candies for a smooth melt and rich flavor.
- Milk: Just a splash helps the caramel melt beautifully. You can use whole milk or any milk alternative you prefer.
- Chocolate sprinkles: These add a fun, colorful touch! Feel free to get creative with different types of sprinkles.
- Chopped nuts: Pecans or peanuts add a delightful crunch. If you have nut allergies, skip this or use seeds instead.
- Wooden sticks: These are essential for easy dipping and eating. You can find them at craft stores or online.
For exact measurements, check the bottom of the article where you can find everything available for printing. Now, let’s get ready to make some magic happen in the kitchen!
How to Make the Cutest Caramel Apple
Step 1: Prepare the Apples
Start by washing and drying your apples thoroughly. This step is crucial! A clean surface ensures that the caramel adheres perfectly. I like to use a paper towel to dry them well, making sure there’s no moisture left. Trust me, this little detail makes a big difference!
Step 2: Insert Wooden Sticks
Next, take your wooden sticks and insert them into the top of each apple. Aim for the center, pushing them in about halfway. This will make it easier to dip and enjoy later. It’s like giving your apples a little handle for all the fun ahead!
Step 3: Melt the Caramel
Now, let’s melt those caramel candies! In a saucepan, combine the caramel candies and milk over low heat. Stir gently to avoid burning. Keep an eye on it, as caramel can go from perfect to burnt in a flash. Patience is key here, my friends!
Step 4: Dip the Apples
Once your caramel is smooth and gooey, it’s time to dip! Hold each apple by the stick and dip it into the melted caramel. Make sure to coat it fully, letting the excess caramel drip back into the pan. This is where the magic happens, so have fun with it!
Step 5: Drip and Set
After dipping, allow the excess caramel to drip off. Place the apples on a parchment-lined baking sheet. This prevents sticking and makes cleanup a breeze. Let them sit for a moment to firm up before adding any toppings. You’re almost there!
Step 6: Add Toppings
While the caramel is still warm, sprinkle on your chocolate sprinkles or chopped nuts. This is the fun part! Get creative with your toppings. The warmth of the caramel helps them stick, making your cute caramel apples even more delightful.
Step 7: Let Them Set
Finally, let your caramel apples set. You can leave them at room temperature for a while or pop them in the refrigerator for quicker results. Either way, you’ll want to wait until the caramel is firm before serving. The anticipation makes them taste even better!
Tips for Success
- Use a candy thermometer to ensure your caramel reaches the perfect melting point.
- For a smoother caramel, stir continuously while melting to prevent burning.
- Let the apples sit for a few minutes after dipping to allow the caramel to set properly.
- Experiment with toppings! Crushed cookies or coconut can add a fun twist.
- Store your caramel apples in a cool place to keep them fresh and delicious.
Equipment Needed
- Medium saucepan: A non-stick one works best for melting caramel.
- Wooden spoons: Great for stirring; you can also use a silicone spatula.
- Parchment paper: Essential for lining your baking sheet; wax paper can be a substitute.
- Paper towels: Handy for drying apples and cleaning up spills.
Variations
- Chocolate-Dipped: After caramel, dip your apples in melted chocolate for an extra layer of sweetness.
- Nut-Free: Skip the nuts and use crushed pretzels or seeds for a crunchy topping instead.
- Spiced Caramel: Add a pinch of cinnamon or nutmeg to the caramel for a warm, cozy flavor.
- Vegan Option: Use dairy-free caramel candies and plant-based milk for a vegan-friendly treat.
- Fruit Flavors: Mix in a few drops of flavored extracts like vanilla or almond to the caramel for a unique twist.
Serving Suggestions
- Pair your cute caramel apples with a warm cup of cider for a cozy fall treat.
- Serve them on a decorative platter for a festive touch at parties.
- For a fun twist, cut the apples into slices and serve with a caramel dipping sauce.
- Include a variety of toppings to create a caramel apple bar for gatherings.
- Wrap them in clear cellophane for a charming homemade gift!
For more recipes follow me in page Facebook and Pinterest
FAQs about How to Make the Cutest Caramel Apple
Can I use any type of apple for caramel apples?
Absolutely! While tart apples like Granny Smith are fantastic for balancing sweetness, you can use any variety you love. Just make sure they’re firm and fresh for the best results.
How do I store my caramel apples?
To keep your cute caramel apples fresh, store them in a cool place. If it’s warm, refrigerate them in an airtight container. This prevents the caramel from melting and keeps them delicious!
Can I make caramel apples ahead of time?
Yes! You can prepare them a day in advance. Just store them properly to maintain their texture and flavor. They make a great treat for parties or gatherings!
What if my caramel is too thick?
If your caramel is too thick, simply add a little more milk while melting. Stir continuously until you reach the desired consistency. It should be smooth and easy to dip!
Can I customize the toppings on my caramel apples?
Definitely! Get creative with your toppings. From crushed cookies to sprinkles, the options are endless. Just remember to add them while the caramel is still warm for the best adhesion!
Final Thoughts
Making the cutest caramel apple is more than just a recipe; it’s a delightful experience that brings joy to both the cook and the lucky recipients. The smiles on my family’s faces as they take that first bite are priceless. It’s a simple yet rewarding way to create sweet memories together. Plus, the creativity involved in choosing toppings makes each apple unique! So, gather your loved ones, roll up your sleeves, and dive into this fun culinary adventure. Trust me, these adorable treats will become a cherished tradition in your home!