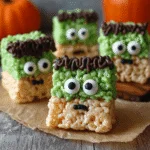
As the leaves turn and the air gets crisp, I find myself craving fun, festive treats. That’s where these Frankenstein Rice Krispie Treats come in! They’re not just a dessert; they’re a delightful way to bring a little spooky magic into your home. Perfect for busy moms like me, this recipe is quick and easy, making it a fantastic solution for last-minute Halloween gatherings. Plus, who can resist a treat that looks this adorable? Let’s dive into this simple yet charming recipe that will impress your loved ones and make your Halloween celebrations even sweeter!
Print
Frankenstein Rice Krispie Treats: A Spooky Delight!
- Total Time: 25 minutes
- Yield: 12 servings 1x
- Diet: Vegetarian
Description
Frankenstein Rice Krispie Treats are a fun and spooky twist on the classic dessert, perfect for Halloween celebrations.
Ingredients
- 3 tablespoons butter
- 1 package (10 oz) marshmallows
- 6 cups Rice Krispies cereal
- Green food coloring
- Chocolate chips (for eyes)
- Black icing (for mouth and hair)
Instructions
- In a large saucepan, melt the butter over low heat.
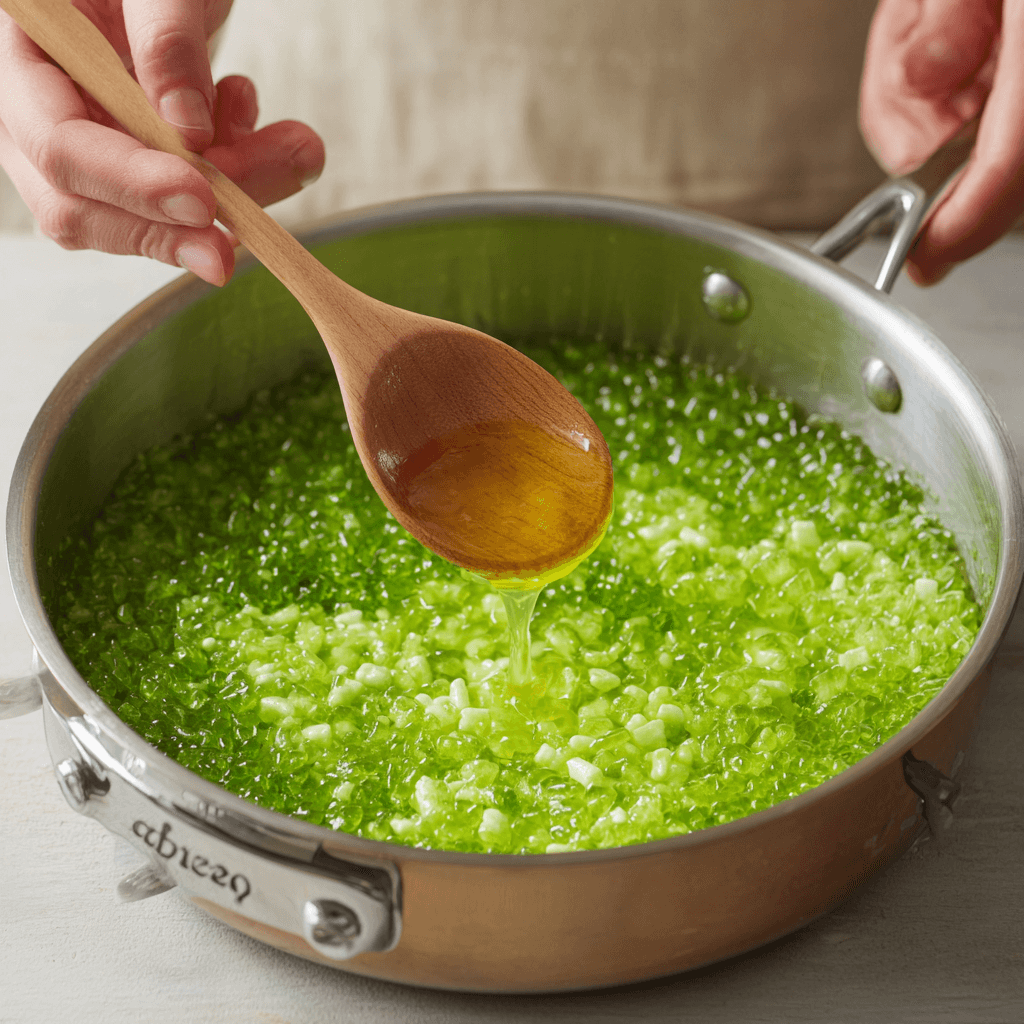
- Add the marshmallows and stir until completely melted.
- Remove from heat and add a few drops of green food coloring, mixing until the desired color is achieved.
- Stir in the Rice Krispies cereal until well coated.
- Press the mixture into a greased 9×13 inch pan and let it cool.
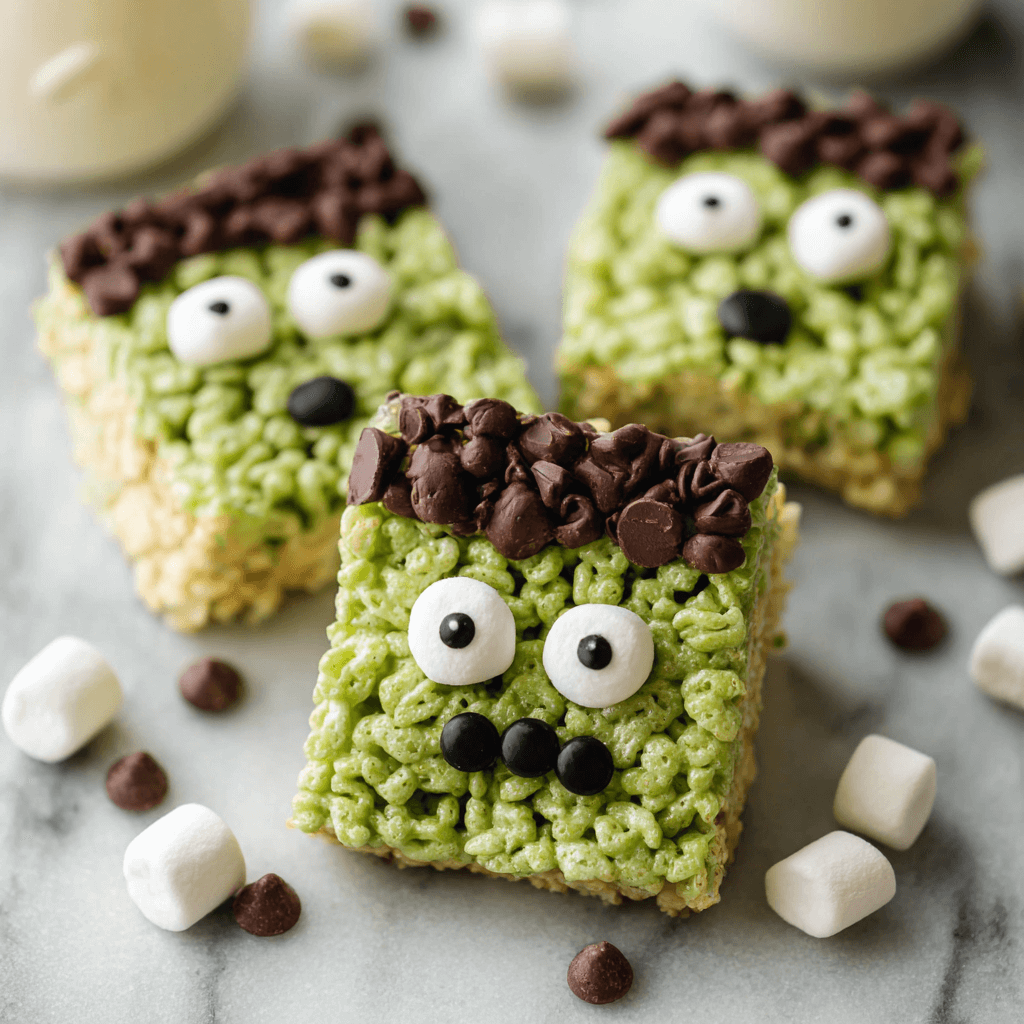
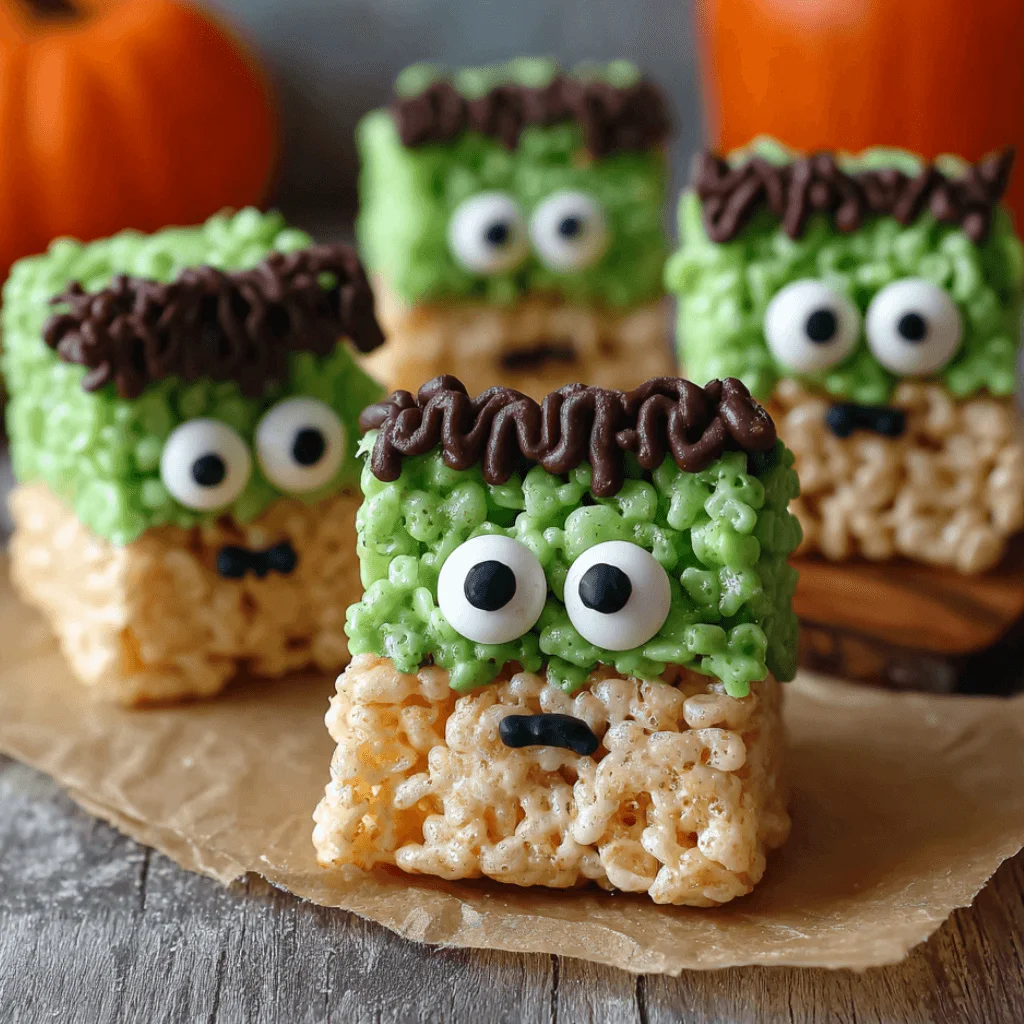
- Once cooled, cut into rectangles to form the heads of Frankenstein.
- Use chocolate chips to create eyes and black icing for the mouth and hair.
Notes
- For a more vibrant green, add more food coloring as needed.
- Store in an airtight container to keep them fresh.
- These treats can be made a day in advance.
- Prep Time: 15 minutes
- Cook Time: 10 minutes
- Category: Dessert
- Method: No-Bake
- Cuisine: American
Nutrition
- Serving Size: 1 treat
- Calories: 150
- Sugar: 10g
- Sodium: 50mg
- Fat: 5g
- Saturated Fat: 3g
- Unsaturated Fat: 2g
- Trans Fat: 0g
- Carbohydrates: 22g
- Fiber: 0g
- Protein: 1g
- Cholesterol: 10mg
Keywords: Frankenstein Rice Krispie Treats, Halloween treats, spooky desserts
Table of Contents
Why You’ll Love This Frankenstein Rice Krispie Treats
These Frankenstein Rice Krispie Treats are a breeze to whip up, making them perfect for busy days. With just a few simple ingredients, you can create a spooky delight that will have everyone smiling. They’re not only quick to make, but they also taste amazing! Plus, the kids will love helping out, turning this treat into a fun family activity. It’s a win-win for everyone!

Ingredients for Frankenstein Rice Krispie Treats
Gathering the right ingredients is the first step to creating these delightful Frankenstein Rice Krispie Treats. Here’s what you’ll need:
- Butter: This adds richness and helps bind the treats together. I prefer unsalted butter for better control over the sweetness.
- Marshmallows: The star of the show! They provide that gooey, sweet texture we all love. Mini marshmallows work great, but regular ones can be cut up.
- Rice Krispies cereal: This gives the treats their signature crunch. You can also use other puffed cereals if you want to mix things up.
- Green food coloring: A few drops will transform your treats into Frankenstein’s iconic green face. Feel free to adjust the amount for a more vibrant hue!
- Chocolate chips: These will serve as the eyes, adding a touch of sweetness and a fun look. You can use dark, milk, or even white chocolate chips.
- Black icing: Perfect for creating the mouth and hair details. You can find this in squeeze tubes at most grocery stores, or make your own with powdered sugar and cocoa.
For exact quantities, check the bottom of the article where you can find a printable version of the recipe. Happy cooking!
How to Make Frankenstein Rice Krispie Treats
Now that we have our ingredients ready, let’s get to the fun part—making these adorable Frankenstein Rice Krispie Treats! Follow these simple steps, and you’ll have a spooky dessert in no time.
Step 1: Melt the Butter
Start by placing a large saucepan over low heat. Add the butter and let it melt slowly. Stir occasionally to prevent it from burning. The goal is to have it completely melted and bubbly, but not browned. This step is crucial for achieving that perfect gooey texture!
Step 2: Add Marshmallows
Once the butter is melted, it’s time to add the marshmallows. Pour them into the saucepan and stir continuously. Keep stirring until the marshmallows are completely melted and smooth. This will create a luscious, sticky mixture that binds everything together. Trust me, the aroma will be heavenly!
Step 3: Color the Mixture
Now comes the fun part—adding color! Remove the saucepan from heat and add a few drops of green food coloring. Stir well until the mixture turns a vibrant green. If you want a more intense color, feel free to add more food coloring. Just remember, a little goes a long way!
Step 4: Combine with Rice Krispies
Next, it’s time to add the Rice Krispies cereal. Pour it into the green marshmallow mixture and stir gently. Make sure every piece of cereal is well coated. This step is where the magic happens, as the crunchy cereal combines with the gooey marshmallows to create that classic treat texture!
Step 5: Press into Pan
Now, grab a greased 9×13 inch pan. Pour the mixture into the pan and use a spatula or your hands (lightly greased) to press it down evenly. Make sure it’s packed tightly, so the treats hold their shape. Let it cool for about 30 minutes. Patience is key here!
Step 6: Cut and Decorate
Once cooled, it’s time to cut your treats into rectangles. These will be the heads of Frankenstein! Use chocolate chips to create eyes, placing them on the top of each rectangle. Then, grab your black icing and pipe on a mouth and some hair. Get creative! Each treat can have its own personality.

Tips for Success
- Use fresh marshmallows for the best texture and flavor.
- Grease your hands when pressing the mixture into the pan to prevent sticking.
- For easier cutting, let the treats cool completely before slicing.
- Experiment with different colors for a fun twist on Frankenstein!
- Store leftovers in an airtight container to keep them fresh and chewy.
Equipment Needed
- Large saucepan: A non-stick pan works best for easy cleanup.
- Spatula: Use a silicone spatula for mixing and pressing the treats.
- 9×13 inch pan: Any similar-sized baking dish will do.
- Measuring cups: Essential for accurate ingredient portions.
- Grease spray or butter: For easy removal of the treats from the pan.
Variations
- Chocolate Rice Krispie Treats: Substitute half of the Rice Krispies with chocolate-flavored cereal for a rich twist.
- Nut Butter Addition: Stir in a few tablespoons of almond or peanut butter for added flavor and creaminess.
- Vegan Option: Use dairy-free butter and vegan marshmallows to make these treats suitable for a vegan diet.
- Gluten-Free Version: Ensure your Rice Krispies are labeled gluten-free for a safe treat for those with gluten sensitivities.
- Decorative Toppings: Add sprinkles or edible glitter for an extra festive touch that kids will love!
Serving Suggestions
- Pair these Frankenstein Rice Krispie Treats with a spooky punch or apple cider for a festive drink.
- Serve them on a Halloween-themed platter to enhance the spooky vibe.
- For a fun twist, add gummy worms or candy eyes as extra decorations.
- These treats make great party favors wrapped in clear bags with a spooky tag!
For more recipes follow me in page Facebook and Pinterest
FAQs about Frankenstein Rice Krispie Treats
Can I make these treats ahead of time?
Absolutely! These Frankenstein Rice Krispie Treats can be made a day in advance. Just store them in an airtight container to keep them fresh. This makes them perfect for busy moms preparing for Halloween parties!
What can I use instead of black icing?
If you don’t have black icing, you can use melted dark chocolate or even a chocolate frosting. Just pipe it on with a small bag or drizzle it for a fun effect!
How do I store leftover treats?
To keep your treats fresh, store them in an airtight container at room temperature. They should stay delicious for about a week, but I doubt they’ll last that long!
Can I use different colors for the treats?
Of course! While green is classic for Frankenstein, you can experiment with other colors. Think orange for a pumpkin twist or purple for a spooky vibe!
Are these treats suitable for kids with allergies?
These treats can be made allergy-friendly! Just ensure you use gluten-free Rice Krispies and check the labels on marshmallows and chocolate chips for any allergens. Always best to double-check!
Final Thoughts
Creating these Frankenstein Rice Krispie Treats is more than just making a dessert; it’s about crafting memories with your loved ones. The joy on your kids’ faces as they help decorate their spooky creations is priceless. Plus, the simplicity of this recipe means you can whip it up even on the busiest days. As you gather around to enjoy these delightful treats, you’ll find that they bring a little extra magic to your Halloween celebrations. So, roll up your sleeves, get creative, and let the fun begin—because these treats are sure to be a hit!

