
As the leaves turn golden and the air gets crisp, I find myself craving cozy flavors that warm the soul. Fall snacks are the perfect way to embrace this beautiful season. Whether you’re a busy mom juggling work and family or a professional looking for a quick treat, these delightful bites will satisfy your cravings without taking up too much time. Imagine enjoying a sweet, pumpkin-infused snack that not only tastes amazing but also nourishes your body. Trust me, these fall snacks will become your go-to recipe for gatherings or a simple afternoon pick-me-up!
Print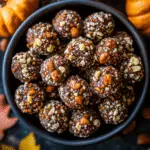
Fall snacks that will delight your taste buds!
- Total Time: 2 hours 15 minutes
- Yield: 12 bars 1x
- Diet: Vegan
Description
A collection of delicious fall snacks that are perfect for enjoying the flavors of the season.
Ingredients
- 1 cup pumpkin puree
- 1 cup oats
- 1/2 cup almond butter
- 1/4 cup honey or maple syrup
- 1 tsp cinnamon
- 1/2 tsp nutmeg
- 1/4 cup chocolate chips (optional)
Instructions
- In a large bowl, mix together the pumpkin puree, almond butter, and honey or maple syrup until well combined.
- Add the oats, cinnamon, nutmeg, and chocolate chips (if using) to the mixture and stir until everything is evenly coated.
- Line a baking dish with parchment paper and spread the mixture evenly in the dish.
- Refrigerate for at least 2 hours to set.
- Once set, cut into bars or squares and enjoy!
Notes
- These snacks can be stored in an airtight container in the refrigerator for up to a week.
- Feel free to add nuts or dried fruits for extra texture and flavor.
- For a vegan option, use maple syrup instead of honey.
- Prep Time: 15 minutes
- Cook Time: 0 minutes
- Category: Snacks
- Method: No-bake
- Cuisine: American
Nutrition
- Serving Size: 1 bar
- Calories: 150
- Sugar: 8g
- Sodium: 5mg
- Fat: 7g
- Saturated Fat: 1g
- Unsaturated Fat: 6g
- Trans Fat: 0g
- Carbohydrates: 20g
- Fiber: 3g
- Protein: 4g
- Cholesterol: 0mg
Keywords: fall snacks, pumpkin snacks, healthy snacks, no-bake snacks
Table of Contents
Why You’ll Love This Fall Snacks
These fall snacks are a dream come true for anyone short on time. With just a few simple ingredients, you can whip up a delicious treat in no time. They’re no-bake, which means less mess and more time to enjoy the flavors of fall. Plus, the combination of pumpkin, oats, and warm spices creates a taste that’s both comforting and satisfying. You’ll love how easy it is to indulge in something healthy!
Ingredients for Fall Snacks
Gathering the right ingredients is the first step to creating these delightful fall snacks. Here’s what you’ll need:
- Pumpkin puree: This creamy base brings that signature fall flavor. You can use canned or homemade puree for convenience.
- Oats: Rolled oats add a hearty texture and are packed with fiber. They help keep you full and satisfied.
- Almond butter: This nutty spread provides healthy fats and a rich taste. If you have a nut allergy, feel free to swap it for sunflower seed butter.
- Honey or maple syrup: Both sweeteners add a touch of natural sweetness. For a vegan option, stick with maple syrup.
- Cinnamon: This warm spice is a must for fall snacks. It not only enhances flavor but also offers health benefits.
- Nutmeg: Just a pinch of nutmeg adds depth and warmth, making your snacks feel extra cozy.
- Chocolate chips (optional): Who can resist a little chocolate? Adding these gives a delightful surprise in every bite.
For exact measurements, check the bottom of the article where you can find everything listed for easy printing. Enjoy the process of gathering these ingredients, as each one contributes to the deliciousness of your fall snacks!
How to Make Fall Snacks
Now that you have all your ingredients ready, let’s dive into making these delightful fall snacks! The process is simple and fun, perfect for a busy day. Follow these easy steps, and you’ll have a tasty treat in no time!
Step 1: Mix the Base
Start by grabbing a large bowl. In it, combine the pumpkin puree, almond butter, and honey or maple syrup. Use a spatula or a whisk to mix everything together until it’s smooth and well blended. This creamy base is where the magic begins, bringing that rich pumpkin flavor to life!
Step 2: Add the Dry Ingredients
Next, it’s time to add the dry ingredients. Sprinkle in the oats, cinnamon, nutmeg, and those optional chocolate chips if you’re feeling indulgent. Stir everything together until the oats are evenly coated with the pumpkin mixture. The aroma of cinnamon and nutmeg will fill your kitchen, making it feel like fall!
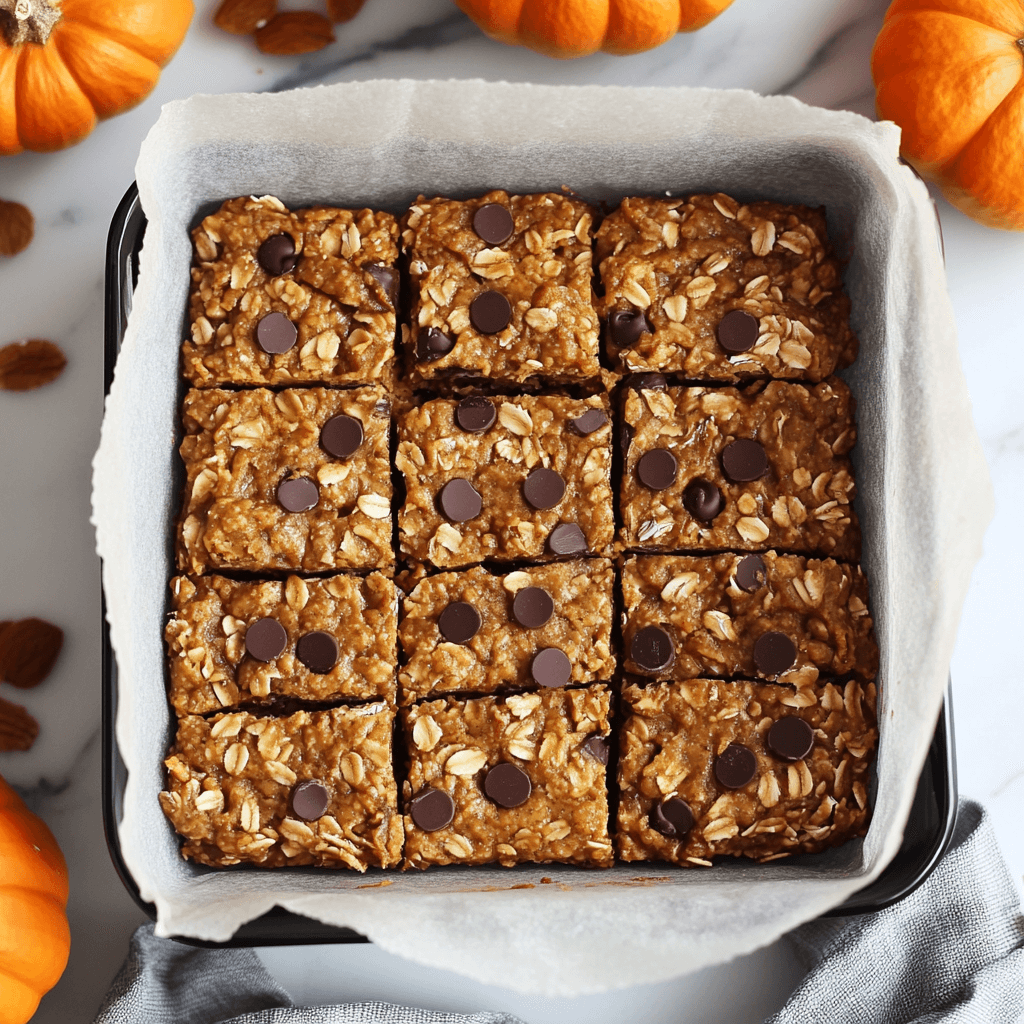
Step 3: Prepare the Dish
Now, let’s get your baking dish ready. Line it with parchment paper, which makes for easy removal later. Once lined, spread the pumpkin mixture evenly in the dish. Use a spatula to press it down gently, ensuring it’s compact. This step helps your fall snacks hold together beautifully!
Step 4: Chill to Set
It’s time for a little patience! Place the dish in the refrigerator and let it chill for at least 2 hours. This step is crucial as it allows the mixture to firm up, making it easier to cut into bars. While you wait, you can enjoy a cup of tea or catch up on your favorite show!
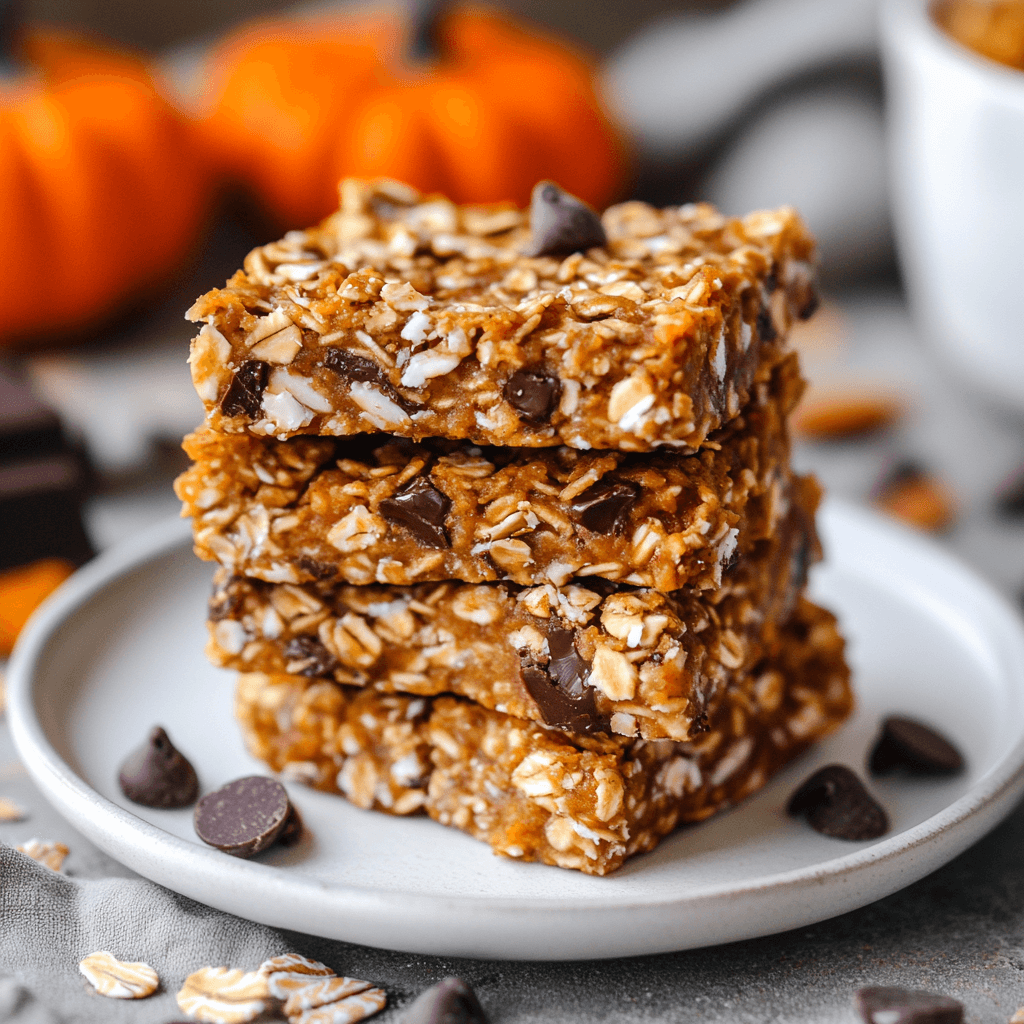
Step 5: Cut and Serve
Once the mixture is set, take it out of the fridge. Carefully lift the parchment paper to remove the entire block from the dish. Use a sharp knife to cut it into bars or squares, depending on your preference. Now, it’s time to enjoy your delicious fall snacks! They’re perfect for sharing or savoring all by yourself.
Tips for Success
- Make sure your pumpkin puree is smooth for the best texture.
- Use a spatula to mix thoroughly; it helps combine all the flavors.
- Don’t skip the chilling time; it’s essential for the bars to hold together.
- Experiment with add-ins like nuts or dried fruits for extra crunch.
- Store leftovers in an airtight container to keep them fresh longer.
Equipment Needed
- Large bowl: A mixing bowl is essential. You can also use a stand mixer if you prefer.
- Spatula: This handy tool helps mix and spread the ingredients. A wooden spoon works too!
- Baking dish: A 9×9 inch dish is perfect. Any similar-sized dish will do.
- Parchment paper: Use this for easy cleanup. Aluminum foil can be a substitute.
Variations of Fall Snacks
- Nutty Delight: Add chopped walnuts or pecans for a crunchy texture and extra nutrients.
- Fruit Fusion: Mix in dried cranberries or raisins for a sweet and chewy surprise in every bite.
- Spicy Kick: For a little heat, add a pinch of cayenne pepper or ginger to the mixture.
- Chocolate Lovers: Use dark chocolate chips or chunks for a richer chocolate flavor.
- Gluten-Free Option: Substitute regular oats with certified gluten-free oats to make these snacks suitable for gluten-sensitive diets.
Serving Suggestions for Fall Snacks
- Pair these fall snacks with a warm cup of spiced chai or apple cider for a cozy treat.
- Serve them alongside a fresh fruit platter for a colorful and nutritious spread.
- For a festive touch, drizzle a little extra honey or maple syrup on top before serving.
- Wrap them individually in parchment paper for a delightful grab-and-go option.
- Garnish with a sprinkle of cinnamon for an extra pop of flavor and presentation.
For more recipes follow me in page Facebook and Pinterest
FAQs about Fall Snacks
Can I make these fall snacks ahead of time?
Absolutely! These fall snacks are perfect for meal prep. You can make them a few days in advance and store them in an airtight container in the refrigerator. They’ll stay fresh and delicious for up to a week!
Are these snacks suitable for kids?
Yes! These fall snacks are not only tasty but also packed with nutrients. Kids will love the sweet pumpkin flavor and the surprise of chocolate chips. Plus, they’re a healthier alternative to store-bought treats!
Can I substitute the almond butter?
Definitely! If you have nut allergies or prefer a different flavor, you can use sunflower seed butter or even tahini. Both options will work beautifully in this recipe!
How can I make these fall snacks more festive?
To add a festive touch, consider mixing in some chopped pecans or walnuts. You can also sprinkle a little extra cinnamon or nutmeg on top before serving. It’s all about those cozy fall vibes!
What’s the best way to store leftovers?
Store your fall snacks in an airtight container in the refrigerator. This keeps them fresh and prevents them from drying out. You can also freeze them for longer storage; just thaw before enjoying!
Final Thoughts
Creating these fall snacks is more than just a cooking experience; it’s a delightful journey into the heart of the season. The warm spices and rich pumpkin flavor evoke memories of cozy gatherings and crisp autumn days. I love how easy they are to make, allowing me to share delicious treats with my family without the fuss. Whether you’re enjoying them with a warm drink or packing them for a busy day, these snacks bring joy and comfort. So, roll up your sleeves and embrace the flavors of fall—your taste buds will thank you!