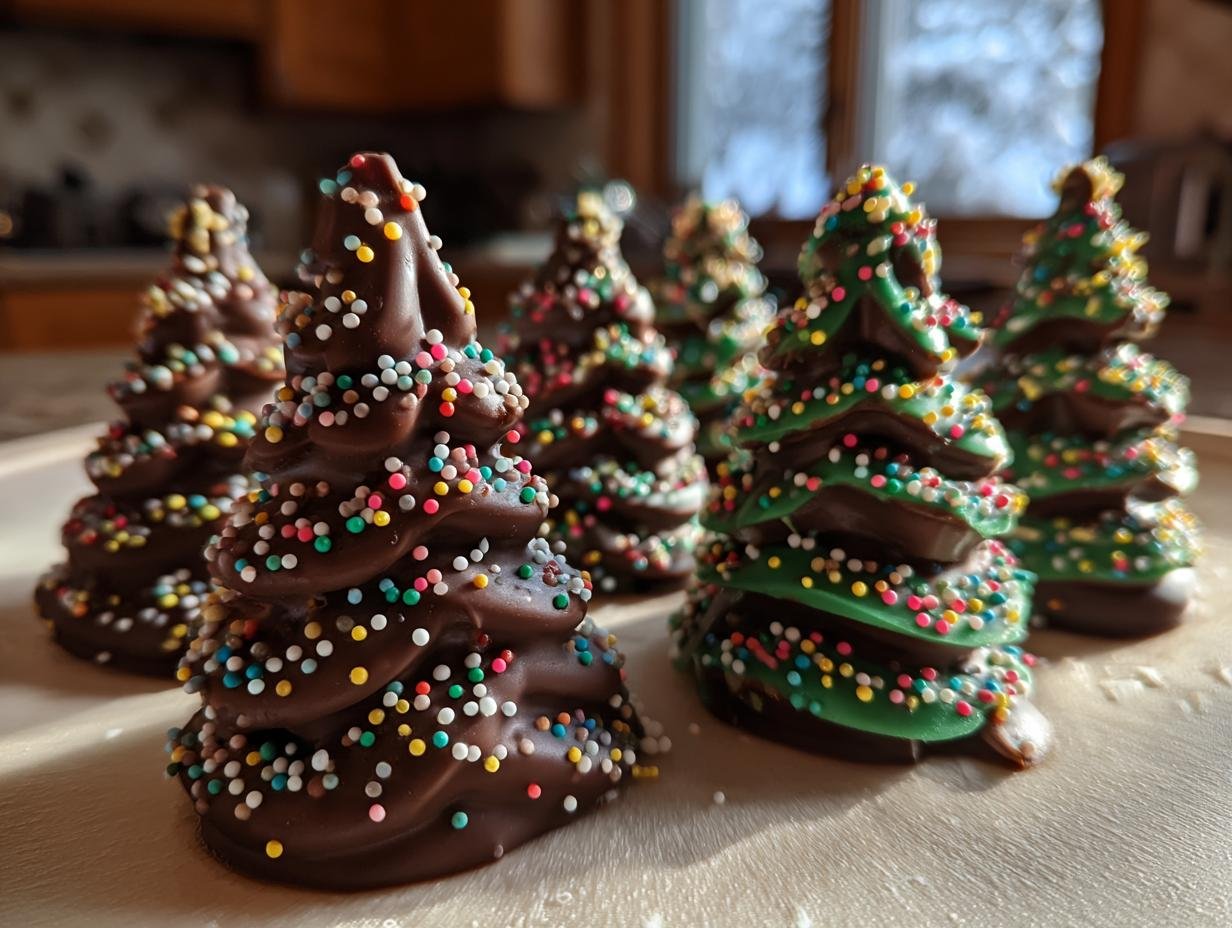
Oh, the holidays are just around the corner, and what better way to celebrate than with some delightful Chocolate Peanut Butter Holiday Trees? These adorable treats not only look festive but are a total breeze to whip up! Seriously, they’re a no-bake dessert that’s perfect for both the kitchen novice and the experienced baker. Imagine shaping delicious peanut butter goodness into charming little trees and then dipping them in rich chocolate – it’s as fun as it sounds!
What I love most about these Chocolate Peanut Butter Holiday Trees is their versatility. You can get creative with decorations, and trust me, the sprinkles add that extra holiday sparkle! Plus, they’re a hit with kids and adults alike. The creamy peanut butter paired with the smooth chocolate creates a sweet combination that’s hard to resist. So gather your loved ones, roll up your sleeves, and let’s make some magical memories in the kitchen this holiday season!
Ingredients List
To make your delightful Chocolate Peanut Butter Holiday Trees, you’ll need the following ingredients:
- 1 cup creamy peanut butter – the star of the show, bringing that rich, nutty flavor
- 1 cup powdered sugar – for sweetness and just the right texture
- 1 cup chocolate chips – choose your favorite, whether it’s milk chocolate for sweetness or dark for a richer taste
- 1 tablespoon coconut oil – this helps the chocolate melt smoothly and gives a lovely sheen
- Green food coloring – to give those trees their festive look!
- Sprinkles for decoration – because who doesn’t love a little extra sparkle during the holidays?
Make sure to have these on hand, and you’ll be all set to create these adorable treats!
How to Prepare Chocolate Peanut Butter Holiday Trees
Now that you’ve got your ingredients ready, let’s dive into the fun part: making those delightful Chocolate Peanut Butter Holiday Trees! I promise, following these steps will have you creating festive treats in no time. Grab a mixing bowl, and let’s get started!
Step-by-Step Instructions
- Mix the Peanut Butter and Sugar: In a large bowl, combine 1 cup of creamy peanut butter with 1 cup of powdered sugar. Use a spatula or a sturdy spoon to mix until it’s smooth and well combined. You want it to be creamy and slightly thick, almost like cookie dough.
- Shape Your Trees: Once your mixture is ready, take small portions and mold them into tree shapes on a baking sheet lined with parchment paper. Don’t stress about making them perfect; each tree can have its own character. Aim for about 12 trees, and you can adjust the size as you like!
- Melt the Chocolate: Grab a microwave-safe bowl and add 1 cup of chocolate chips along with 1 tablespoon of coconut oil. Microwave in 30-second intervals, stirring in between until it’s completely melted and smooth. Be careful not to overheat it – burnt chocolate is a sad sight!
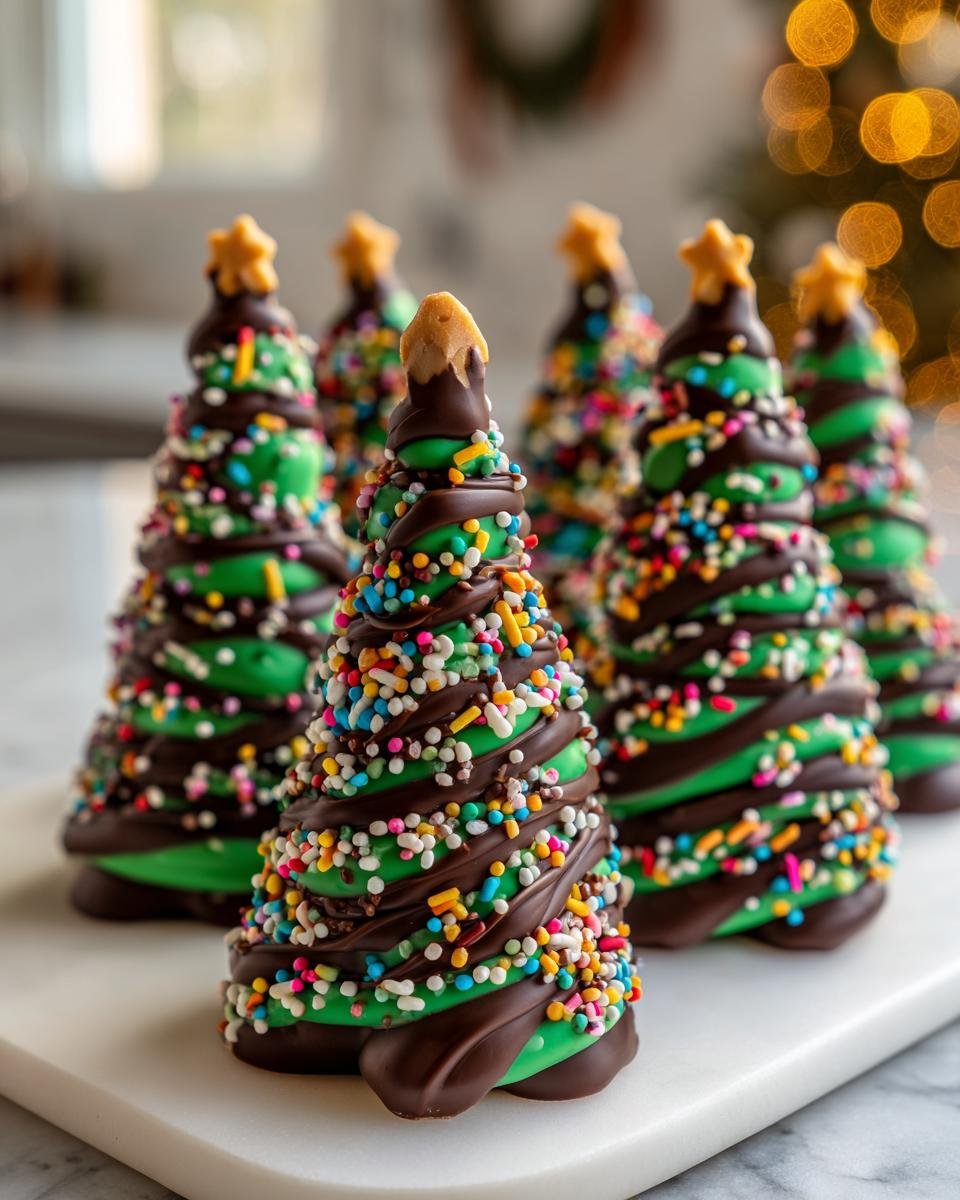
- Add Color to the Chocolate: Once your chocolate is melted, add a few drops of green food coloring. Stir until the color is evenly distributed. You can add more coloring if you want a bolder green shade for your trees!
- Dip the Trees: Now comes the fun part! Take each tree and dip it into the melted chocolate, ensuring it’s fully coated. Let the excess chocolate drip off before placing them back on the parchment-lined baking sheet.
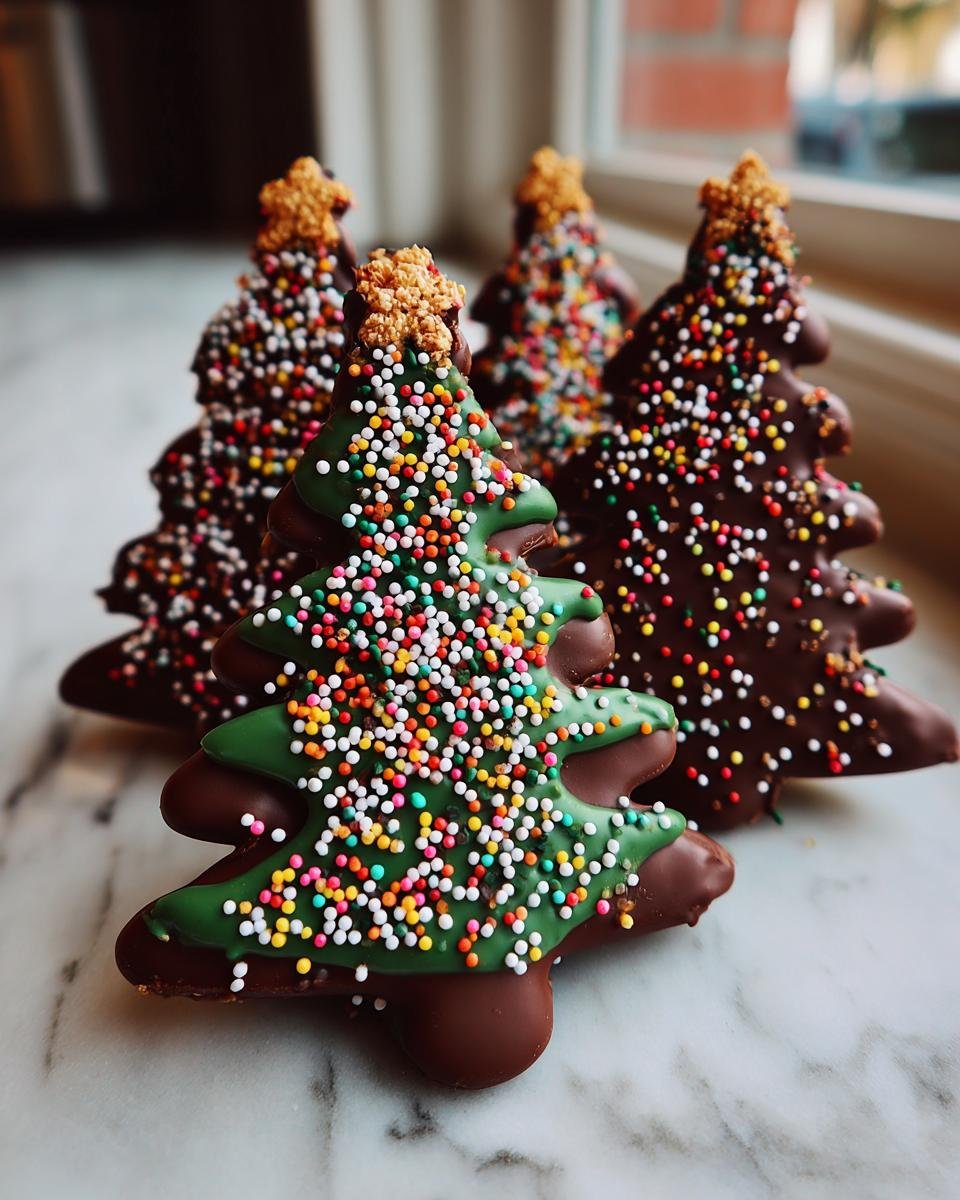
- Sprinkle for Festivity: Before the chocolate sets, sprinkle your favorite festive decorations on top! This is where you can really get creative – think colorful sprinkles, edible glitter, or even tiny candy stars!
- Chill to Set: Finally, pop your baking sheet in the refrigerator and let the Chocolate Peanut Butter Holiday Trees chill for about 15-20 minutes, or until the chocolate hardens. This step is crucial for keeping those trees intact when you serve them!
And voilà! You’ve just created a batch of delightful, festive treats that are sure to spread holiday cheer. Enjoy the process and don’t forget to sneak a taste of that delicious peanut butter-chocolate combo along the way!
Why You’ll Love This Recipe
There are so many reasons to adore these Chocolate Peanut Butter Holiday Trees. Here are just a few that might make you want to jump into the kitchen right now:
- Quick to Make: With just 25 minutes from start to finish, you can whip these up in no time. Perfect for last-minute holiday gatherings!
- No-Bake Fun: No ovens, no fuss! This recipe is all about enjoying the process without the stress of baking.
- Festive and Fun: They’re not just tasty; they’re adorable! Shaping them into little trees adds a fun holiday spirit to your dessert table.
- Delicious Flavor: The combination of creamy peanut butter and rich chocolate is a classic pairing that pleases every palate. Trust me, it’s hard to eat just one!
- Customizable Decorations: Get creative with your toppings! From colorful sprinkles to edible glitter, you can make each tree as unique as you want.
- Kid-Friendly Activity: This is a fantastic recipe to make with kids. They’ll love shaping the trees and decorating them, making it a great family bonding experience.
So, whether you’re hosting a holiday party or just looking for a sweet treat to brighten your day, these Chocolate Peanut Butter Holiday Trees are sure to be a hit!
Tips for Success
To ensure your Chocolate Peanut Butter Holiday Trees turn out perfectly every time, here are some of my favorite tips and tricks to keep in mind:
- Get the Right Consistency: When mixing the peanut butter and powdered sugar, don’t rush it! You want that mixture to be smooth and slightly thick. If it feels too sticky, a touch more powdered sugar can help balance it out.
- Shape with Care: To make shaping the trees easier, you can lightly coat your hands with a bit of powdered sugar. This prevents the mixture from sticking too much and helps you mold those cute little trees more easily!
- Be Mindful with Chocolate: When melting the chocolate, remember to stir it frequently. Microwaves can vary, so checking every 30 seconds ensures you won’t end up with burnt chocolate. If you do overheat it, adding a splash of coconut oil can sometimes save the day!
- Chill for Best Results: Don’t rush the chilling step! Letting the chocolate set in the fridge for a full 20 minutes ensures that your trees firm up nicely and hold their shape when you serve them.
- Get Creative with Decorations: Use a variety of sprinkles, edible glitter, or even crushed candies to make your trees pop! You can even use a piping bag to drizzle some extra melted chocolate over the top for a fancy touch.
- Experiment with Flavors: Feel free to tweak the recipe! You can mix in some crushed nuts or even a pinch of sea salt to enhance that chocolate-peanut butter combo. The sky’s the limit!
With these tips, you’ll not only create beautiful Chocolate Peanut Butter Holiday Trees but also have a blast doing it. Enjoy the festive spirit and the delicious results!
Nutritional Information
As you indulge in your delightful Chocolate Peanut Butter Holiday Trees, you might be curious about what’s inside these festive treats. Here’s the estimated nutritional breakdown for a serving size of one tree:
- Calories: 150
- Fat: 9g
- Saturated Fat: 3g
- Unsaturated Fat: 6g
- Trans Fat: 0g
- Sodium: 50mg
- Carbohydrates: 15g
- Fiber: 1g
- Sugar: 10g
- Protein: 3g
- Cholesterol: 0mg
Keep in mind that these values are estimates and can vary based on specific ingredients and portion sizes. Enjoy these treats in moderation, and let the holiday cheer fill your heart (and your taste buds)!
FAQ Section
Got questions about making your Chocolate Peanut Butter Holiday Trees? Don’t worry; I’ve got you covered! Here are some common queries I hear and the answers to help you out:
- Can I store Chocolate Peanut Butter Holiday Trees? Absolutely! Just keep them in an airtight container in the fridge. They’ll stay fresh for about a week, but I doubt they’ll last that long!
- Can I use different types of chocolate? Definitely! While I love the classic taste of milk chocolate, dark chocolate works wonderfully too. You can even experiment with white chocolate for a fun twist!
- What if I don’t have coconut oil? No problem! You can substitute with another neutral oil like vegetable oil or even butter. Just make sure it’s melted and mixed in well for that smooth chocolate.
- Can I make these gluten-free? Yes! These Chocolate Peanut Butter Holiday Trees are naturally gluten-free since they use no flour. Just ensure that your powdered sugar and any decorations are also gluten-free!
- How can I make these dairy-free? To keep it dairy-free, use dairy-free chocolate chips and coconut oil instead of butter. There are plenty of delicious alternatives available that work perfectly!
- Can I freeze these trees? Yes, you can! Just make sure they’re in a tightly sealed container. They’ll last about a month in the freezer. When you’re ready to enjoy them, just let them thaw in the fridge.
- How do I adjust the sweetness? If you want to tone down the sweetness, you can reduce the amount of powdered sugar in the peanut butter mixture. Just remember that it may change the texture a bit, so keep an eye on it!
Hopefully, these answers help you feel more confident in making your Chocolate Peanut Butter Holiday Trees. If you have any other questions, feel free to reach out – I’m here to help you create the best holiday treats!
Storage & Reheating Instructions
Once you’ve whipped up your delightful Chocolate Peanut Butter Holiday Trees, you might be wondering how to store any leftovers (if there are any!). The good news is these treats are super easy to store and keep their deliciousness for quite a while!
To keep your Chocolate Peanut Butter Holiday Trees fresh, simply place them in an airtight container. If you have any extra space, you can even layer them with parchment paper to prevent them from sticking together. Store the container in the refrigerator, and they’ll stay tasty for about a week. Trust me, they make for a fantastic snack after the holiday feasts!
If you want to keep them around even longer, you can freeze your holiday trees! Just make sure they’re in a tightly sealed container or a freezer bag to protect them from freezer burn. They’ll last for about a month in the freezer. When you’re ready to enjoy them, just pull out however many you’d like and let them thaw in the refrigerator for a few hours. You’ll be amazed at how delicious they still taste!
So go ahead, make a big batch and enjoy them throughout the holiday season – or save some for a special treat later on. Happy snacking!
For more recipes follow me in page Facebook and Pinterest.
Print
Chocolate Peanut Butter Holiday Trees: 7 Festive Treats to Make
- Total Time: 25 minutes
- Yield: 12 trees 1x
- Diet: Vegetarian
Description
Chocolate Peanut Butter Holiday Trees are festive treats made with chocolate and peanut butter, shaped like trees.
Ingredients
- 1 cup creamy peanut butter
- 1 cup powdered sugar
- 1 cup chocolate chips
- 1 tablespoon coconut oil
- Green food coloring
- Sprinkles for decoration
Instructions
- In a bowl, mix peanut butter and powdered sugar until smooth.
- Shape the mixture into tree shapes on a baking sheet.
- Melt chocolate chips and coconut oil in a microwave.
- Add green food coloring to the melted chocolate.
- Dip each tree into the chocolate mixture.
- Place back on the baking sheet and add sprinkles.
- Refrigerate until chocolate hardens.
Notes
- Store in an airtight container.
- Can use dark chocolate instead of milk chocolate.
- Adjust the food coloring for desired shade.
- Prep Time: 20 minutes
- Cook Time: 5 minutes
- Category: Dessert
- Method: No-bake
- Cuisine: American
Nutrition
- Serving Size: 1 tree
- Calories: 150
- Sugar: 10g
- Sodium: 50mg
- Fat: 9g
- Saturated Fat: 3g
- Unsaturated Fat: 6g
- Trans Fat: 0g
- Carbohydrates: 15g
- Fiber: 1g
- Protein: 3g
- Cholesterol: 0mg
Keywords: Chocolate Peanut Butter Holiday Trees, holiday treats, no-bake dessert