Ah, the magic of caramelized onions! These golden, sweet morsels can transform any dish into a gourmet delight. As a busy mom, I know how precious time is, and this recipe is a quick solution for those hectic days when you want to impress your loved ones without spending hours in the kitchen. The rich, sweet flavor of caramelized onions adds depth to everything from burgers to pasta. Trust me, once you master this simple technique, you’ll find yourself reaching for these beauties again and again. Let’s dive into the world of caramelized onions together!
Print
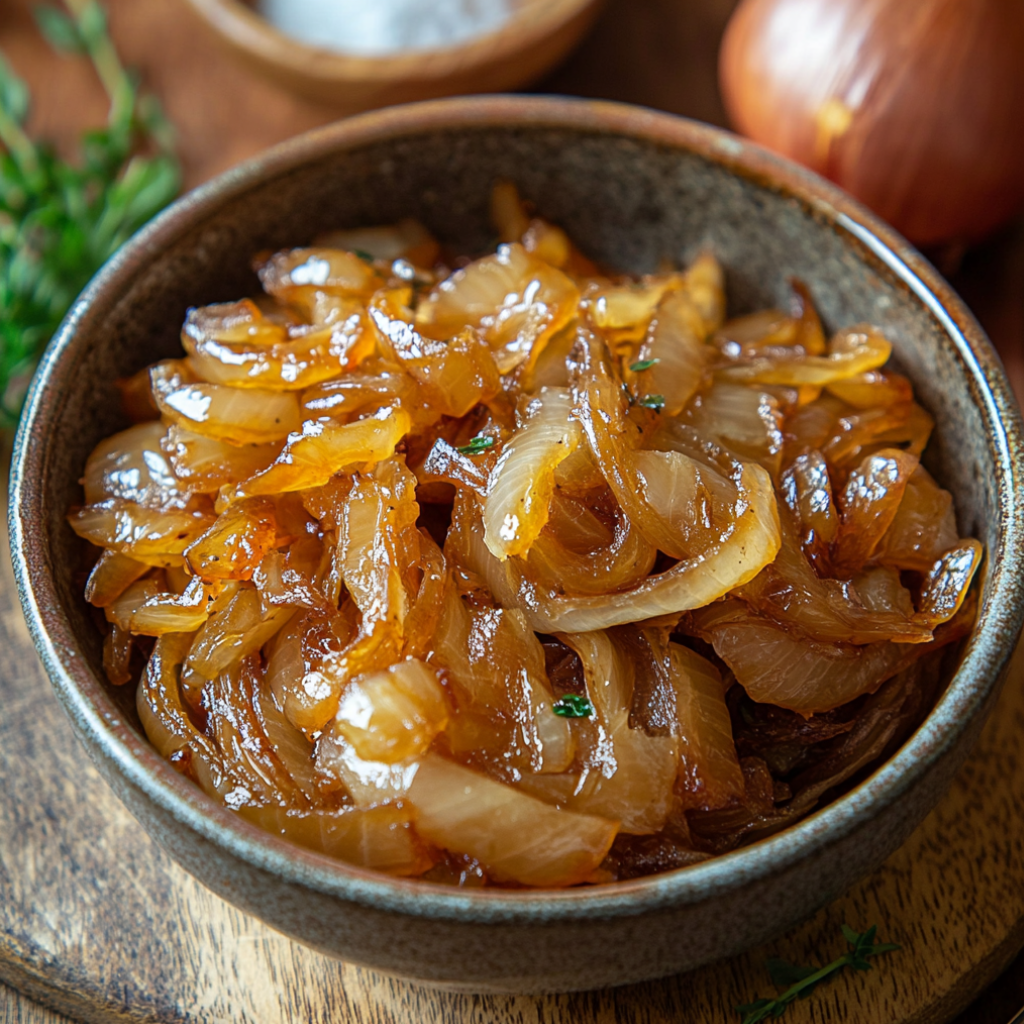
Carmelized onions transform your dishes into gourmet delights!
- Total Time: 50 minutes
- Yield: 2 cups 1x
- Diet: Vegetarian
Description
Carmelized onions are a delicious and versatile ingredient that can elevate any dish, adding a rich, sweet flavor.
Ingredients
- 2 large onions, thinly sliced
- 2 tablespoons olive oil
- 1 tablespoon butter
- Salt, to taste
- 1 teaspoon sugar (optional)
Instructions
- Heat olive oil and butter in a large skillet over medium heat.
- Add the sliced onions and a pinch of salt.
- Cook the onions, stirring occasionally, for about 10 minutes until they start to soften.
- If desired, sprinkle sugar over the onions to enhance sweetness.
- Continue cooking for another 20-30 minutes, stirring frequently, until the onions are deeply browned and caramelized.
- Remove from heat and let cool slightly before using in your favorite dishes.
Notes
- For deeper flavor, you can add a splash of balsamic vinegar during the last few minutes of cooking.
- Store leftover caramelized onions in an airtight container in the refrigerator for up to a week.
- These can be frozen for longer storage; just thaw before using.
- Prep Time: 10 minutes
- Cook Time: 30-40 minutes
- Category: Condiment
- Method: Sautéing
- Cuisine: French
Nutrition
- Serving Size: 1/4 cup
- Calories: 60
- Sugar: 5g
- Sodium: 5mg
- Fat: 4g
- Saturated Fat: 1g
- Unsaturated Fat: 3g
- Trans Fat: 0g
- Carbohydrates: 7g
- Fiber: 1g
- Protein: 1g
- Cholesterol: 5mg
Keywords: caramelized onions, gourmet, cooking, recipes
Table of Contents
Why You’ll Love This Carmelized Onions
Carmelized onions are a game-changer in the kitchen! They’re incredibly easy to make, requiring just a few ingredients and minimal effort. In about 50 minutes, you can create a rich, sweet flavor that elevates any meal. Whether you’re a seasoned chef or a busy mom, these onions will save you time and impress your family. Plus, they’re versatile enough to complement countless dishes, making them a must-have in your culinary arsenal!
Ingredients for Carmelized Onions
To create those luscious caramelized onions, you’ll need just a handful of ingredients. Here’s what you’ll gather:
- Large onions: The star of the show! Choose sweet varieties like Vidalia or yellow onions for a richer flavor.
- Olive oil: This adds a lovely richness and helps in the cooking process. You can also use vegetable oil if that’s what you have on hand.
- Butter: A touch of butter enhances the flavor and gives a beautiful golden color to the onions.
- Salt: Just a pinch! It draws out moisture and enhances the natural sweetness of the onions.
- Sugar (optional): If you want to amplify the sweetness, a sprinkle of sugar can do wonders. It’s not necessary, but it can deepen the flavor profile.
For exact quantities, check the bottom of the article where you can find everything listed for easy printing. Remember, the beauty of this recipe lies in its simplicity, so feel free to experiment with what you have in your pantry!
How to Make Carmelized Onions
Now that we have our ingredients ready, let’s dive into the steps to create those delicious caramelized onions. Follow along, and I promise you’ll be amazed at how simple it is to achieve that gourmet flavor!
Step 1: Heat the Oil and Butter
Start by heating a large skillet over medium heat. Add the olive oil and butter, letting them melt together. The right temperature is crucial here. If it’s too hot, the onions will burn instead of caramelizing. You want a gentle sizzle, not a fierce roar!
Step 2: Add the Onions and Salt
Once the oil and butter are shimmering, it’s time to add the sliced onions. Sprinkle a pinch of salt over them. Salt is your secret weapon! It draws out moisture, helping the onions soften and enhancing their natural sweetness. You’ll notice the onions start to glisten almost immediately.
Step 3: Cook Until Softened
Stir the onions occasionally, allowing them to cook for about 10 minutes. At this stage, they should start to soften and become translucent. Keep an eye on them; you want them to be tender but not browned yet. This initial phase is all about coaxing out that sweet flavor!
Step 4: Enhance Sweetness with Sugar
If you’re feeling adventurous, sprinkle a teaspoon of sugar over the onions now. This step is optional, but it can deepen the flavor profile beautifully. The sugar caramelizes as the onions cook, adding an extra layer of sweetness that’s simply divine.
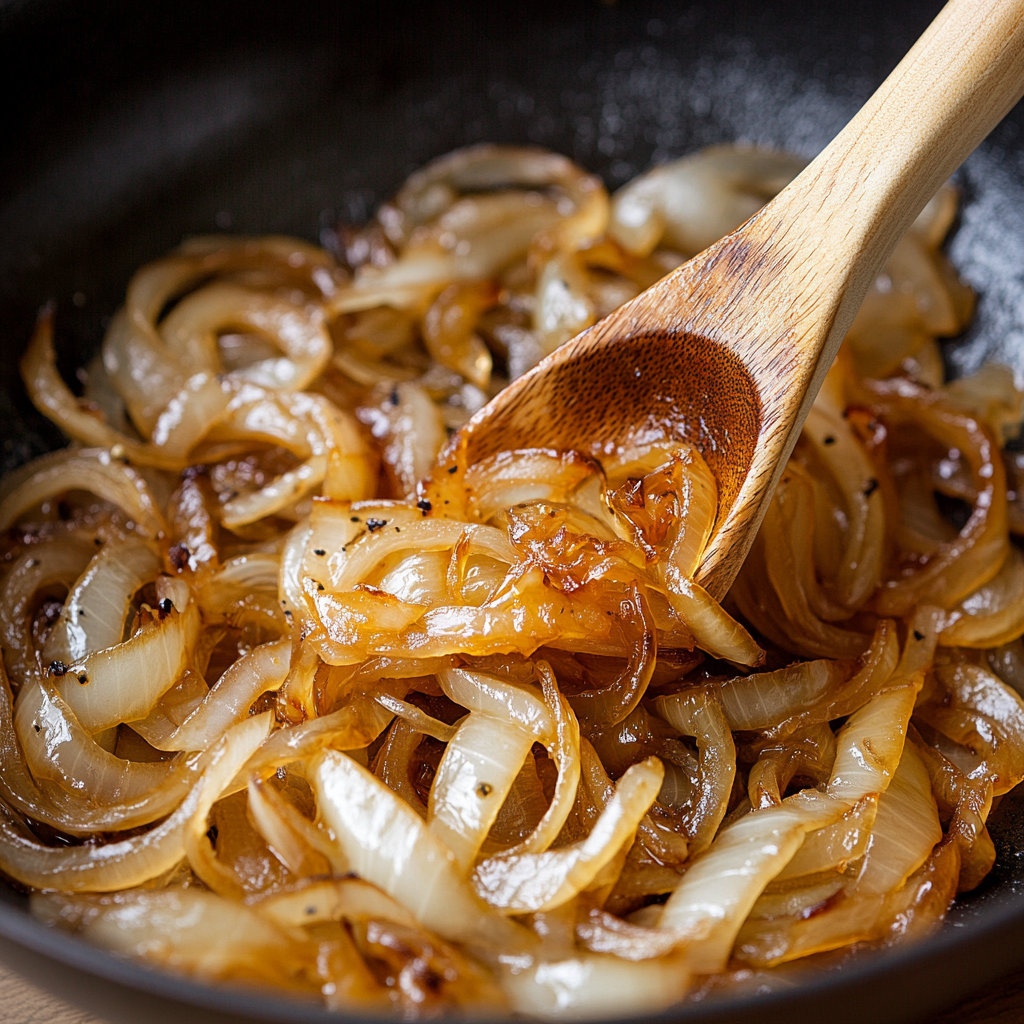
Step 5: Continue Cooking for Caramelization
Now comes the fun part! Keep cooking the onions for another 20-30 minutes, stirring frequently. You want them to turn a deep golden brown. Look for that rich color and a sweet aroma wafting through your kitchen. If they start to stick, add a splash of water to deglaze the pan.
Step 6: Cool and Store
Once your onions are beautifully caramelized, remove them from the heat. Let them cool slightly before using them in your favorite dishes. If you have leftovers, store them in an airtight container in the fridge for up to a week. You can even freeze them for longer storage—just thaw before using. Trust me, you’ll want to have these on hand!
Tips for Success
- Use a heavy-bottomed skillet for even heat distribution.
- Be patient! Caramelizing onions takes time, but the results are worth it.
- Stir occasionally to prevent sticking, but don’t overdo it; let them sit to develop color.
- For a deeper flavor, try adding herbs like thyme or a splash of balsamic vinegar.
- Always taste as you go to adjust seasoning to your preference.
Equipment Needed
- Large skillet: A non-stick or cast-iron skillet works best for even cooking.
- Wooden spoon: Perfect for stirring the onions without scratching your skillet.
- Cutting board and knife: Essential for slicing those onions with ease.
- Measuring spoons: Handy for precise ingredient measurements, especially if you’re adding sugar.
Variations of Carmelized Onions
- Balsamic Caramelized Onions: Add a splash of balsamic vinegar during the last few minutes of cooking for a tangy twist.
- Herbed Caramelized Onions: Toss in fresh herbs like thyme or rosemary for an aromatic flavor boost.
- Spicy Caramelized Onions: Add a pinch of red pepper flakes for a kick that pairs beautifully with savory dishes.
- Vegan Option: Substitute butter with additional olive oil or a plant-based butter for a completely vegan version.
- Sweet and Savory: Mix in diced apples or pears while cooking for a delightful sweet contrast to the onions.
Serving Suggestions for Carmelized Onions
- Top your favorite burgers or sandwiches for an instant flavor upgrade.
- Stir into creamy risottos or pasta dishes for a gourmet touch.
- Serve alongside grilled meats or roasted vegetables for a delightful contrast.
- Pair with a glass of red wine to enhance the rich flavors.
- Use as a pizza topping for a sweet and savory twist.
For more recipes follow me in page Facebook and Pinterest
FAQs about Carmelized Onions
Can I make caramelized onions in advance?
Absolutely! Caramelized onions can be made ahead of time and stored in the refrigerator for up to a week. Just let them cool completely before transferring them to an airtight container. You can also freeze them for longer storage; just thaw before using.
What’s the best type of onion for caramelizing?
Sweet onions like Vidalia or yellow onions are perfect for caramelizing. They have a natural sweetness that enhances the flavor. However, you can use red onions for a slightly different taste and color.
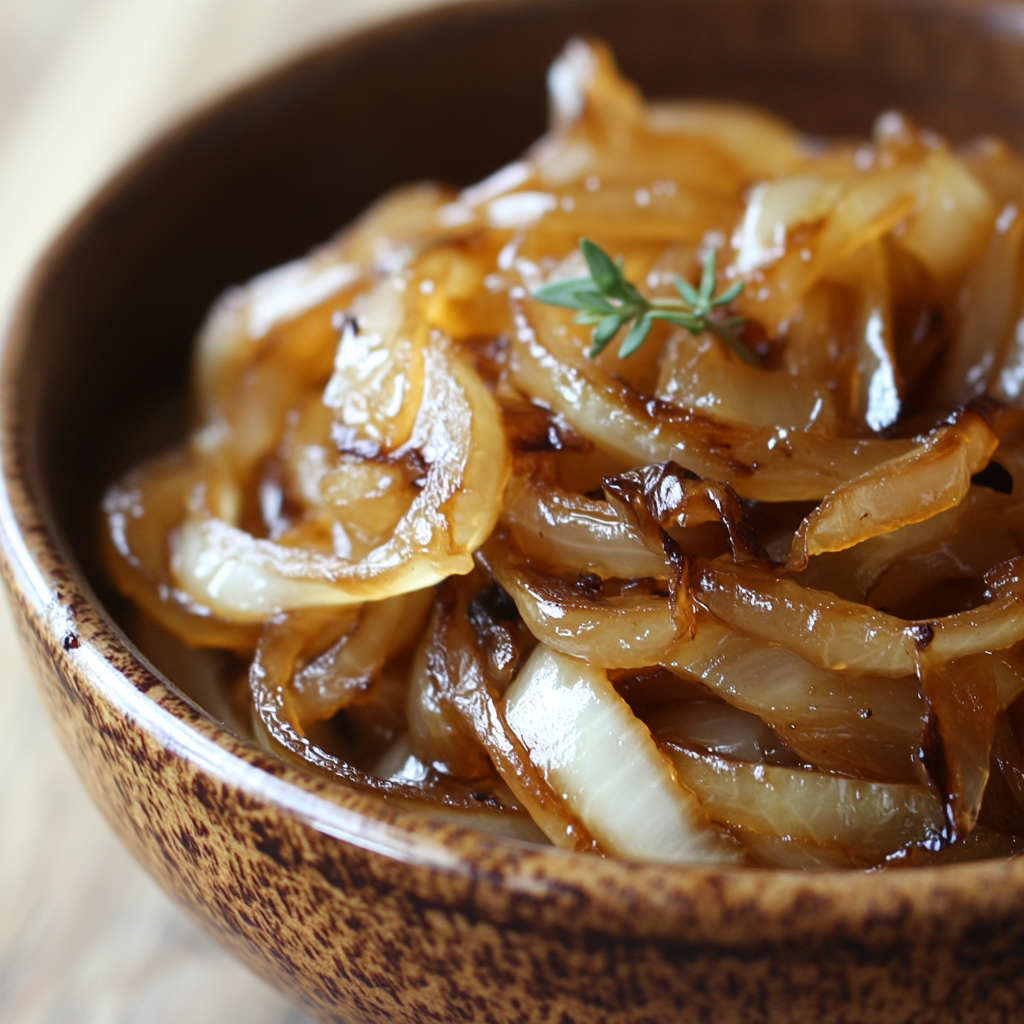
How do I know when my onions are properly caramelized?
Look for a deep golden brown color and a sweet aroma. The onions should be soft and have a rich, sweet flavor. This process usually takes about 30-40 minutes, so patience is key!
Can I use a slow cooker for caramelizing onions?
Yes, you can! A slow cooker is a great way to caramelize onions without constant stirring. Just set it on low for about 8 hours, and you’ll have beautifully caramelized onions waiting for you.
What dishes can I use caramelized onions in?
The possibilities are endless! Use them in burgers, pasta, risottos, or as a topping for pizzas. They also make a fantastic addition to soups and stews, adding depth and richness to your meals.
Final Thoughts
Creating caramelized onions is more than just a cooking technique; it’s a culinary adventure that brings joy to your kitchen. The sweet, rich flavor of these golden gems can elevate any dish, making even the simplest meals feel gourmet. I love how they can transform a busy weeknight dinner into something special, all while being easy to prepare. Plus, the aroma wafting through your home is simply irresistible! So, gather your ingredients, embrace the process, and enjoy the delightful experience of making caramelized onions. Your taste buds will thank you, and your family will be impressed!