
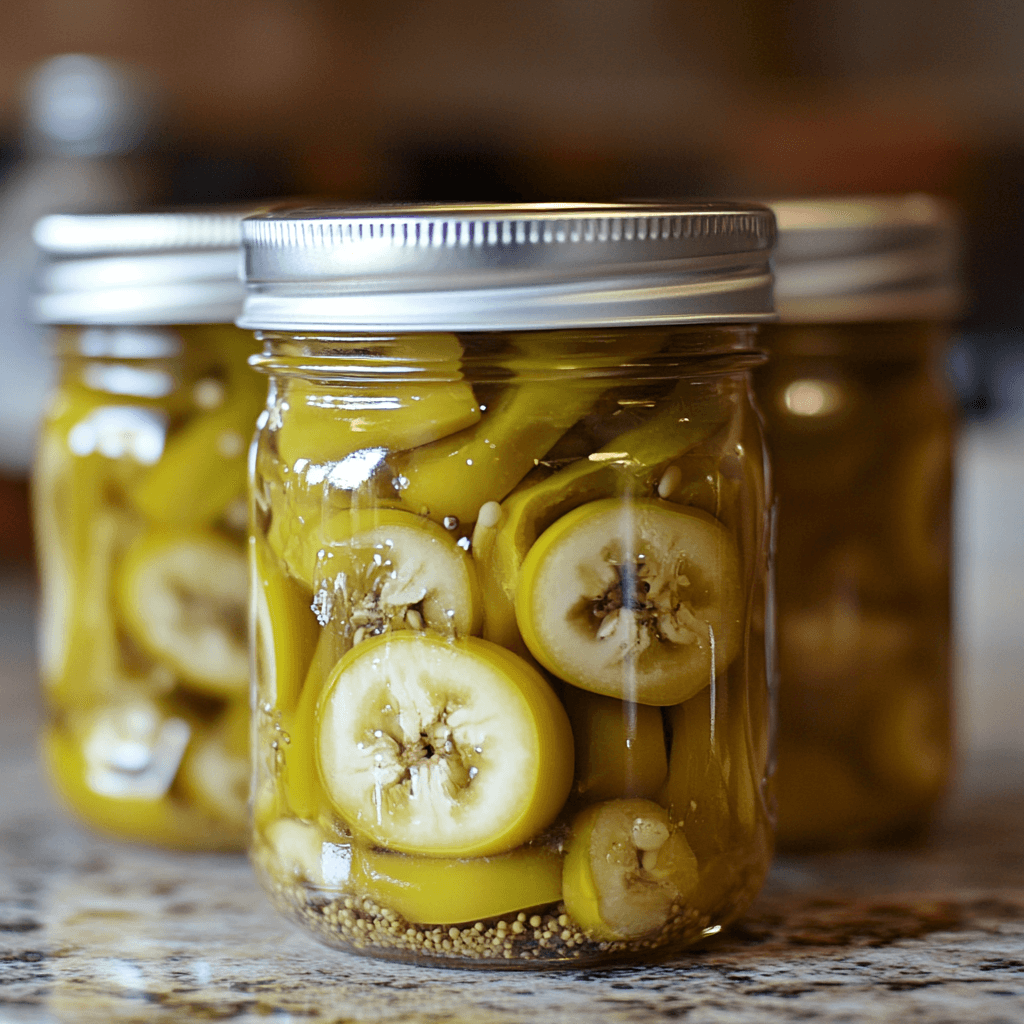
As a busy mom, I know how precious time can be, especially when it comes to meal prep. That’s why I love canning banana peppers! This delightful method not only preserves their vibrant flavor and satisfying crunch but also gives me a quick solution for those hectic days. Imagine opening a jar of homemade pickled banana peppers to elevate your sandwiches or salads. It’s like a burst of sunshine in a jar! Plus, it’s a fun way to involve the kids in the kitchen, creating memories while we preserve the taste of summer.
Print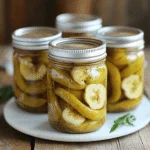
Canning Banana Peppers: Discover Easy Methods Today!
- Total Time: 35 minutes
- Yield: 4 pint jars
- Diet: Vegetarian
Description
Learn how to can banana peppers with easy methods that preserve their flavor and crunch.
Ingredients
- Banana peppers – 2 pounds
- Vinegar – 2 cups
- Water – 2 cups
- Salt – 1 tablespoon
- Garlic – 4 cloves (optional)
- Spices (e.g., dill, mustard seeds) – to taste
Instructions
- Wash the banana peppers thoroughly and remove the stems.
- Prepare the canning jars by sterilizing them in boiling water.
- In a pot, combine vinegar, water, and salt, and bring to a boil.
- Pack the banana peppers into the sterilized jars, adding garlic and spices if desired.
- Pour the hot vinegar mixture over the peppers, leaving about 1/2 inch of headspace.
- Seal the jars with lids and process them in a boiling water bath for 10-15 minutes.
- Remove the jars and let them cool completely before storing them in a cool, dark place.
Notes
- Ensure jars are sealed properly to prevent spoilage.
- Use gloves when handling hot peppers to avoid skin irritation.
- Experiment with different spices for unique flavors.
- Prep Time: 20 minutes
- Cook Time: 15 minutes
- Category: Preserving
- Method: Canning
- Cuisine: American
Nutrition
- Serving Size: 1 jar
- Calories: 50
- Sugar: 2g
- Sodium: 500mg
- Fat: 0g
- Saturated Fat: 0g
- Unsaturated Fat: 0g
- Trans Fat: 0g
- Carbohydrates: 10g
- Fiber: 2g
- Protein: 1g
- Cholesterol: 0mg
Keywords: canning banana peppers, preserving banana peppers, pickled banana peppers
Table of Contents
Why You’ll Love This Canning Banana Peppers
Canning banana peppers is a breeze! It’s quick, taking just about 35 minutes from start to finish. The taste? Absolutely divine! You’ll enjoy the tangy crunch that adds a delightful zing to any dish. Plus, it’s a fantastic way to preserve those garden-fresh peppers, ensuring you savor their flavor long after summer fades. Trust me, once you try it, you’ll wonder why you didn’t start canning sooner!
Ingredients for Canning Banana Peppers
Gathering the right ingredients is key to a successful canning adventure. Here’s what you’ll need:
- Banana peppers: These sweet and mild peppers are the star of the show. Look for firm, vibrant ones for the best flavor.
- Vinegar: A crucial component for that tangy taste. I prefer white vinegar, but apple cider vinegar can add a unique twist.
- Water: This helps balance the acidity of the vinegar, creating a perfect brine.
- Salt: Use kosher or pickling salt for the best results. It enhances flavor and helps with preservation.
- Garlic (optional): Adding garlic cloves can infuse a lovely aroma and depth of flavor. Feel free to adjust based on your taste.
- Spices: Think dill, mustard seeds, or even red pepper flakes for a kick! Experiment with your favorites to create a signature blend.
For exact measurements, check the bottom of the article where you can find everything available for printing. Happy canning!
How to Make Canning Banana Peppers
Now that you have your ingredients ready, let’s dive into the fun part—canning banana peppers! Follow these simple steps, and you’ll be on your way to enjoying your homemade pickled delights.
Step 1: Prepare the Banana Peppers
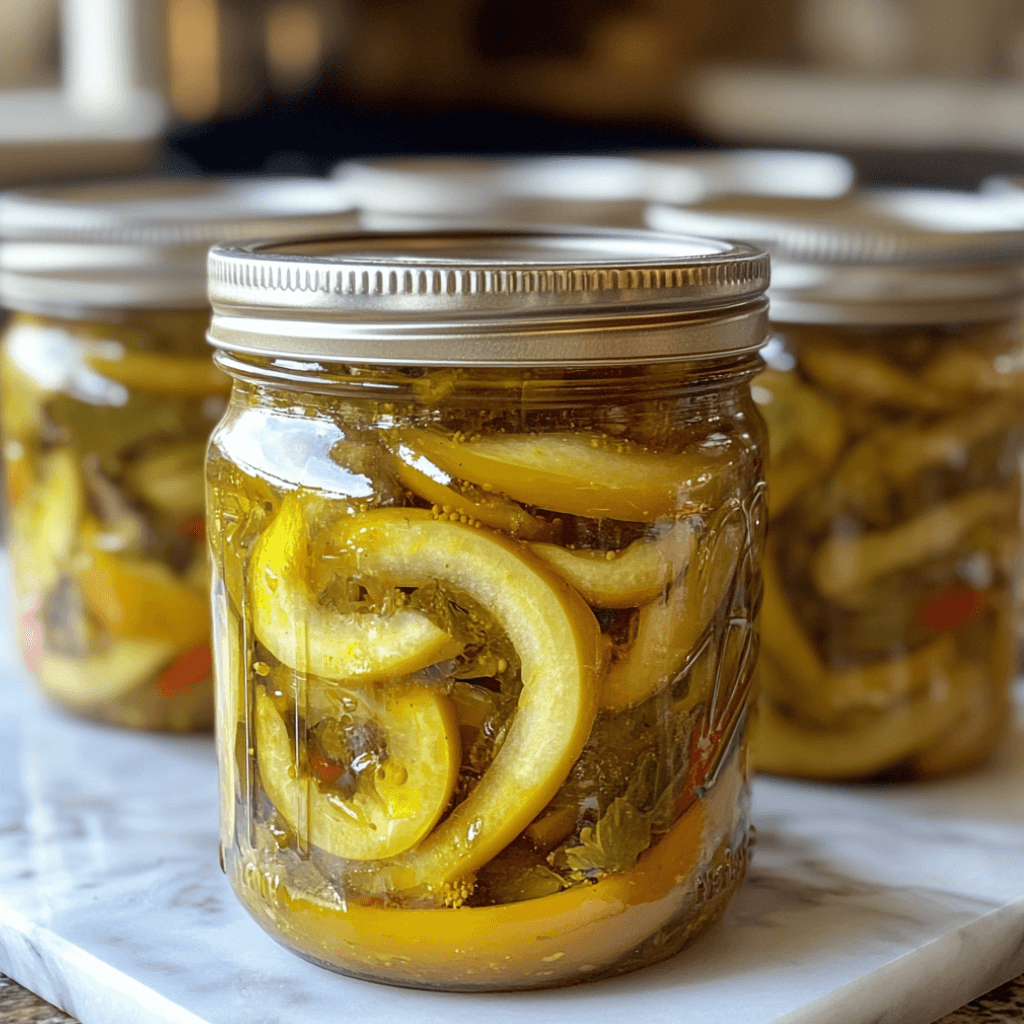
Start by washing the banana peppers thoroughly under cool running water. This step is crucial to remove any dirt or pesticides. Once they’re clean, grab a sharp knife and carefully remove the stems. You can leave the peppers whole or slice them into rings, depending on your preference. Just remember, the more uniform the pieces, the better they’ll pack into the jars!
Step 2: Sterilize the Jars
Next up, let’s talk about sterilizing those jars. This step is vital to prevent spoilage. Place your clean jars in a large pot of boiling water for about 10 minutes. If you’re short on time, you can also run them through the dishwasher on a hot cycle. Just make sure they’re hot when you fill them, as this helps create a proper seal.
Step 3: Make the Brine
Now, let’s whip up the brine! In a medium-sized pot, combine the vinegar, water, and salt. Bring this mixture to a rolling boil, stirring occasionally to dissolve the salt. The aroma of the vinegar will fill your kitchen, and trust me, it’s a good sign! Once it’s boiling, remove it from the heat and let it sit for a moment.
Step 4: Pack the Jars
It’s time to pack those jars! Start by placing the banana peppers into the sterilized jars. If you’re using garlic or spices, add them in between the layers of peppers. This way, every bite will be bursting with flavor. Don’t be afraid to pack them tightly, but leave a little room at the top for the brine.
Step 5: Fill the Jars
Carefully pour the hot brine over the packed peppers, ensuring they’re fully submerged. Leave about 1/2 inch of headspace at the top of each jar. This space is essential for the expansion of the contents during processing. If any air bubbles form, gently tap the jar on the counter to release them.
Step 6: Seal and Process
Now, it’s time to seal those jars! Place the lids on top and screw on the metal bands until they’re fingertip-tight. Next, process the jars in a boiling water bath for 10-15 minutes. This step ensures that your canned banana peppers are safe to eat and shelf-stable. Just keep an eye on the water level, adding more if needed.
Step 7: Cool and Store
Once the time is up, carefully remove the jars from the water bath using tongs. Place them on a clean kitchen towel or cooling rack. Let them cool completely at room temperature. You’ll hear delightful popping sounds as the jars seal. Once cooled, store them in a cool, dark place. They’ll be ready to enjoy in a few weeks, but I bet you’ll want to sneak a taste sooner!
Tips for Success
- Always wear gloves when handling hot peppers to avoid skin irritation.
- Make sure your jars are hot when filling them to ensure a proper seal.
- Experiment with different spices to find your perfect flavor combination.
- Label your jars with the date and contents for easy identification later.
- Check seals after cooling; if a lid pops back, refrigerate and use immediately.
Equipment Needed for Canning Banana Peppers
- Canning jars: Use pint-sized jars for this recipe. If you don’t have canning jars, clean glass jars with tight-fitting lids can work too.
- Boiling pot: A large pot for the water bath is essential. A stockpot or even a deep Dutch oven can serve the purpose.
- Tongs: Handy for safely removing hot jars from boiling water. If you don’t have tongs, a slotted spoon can do the trick.
- Jar lifter: This tool makes it easier to handle hot jars. If you’re in a pinch, a pair of sturdy kitchen mitts can help.
- Measuring cups: For accurate brine measurements. A liquid measuring cup works best.
Variations of Canning Banana Peppers
- Spicy Kick: Add sliced jalapeños or crushed red pepper flakes to the jars for a fiery twist.
- Herb Infusion: Incorporate fresh herbs like thyme or oregano for a fragrant flavor profile.
- Sweet and Sour: Mix in a bit of sugar with the brine to create a sweet and tangy balance.
- Garlic Lovers: Increase the number of garlic cloves for a more robust garlic flavor.
- Vinegar Variety: Experiment with different types of vinegar, such as apple cider or rice vinegar, for unique tastes.
Serving Suggestions for Canned Banana Peppers
- Top your favorite sandwiches or burgers with pickled banana peppers for an extra zing.
- Serve them alongside grilled meats for a refreshing contrast.
- Add to salads for a crunchy, tangy twist.
- Pair with cheese and crackers for a delightful appetizer.
- Enjoy with a chilled glass of lemonade or iced tea for a perfect summer meal.
For more recipes follow me in page Facebook and Pinterest
FAQs about Canning Banana Peppers
Can I use other types of peppers for canning?
Absolutely! While banana peppers are a favorite, you can use other mild peppers like poblano or Anaheim. Just keep in mind that the flavor and texture may vary.
How long do canned banana peppers last?
When stored properly in a cool, dark place, canned banana peppers can last up to a year. Just be sure to check for any signs of spoilage before using.
Can I adjust the spice level in my canned banana peppers?
Yes! If you prefer a spicier kick, add more crushed red pepper flakes or include jalapeños in the jars. Tailor the heat to your taste!
What should I do if my jars don’t seal properly?
If a jar doesn’t seal, don’t panic! Simply refrigerate it and use the contents within a week. You can also reprocess it if you want to try sealing it again.
Can I reuse canning jars?
Yes, you can reuse canning jars as long as they are in good condition. Just replace the lids each time to ensure a proper seal. Happy canning!
Final Thoughts on Canning Banana Peppers
Canning banana peppers is more than just a kitchen task; it’s a delightful journey that brings joy and satisfaction. Each jar you fill is a little treasure, capturing the essence of summer and the love you put into your cooking. The vibrant colors and tangy flavors will brighten your meals and create lasting memories with family and friends. Plus, there’s something incredibly rewarding about enjoying your homemade creations long after the season has passed. So, roll up your sleeves, gather your ingredients, and dive into this canning adventure. You won’t regret it!