
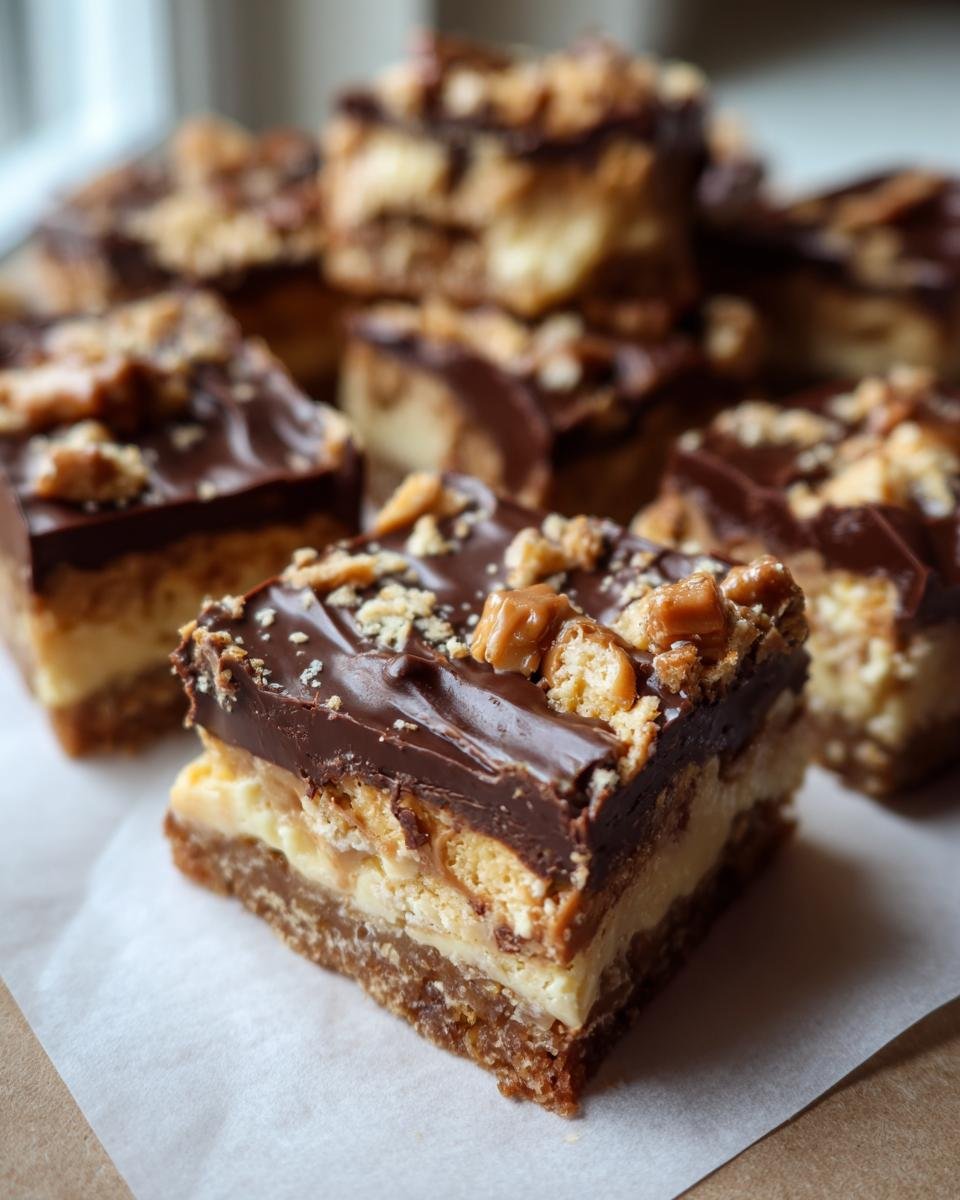
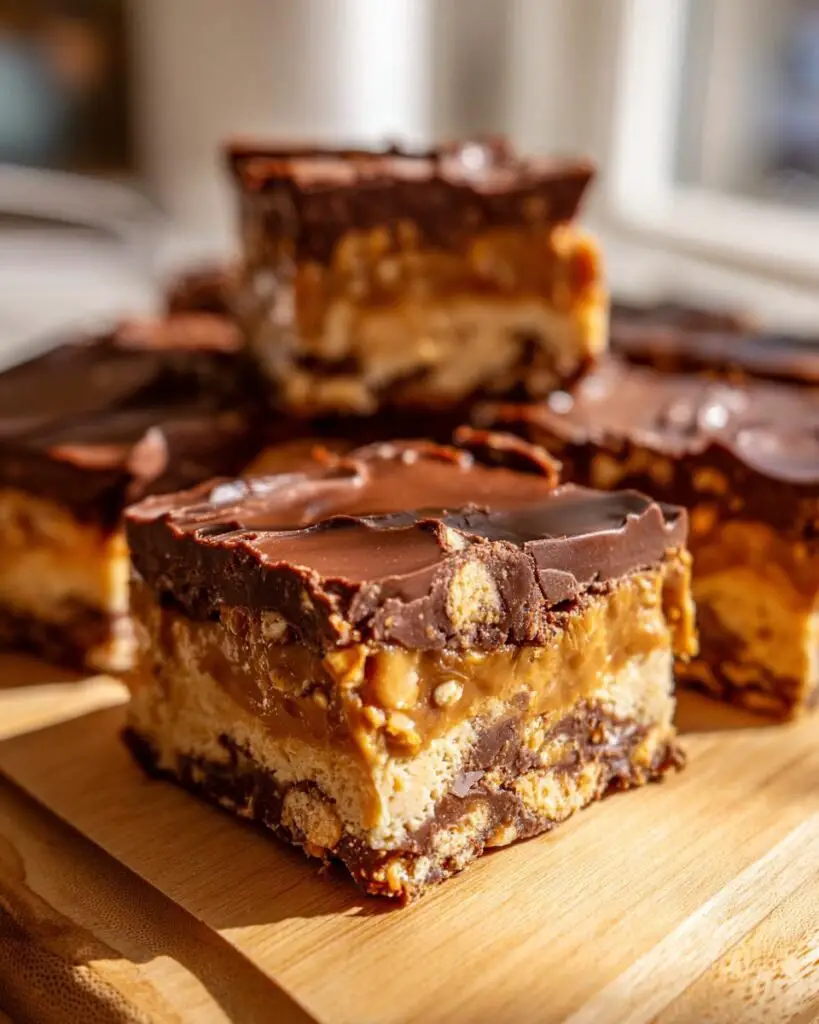
Oh my goodness, let me tell you about these Butterfinger Peanut Butter Fudge Bars! They are the ultimate treat that combines the rich creaminess of peanut butter, the sweet crunch of Butterfinger candy, and a luscious chocolate topping. And the best part? They require zero baking! Seriously, if you’re looking for a quick, no-fuss dessert that will impress everyone, this is it.
I first made these bars for a family reunion, and they were gone within minutes! Everyone kept coming back for more, and I loved watching the kids’ eyes light up with each delicious bite. The combination of textures is just heavenly – the smooth fudge-like base paired with those crunchy Butterfinger pieces and the silky chocolate layer on top creates a flavor explosion that’s hard to resist. Trust me, once you try these bars, they’ll become your go-to dessert for any occasion. Whether it’s a picnic, a holiday gathering, or just a cozy night in, these bars are sure to bring smiles all around!
Ingredients List
Gathering the right ingredients is super important for making these delicious Butterfinger Peanut Butter Fudge Bars. Here’s what you’ll need:
- 1 cup creamy peanut butter: Use the best quality you can find! This adds that rich, nutty flavor and smooth texture that makes the bars so irresistible.
- 1 cup powdered sugar: This gives the fudge bars their sweetness and that melt-in-your-mouth quality. Make sure to sift it if it’s been sitting a while to avoid any lumps!
- 1 cup Butterfinger candy bars, chopped: The star of the show! The crunchy bits add a delightful texture and a sweet, buttery flavor that pairs perfectly with peanut butter.
- 1 cup chocolate chips: I usually go for semi-sweet chocolate, but feel free to adjust based on your taste. This will create the luscious chocolate topping that everyone loves.
- 2 tablespoons butter: This helps to create a smooth and shiny chocolate layer on top. Use unsalted butter for the best results.
That’s all you need to whip up these mouthwatering bars. Simple, right? Now let’s get to the fun part – making them!
How to Prepare Butterfinger Peanut Butter Fudge Bars
Making these Butterfinger Peanut Butter Fudge Bars is as simple as it gets! You won’t need any fancy equipment or complicated techniques. Just follow these straightforward steps, and you’ll have a batch of these delicious bars ready to enjoy in no time!
Step-by-Step Instructions
- Mix the Peanut Butter Base: In a mixing bowl, combine the creamy peanut butter and powdered sugar. I like to use a sturdy spatula to mix them together until they’re fully blended and smooth. This step is super important as it creates the base of your fudge bars!
- Add the Butterfinger: Once you have a nice, smooth mixture, it’s time to fold in the chopped Butterfinger pieces. Make sure they’re evenly distributed, so every bite is bursting with that crunchy goodness!
- Grease the Pan: Before spreading the mixture into your pan, don’t forget to grease an 8×8 inch pan! I usually use a little non-stick cooking spray or butter to ensure the bars don’t stick. This is key to getting them out in one piece later!
- Spread the Mixture: Press the peanut butter and Butterfinger mixture into the bottom of the prepared pan. Use a spatula or your hands to smooth it out evenly. You want it to be nice and flat so that it sets perfectly.
- Melt the Chocolate: In a microwave-safe bowl, combine the chocolate chips and butter. Heat in the microwave in 30-second intervals, stirring in between. This way, you’ll avoid burning the chocolate. You want it to be completely melted and smooth!
- Pour the Chocolate: Once melted, pour the chocolate over the peanut butter layer in the pan. Use a spatula to spread it evenly over the top, making sure it covers all the edges. This chocolate layer is going to be the cherry on top!
- Refrigerate Until Set: Now the hardest part – you have to wait! Place the pan in the refrigerator for about 2 hours or until the chocolate has completely set. This step is crucial for achieving that perfect fudge texture!
- Cut and Serve: Once set, remove the bars from the pan. Cut them into squares or rectangles, and get ready for the deliciousness! You can store any leftovers in an airtight container, but I’m pretty sure they won’t last long!
And just like that, you have yourself some amazing Butterfinger Peanut Butter Fudge Bars! Easy peasy, right? Enjoy every bite!
Why You’ll Love This Recipe
These Butterfinger Peanut Butter Fudge Bars are truly special, and here’s why they’ll quickly become a favorite in your home:
- Quick Preparation: With just a 15-minute prep time, you can whip these up in no time! Perfect for when you need a dessert in a hurry.
- No Baking Required: That’s right! You don’t have to turn on the oven, making it an ideal treat for hot days or when you just want to keep things simple.
- Rich Flavors: The combination of creamy peanut butter, crunchy Butterfinger, and silky chocolate creates a flavor explosion that’s hard to resist.
- Kid-Friendly Appeal: Kids will absolutely love these bars! They’re fun to make and even more fun to eat, making them a hit at family gatherings or birthday parties.
- Versatile Treat: These bars are perfect for any occasion – whether it’s a picnic, a holiday gathering, or just a cozy night in with a movie. They’re sure to please everyone!
Trust me, once you taste these bars, you’ll find any excuse to make them again!
Tips for Success
To ensure your Butterfinger Peanut Butter Fudge Bars turn out perfectly every time, here are some tried-and-true tips that I swear by:
- Blend the Peanut Butter Well: Make sure to mix the peanut butter and powdered sugar thoroughly until it’s completely smooth. This will prevent any graininess in your fudge bars and help achieve that rich, creamy consistency.
- Use Room Temperature Ingredients: Having your peanut butter at room temperature makes it easier to blend with the powdered sugar. If it’s too cold, it can be a bit stiff and harder to work with.
- Chop Butterfinger Pieces Evenly: When you chop your Butterfinger bars, try to keep the pieces about the same size. This way, every bite will have a perfect balance of crunch and sweetness.
- Keep an Eye on the Chocolate: When melting the chocolate chips and butter, heat them in short bursts (30 seconds at a time) and stir in between. This will help avoid burning the chocolate, which can turn it gritty.
- Let Them Chill Enough: Be patient! It’s tempting to dig in right away, but letting the bars chill in the refrigerator for a full 2 hours ensures they set up properly. This will give you that perfect fudge-like texture.
- Store Properly: If you have any leftovers (though I doubt it!), keep them in an airtight container in the fridge. This helps maintain their freshness and that delightful creamy texture.
Follow these tips, and you’ll be well on your way to making the most amazing Butterfinger Peanut Butter Fudge Bars that will impress everyone!
Variations
One of the best things about these Butterfinger Peanut Butter Fudge Bars is how versatile they are! You can easily customize them to suit your taste or to keep things interesting. Here are some fun variations to consider:
- Switch Up the Chocolate: While I usually stick to semi-sweet chocolate, you can experiment with milk chocolate for a sweeter vibe or dark chocolate if you prefer a richer taste. You could even try white chocolate for a totally different flavor profile!
- Add Nuts: If you love a bit of crunch, toss in some chopped peanuts or even walnuts to the mixture. This adds an extra layer of flavor and texture that complements the peanut butter beautifully.
- Mix in More Candy: Feel free to get creative with other candy bars! Crushed Reese’s or Snickers can add a new twist to the bars. Just be sure to adjust the sweetness accordingly, as these candies can be quite sweet themselves!
- Introduce a Flavor Boost: Try adding a splash of vanilla extract or a pinch of sea salt to the peanut butter mixture. The vanilla enhances the flavors, while the salt balances the sweetness and elevates the overall taste.
- Make It a Layered Delight: For a fun twist, you can create layers! Spread half of the peanut butter mixture into the pan, then layer a thin layer of chocolate before adding the remaining peanut butter mixture on top. This creates a beautiful striped effect.
These variations not only keep things exciting but also allow you to tailor the bars to your personal preferences. So, don’t hesitate to get creative and make these Butterfinger Peanut Butter Fudge Bars your own!
Storage & Reheating Instructions
Storing your Butterfinger Peanut Butter Fudge Bars is super easy, and with the right techniques, they’ll stay fresh and delicious for days! Here’s how I like to do it:
- Store in an Airtight Container: Once your fudge bars are cut, place them in an airtight container. This helps to keep them from drying out and maintains that lovely creamy texture.
- Refrigerate: Keep the container in the refrigerator. These bars are best enjoyed chilled, and they’ll last for about a week if stored properly. If you notice any condensation inside the container, just wipe it away to prevent sogginess.
- Freezing for Longer Storage: If you want to save some for later, these bars freeze beautifully! Just wrap each bar individually in plastic wrap, then place them in a freezer-safe bag or container. They can last for up to 3 months in the freezer!
- Thawing: When you’re ready to enjoy your frozen bars, simply remove them from the freezer and let them thaw in the refrigerator for a few hours or at room temperature for about 30 minutes. This way, they’ll maintain their delicious texture.
As for reheating, these bars are best enjoyed cold or at room temperature, so there’s no need to microwave them! Just pop them out of the fridge or freezer, and they’re ready to be devoured. Trust me, you won’t want to miss a bite!
Nutritional Information Section
Now, let’s talk about the nutritional side of these delightful Butterfinger Peanut Butter Fudge Bars! It’s always good to know what you’re indulging in, right? Here’s a general breakdown of the estimated nutritional values for one bar:
- Calories: 200
- Fat: 10g
- Saturated Fat: 4g
- Trans Fat: 0g
- Cholesterol: 5mg
- Sodium: 50mg
- Carbohydrates: 25g
- Fiber: 1g
- Sugar: 15g
- Protein: 4g
Keep in mind that these values are estimates and can vary based on the specific brands of ingredients you use and any variations you might make to the recipe. But overall, these fudge bars are a sweet treat that packs a flavorful punch! Enjoy them guilt-free in moderation, and remember, they’re perfect for sharing with family and friends!
FAQ Section
Got questions about these Butterfinger Peanut Butter Fudge Bars? Don’t worry, I’ve got you covered! Here are some common queries I hear, along with my answers to help you out:
- Can I use crunchy peanut butter instead of creamy? Absolutely! Using crunchy peanut butter will add an extra layer of texture to your bars. Just keep in mind that it might change the overall consistency slightly, but it’ll still be delicious!
- What if I can’t find Butterfinger candy bars? No problem! You can substitute with any similar candy, like Reese’s or Twix, for a different flavor. Just make sure you chop them up into small pieces so they mix well with the peanut butter base.
- How long do these bars last? If stored in an airtight container in the fridge, they’ll last about a week. For longer storage, you can freeze them for up to 3 months. Just make sure to wrap them well to prevent freezer burn!
- Can I make these bars vegan? Yes! To make a vegan version, use a plant-based butter and ensure your chocolate chips are dairy-free. There are plenty of great options out there that still taste amazing!
- What’s the best way to cut these bars? For clean cuts, I recommend using a sharp knife that’s been warmed slightly under hot water. Wipe the knife between cuts for neat edges, and you’ll have perfectly shaped bars!
If you have any more questions, feel free to reach out! I’m always here to help you whip up the best Butterfinger Peanut Butter Fudge Bars!
For more delicious recipes, check out this easy pasta recipe or these caramel apple cheesecake bars!
For more recipes follow me in page Facebook and Pinterest
Print
Butterfinger Peanut Butter Fudge Bars: 7 Irresistible Tips
- Total Time: 2 hours 20 minutes
- Yield: 16 bars 1x
- Diet: Vegetarian
Description
Delicious Butterfinger Peanut Butter Fudge Bars that combine rich chocolate, creamy peanut butter, and crunchy Butterfinger pieces.
Ingredients
- 1 cup creamy peanut butter
- 1 cup powdered sugar
- 1 cup Butterfinger candy bars, chopped
- 1 cup chocolate chips
- 2 tablespoons butter
Instructions
- In a mixing bowl, combine peanut butter and powdered sugar.
- Add chopped Butterfinger pieces and mix well.
- Spread the mixture into a greased 8×8 inch pan.
- Melt chocolate chips and butter in a microwave-safe bowl.
- Pour melted chocolate over the peanut butter layer.
- Refrigerate until set, about 2 hours.
- Cut into bars and serve.
Notes
- Store bars in an airtight container.
- For extra crunch, add more Butterfinger pieces.
- Can substitute milk chocolate with dark chocolate.
- Prep Time: 15 minutes
- Cook Time: 5 minutes
- Category: Dessert
- Method: No-bake
- Cuisine: American
Nutrition
- Serving Size: 1 bar
- Calories: 200
- Sugar: 15g
- Sodium: 50mg
- Fat: 10g
- Saturated Fat: 4g
- Unsaturated Fat: 6g
- Trans Fat: 0g
- Carbohydrates: 25g
- Fiber: 1g
- Protein: 4g
- Cholesterol: 5mg
Keywords: Butterfinger Peanut Butter Fudge Bars, dessert, no-bake bars, chocolate, peanut butter