Welcome to the delightful world of baking! If you’re like me, juggling a busy life while trying to whip up something special can feel overwhelming. That’s where the Basque Cheesecake Loaf Pan Kit comes in. This homemade recipe is not just a treat for your taste buds; it’s a quick solution for a busy day. Imagine serving a creamy, rich cheesecake that looks like it came straight from a fancy bakery. Your loved ones will be impressed, and you’ll feel like a pro in your own kitchen!
Print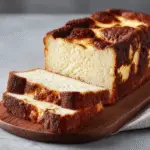
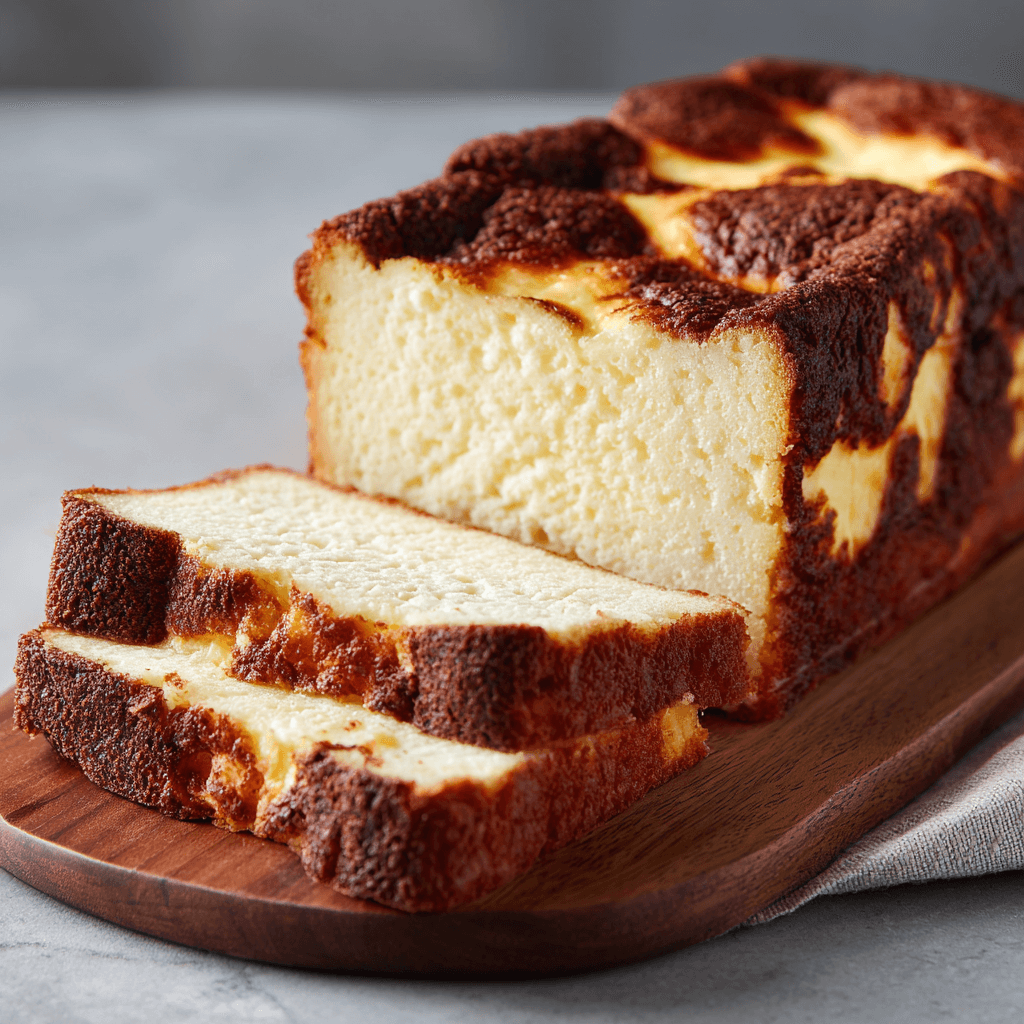
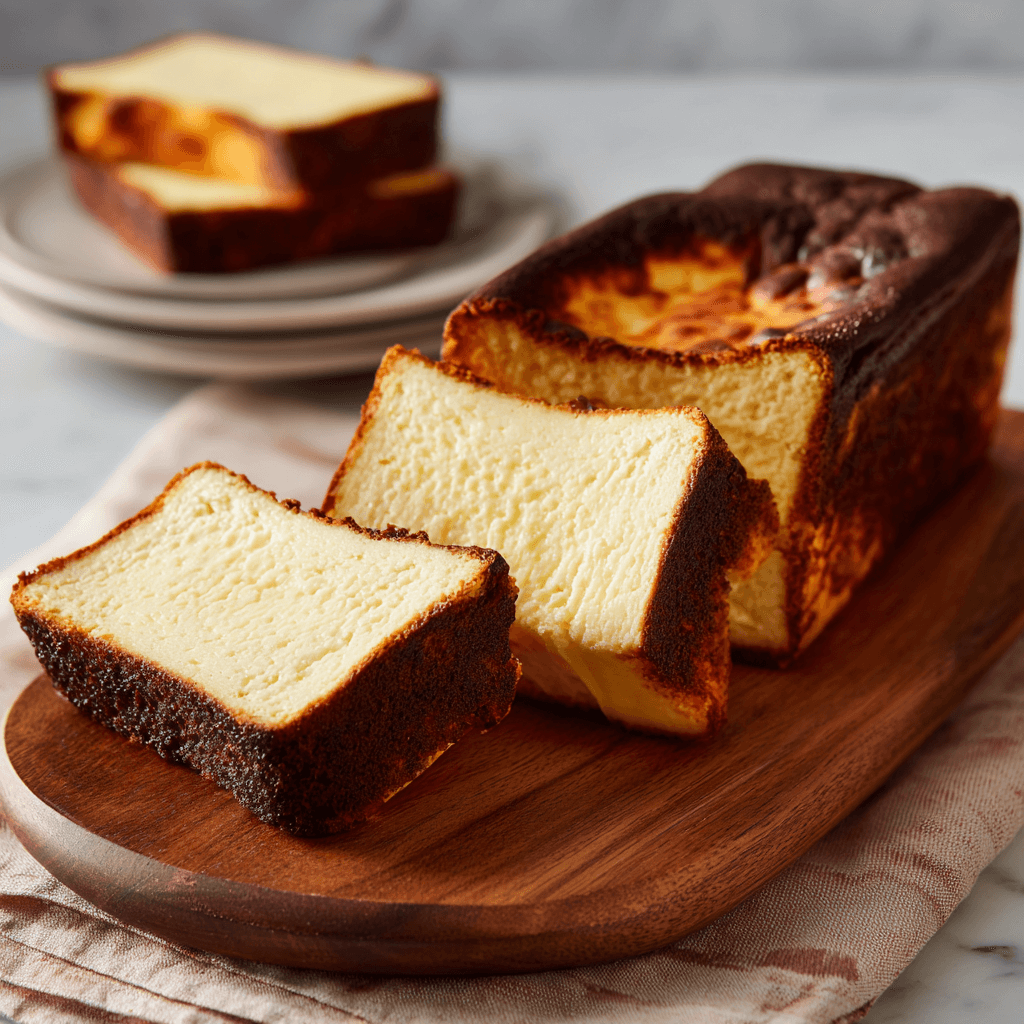
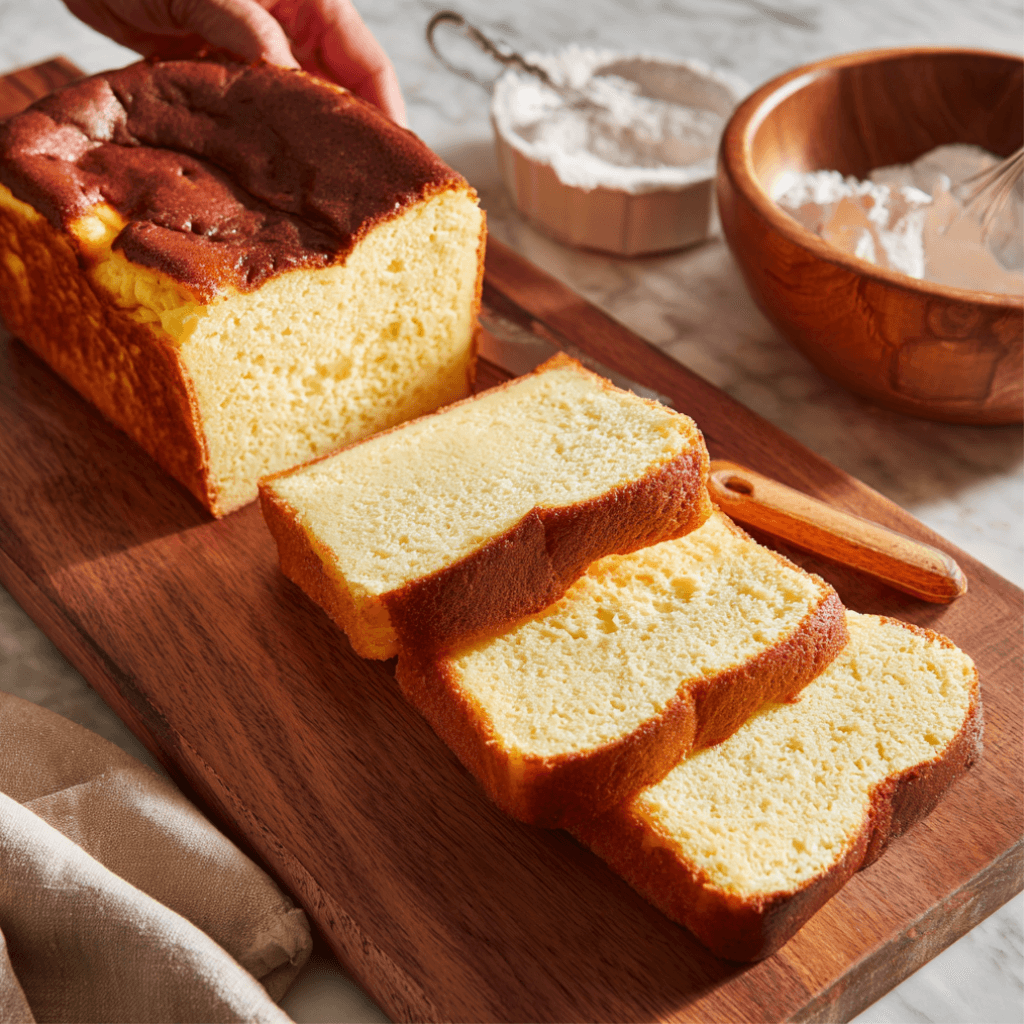
Basque Cheesecake Loaf Pan Kit: Bake Like a Pro!
- Total Time: 4 hours 20 minutes
- Yield: 8 servings 1x
- Diet: Vegetarian
Description
A delicious and creamy Basque cheesecake made in a loaf pan, perfect for home bakers looking to impress.
Ingredients
- 2 cups cream cheese
- 1 cup granulated sugar
- 3 large eggs
- 1 cup heavy cream
- 1 teaspoon vanilla extract
- 1/4 cup all-purpose flour
- 1/4 teaspoon salt
Instructions
- Preheat your oven to 400°F (200°C).
- In a large mixing bowl, beat the cream cheese and sugar until smooth.
- Add the eggs one at a time, mixing well after each addition.
- Stir in the heavy cream and vanilla extract until combined.
- Gradually add the flour and salt, mixing until just incorporated.
- Pour the batter into a lined loaf pan.
- Bake for 50-60 minutes or until the top is dark brown and the center is slightly jiggly.
- Let it cool completely before refrigerating for at least 4 hours.
- Slice and serve chilled.
Notes
- For best results, use room temperature ingredients.
- Allow the cheesecake to cool completely before refrigerating.
- This cheesecake can be stored in the refrigerator for up to 5 days.
- Prep Time: 20 minutes
- Cook Time: 60 minutes
- Category: Dessert
- Method: Baking
- Cuisine: Basque
Nutrition
- Serving Size: 1 slice
- Calories: 350
- Sugar: 25g
- Sodium: 200mg
- Fat: 28g
- Saturated Fat: 17g
- Unsaturated Fat: 8g
- Trans Fat: 0g
- Carbohydrates: 25g
- Fiber: 0g
- Protein: 6g
- Cholesterol: 120mg
Keywords: Basque Cheesecake, Loaf Pan Kit, Homemade Recipe, Baking Pan
Table of Contents
Why You’ll Love This Basque Cheesecake Loaf Pan Kit
This Basque Cheesecake Loaf Pan Kit is a game-changer for busy moms and professionals alike. It’s incredibly easy to make, requiring just a handful of ingredients and minimal prep time. The result? A luscious, creamy cheesecake that’s bursting with flavor. Plus, baking it in a loaf pan means you can slice and serve with ease. It’s the perfect dessert to impress without the stress!
Ingredients for Basque Cheesecake Loaf Pan Kit
Gathering the right ingredients is the first step to creating your Basque cheesecake masterpiece. Here’s what you’ll need:
- Cream Cheese: The star of the show! It gives the cheesecake its rich and creamy texture.
- Granulated Sugar: This sweetens the cheesecake, balancing the tanginess of the cream cheese.
- Large Eggs: They help bind the ingredients together and add a lovely richness.
- Heavy Cream: This adds a luxurious creaminess and enhances the flavor profile.
- Vanilla Extract: A splash of this elevates the taste, making it more aromatic and delicious.
- All-Purpose Flour: Just a bit helps stabilize the cheesecake, giving it structure without being too dense.
- Salt: A pinch enhances all the flavors, making them pop!
For those looking to experiment, consider adding a hint of lemon zest for a citrusy twist or swapping out the vanilla for almond extract for a different flavor profile. You can find all the exact measurements at the bottom of the article, ready for printing!
How to Make Basque Cheesecake Loaf Pan Kit
Now that you have your ingredients ready, let’s dive into the steps to create this delightful Basque cheesecake. Each step is simple, and I promise you’ll feel like a baking superstar by the end!
Step 1: Preheat the Oven
First things first, preheat your oven to 400°F (200°C). Preheating is crucial because it ensures that your cheesecake bakes evenly. A hot oven helps create that beautiful, caramelized top that makes Basque cheesecake so special. Trust me, you don’t want to skip this step!
Step 2: Prepare the Cream Cheese Mixture
In a large mixing bowl, beat the cream cheese and granulated sugar together until smooth. I like to use a hand mixer for this, but a whisk works too if you’re feeling strong! The goal is to achieve a creamy, lump-free texture. This step is vital because it sets the foundation for your cheesecake’s rich consistency.
Step 3: Incorporate the Eggs
Next, add the eggs one at a time, mixing well after each addition. This gradual approach helps incorporate air into the batter, making it light and fluffy. Don’t rush this step; take your time to ensure each egg is fully blended before adding the next. You’ll notice the mixture becoming even creamier!
Step 4: Add Cream and Vanilla
Now, stir in the heavy cream and vanilla extract. The heavy cream is what gives this cheesecake its luxurious texture, while the vanilla adds a warm, inviting flavor. Mix until everything is well combined. You’ll love the aroma wafting through your kitchen at this point!
Step 5: Mix in Flour and Salt
Gradually add the all-purpose flour and salt to the mixture. It’s important not to overmix here; just stir until everything is incorporated. Overmixing can lead to a dense cheesecake, and we want it to be light and airy. A gentle hand goes a long way!
Step 6: Pour into Loaf Pan
Line your loaf pan with parchment paper for easy removal later. Pour the cheesecake batter into the prepared pan, smoothing the top with a spatula. Make sure to leave a little room at the top, as the cheesecake will puff up while baking. This little trick will save you from a messy oven!
Step 7: Bake to Perfection
Place the loaf pan in the preheated oven and bake for 50-60 minutes. You’ll know it’s done when the top is dark brown and the center is slightly jiggly. Don’t worry if it looks a bit undercooked; it will set as it cools. Keep an eye on it, as every oven is a little different!
Step 8: Cooling and Refrigeration
Once baked, let the cheesecake cool completely in the pan. This step is essential for achieving the perfect texture. After it cools, refrigerate it for at least 4 hours, or overnight if you can wait! Chilling allows the flavors to meld beautifully, making each slice even more delicious.
Tips for Success
- Always use room temperature ingredients for a smoother batter.
- Don’t skip the cooling step; it’s crucial for the right texture.
- For a cleaner slice, use a hot knife to cut the cheesecake.
- Experiment with flavors by adding citrus zest or different extracts.
- Store leftovers in an airtight container to keep it fresh.
Equipment Needed for Basque Cheesecake Loaf Pan Kit
- Loaf Pan: A standard loaf pan works best, but you can use a square baking dish if needed.
- Mixing Bowl: Any large bowl will do; a glass or stainless steel bowl is ideal.
- Hand Mixer or Whisk: A hand mixer makes it easier, but a whisk can work if you’re up for a workout!
- Spatula: A rubber spatula is perfect for scraping down the sides and smoothing the batter.
- Parchment Paper: Essential for easy removal; you can also use cooking spray if you prefer.
Variations of Basque Cheesecake Loaf Pan Kit
- Citrus Zest: Add lemon or orange zest for a refreshing twist that brightens the flavor.
- Chocolate Swirl: Fold in melted chocolate or cocoa powder for a rich, chocolatey version.
- Nutty Delight: Incorporate crushed nuts like almonds or hazelnuts for added texture and flavor.
- Gluten-Free Option: Substitute all-purpose flour with almond flour or a gluten-free blend.
- Vegan Version: Use vegan cream cheese and substitute eggs with flaxseed meal mixed with water.
Serving Suggestions for Basque Cheesecake Loaf Pan Kit
- Fresh Berries: Serve with a side of mixed berries for a pop of color and freshness.
- Whipped Cream: A dollop of whipped cream adds a light, airy touch.
- Espresso: Pair with a shot of espresso for a delightful contrast.
- Chocolate Sauce: Drizzle chocolate sauce on top for an indulgent treat.
- Presentation: Dust with powdered sugar for an elegant finish.
For more recipes follow me in page Facebook and Pinterest
FAQs about Basque Cheesecake Loaf Pan Kit
Can I use a different pan for this recipe?
Absolutely! While a loaf pan is ideal for this Basque cheesecake, you can use a square or round baking dish. Just keep an eye on the baking time, as it may vary slightly.
How do I know when the cheesecake is done baking?
The cheesecake is done when the top is a deep brown and the center is slightly jiggly. It will firm up as it cools, so don’t worry if it looks a bit undercooked!
Can I make this cheesecake ahead of time?
Yes! This cheesecake actually tastes better after chilling for a few hours or overnight. It’s perfect for making ahead of time for gatherings or special occasions.
What should I do if my cheesecake cracks?
Cracks can happen, but they won’t affect the taste! To prevent them, avoid overmixing and ensure your oven temperature is accurate. If cracks do appear, a dusting of powdered sugar can hide them beautifully!
How should I store leftovers?
Store any leftover cheesecake in an airtight container in the refrigerator. It will stay fresh for up to five days, making it a great treat to enjoy throughout the week!
Final Thoughts on Basque Cheesecake Loaf Pan Kit
Baking the Basque Cheesecake Loaf Pan Kit is more than just a recipe; it’s an experience filled with joy and satisfaction. Each step brings you closer to a creamy, decadent dessert that’s sure to impress. The aroma wafting through your kitchen will make your heart sing, and the first bite will transport you to dessert heaven. Whether you’re celebrating a special occasion or simply treating yourself, this cheesecake is a delightful way to show love to yourself and your family. So, roll up your sleeves and enjoy the sweet journey of baking!