As summer winds down and the school bells start ringing, I find myself in a whirlwind of emotions. The excitement of new beginnings mixed with the chaos of busy mornings can be overwhelming. That’s where these delightful back to school cookies come in! They’re not just a treat; they’re a quick solution for those hectic days. Imagine your kids’ faces lighting up when they find these sweet surprises in their lunchboxes or after school. Trust me, these cookies will make the return to school a little sweeter and a lot more fun!
Print
Back to School Cookies: Delicious Treats for Success!
- Total Time: 27 minutes
- Yield: 24 cookies 1x
- Diet: Vegetarian
Description
These back to school cookies are a delightful treat that will make the return to school a little sweeter. Perfect for lunchboxes or after-school snacks!
Ingredients
- 1 cup unsalted butter, softened
- 1 cup granulated sugar
- 1 cup brown sugar, packed
- 2 large eggs
- 2 teaspoons vanilla extract
- 3 cups all-purpose flour
- 1 teaspoon baking soda
- 1/2 teaspoon salt
- 2 cups chocolate chips
- 1 cup chopped nuts (optional)
Instructions
- Preheat your oven to 350°F (175°C).
- In a large bowl, cream together the softened butter, granulated sugar, and brown sugar until smooth.
- Beat in the eggs one at a time, then stir in the vanilla.
- In another bowl, combine the flour, baking soda, and salt.
- Gradually blend the dry ingredients into the creamed mixture.
- Fold in the chocolate chips and nuts if using.
- Drop by rounded tablespoons onto ungreased cookie sheets.
- Bake for 10-12 minutes or until the edges are golden brown.
- Let cool on the cookie sheets for a few minutes before transferring to wire racks to cool completely.
Notes
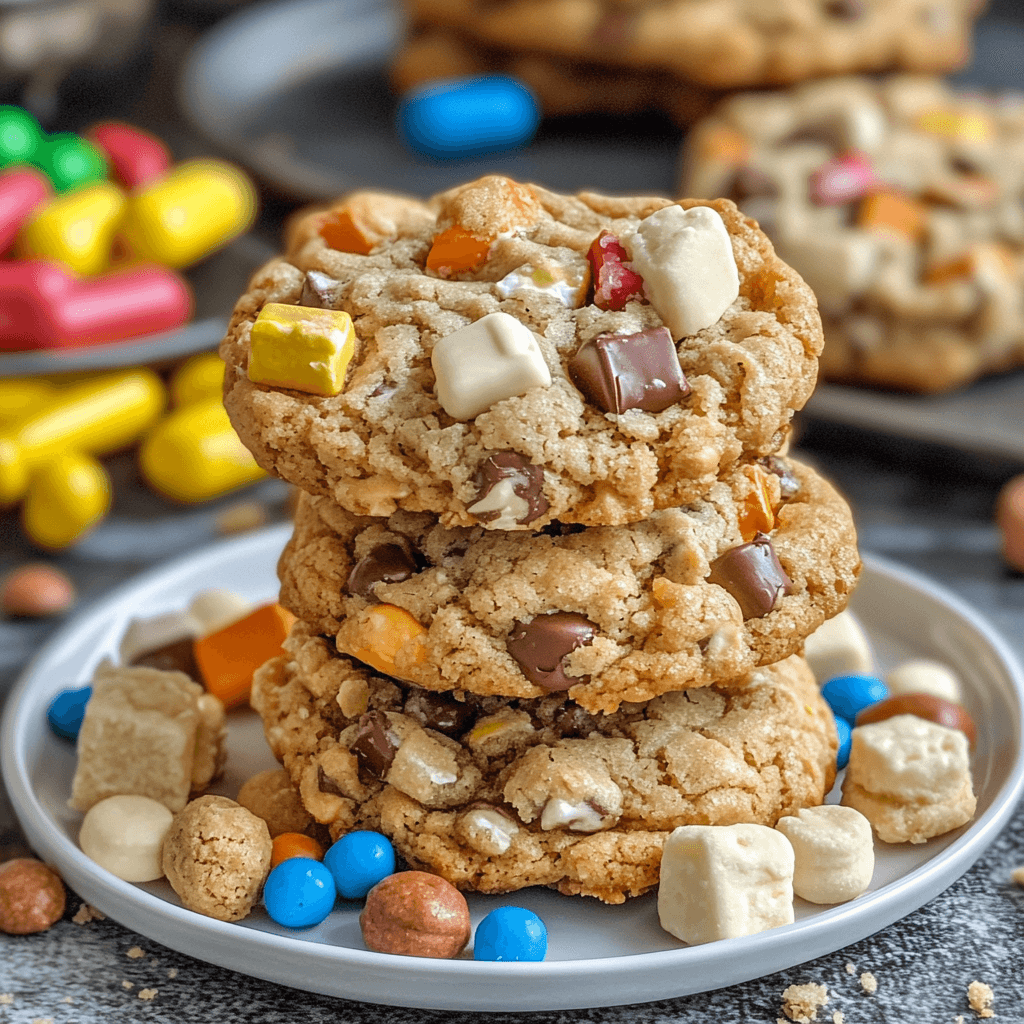
- For a fun twist, add colorful sprinkles to the dough before baking.
- Store cookies in an airtight container to keep them fresh.
- These cookies freeze well; just thaw before serving.
- Prep Time: 15 minutes
- Cook Time: 12 minutes
- Category: Dessert
- Method: Baking
- Cuisine: American
Nutrition
- Serving Size: 1 cookie
- Calories: 150
- Sugar: 10g
- Sodium: 100mg
- Fat: 7g
- Saturated Fat: 4g
- Unsaturated Fat: 2g
- Trans Fat: 0g
- Carbohydrates: 20g
- Fiber: 1g
- Protein: 2g
- Cholesterol: 20mg
Keywords: back to school cookies, cookies, dessert, snacks, chocolate chip cookies
Table of Contents
Why You’ll Love This Back to School Cookies
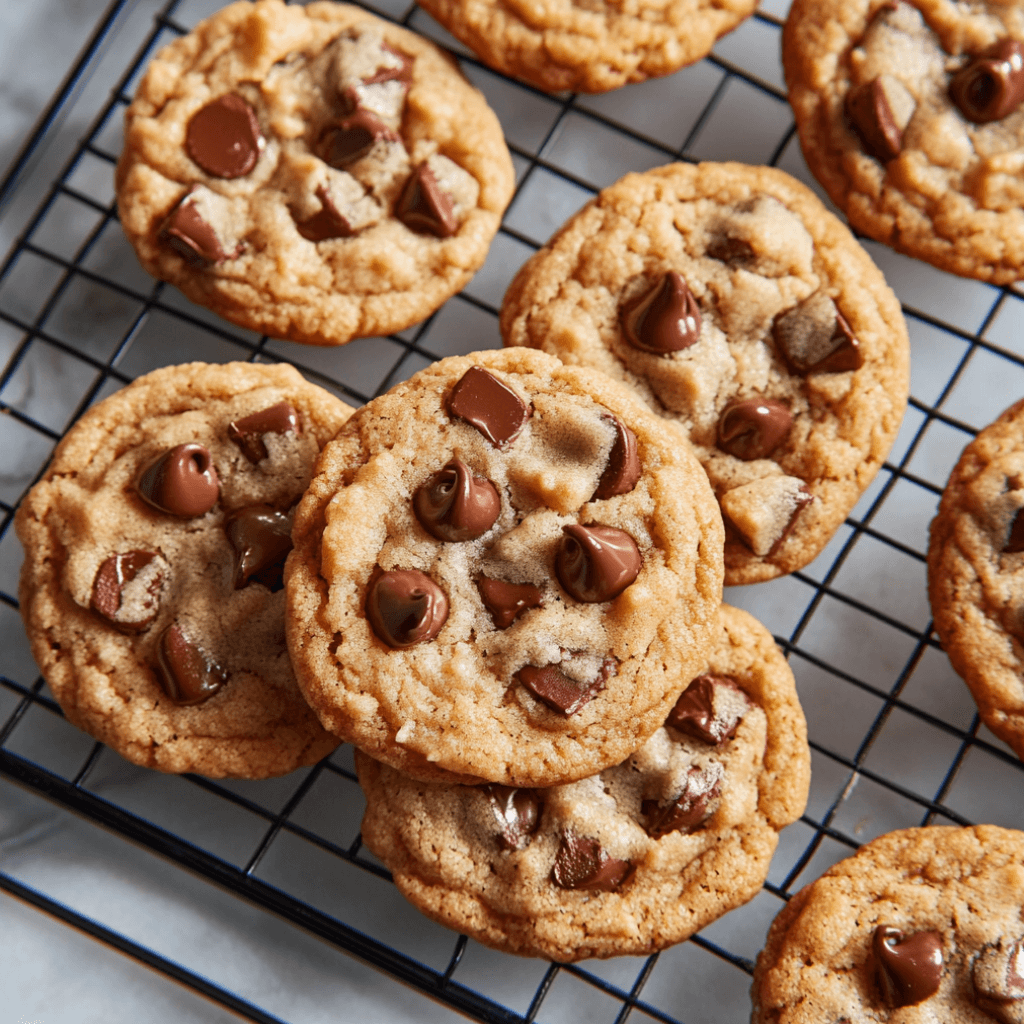
These back to school cookies are a game-changer for busy moms like us! They’re incredibly easy to whip up, taking just 15 minutes of prep time. Plus, the aroma of freshly baked cookies wafting through your home is pure magic. With gooey chocolate chips and a soft, chewy texture, they’re sure to please even the pickiest eaters. Trust me, these cookies will become a beloved staple in your household!

Ingredients for Back to School Cookies
Gathering the right ingredients is the first step to cookie bliss! Here’s what you’ll need for these scrumptious back to school cookies:
- Unsalted butter: Softened to room temperature, it adds richness and helps create that perfect chewy texture.
- Granulated sugar: This sweetener gives the cookies a delightful crispness on the outside.
- Brown sugar: Packed for moisture and a hint of caramel flavor, it’s essential for that soft, chewy center.
- Large eggs: They bind the ingredients together and add structure to the cookies.
- Vanilla extract: A splash of this aromatic essence elevates the flavor profile, making every bite irresistible.
- All-purpose flour: The backbone of the cookie dough, it provides the necessary structure.
- Baking soda: This leavening agent helps the cookies rise and become fluffy.
- Salt: Just a pinch enhances the sweetness and balances the flavors.
- Chocolate chips: The star of the show! Use semi-sweet or dark chocolate for a rich, gooey experience.
- Chopped nuts (optional): Walnuts or pecans add a delightful crunch, but feel free to skip them if your kids prefer nut-free treats.
For those who want to get creative, consider adding colorful sprinkles for a fun twist! You can find the exact measurements for each ingredient at the bottom of the article, ready for printing. Happy baking!
How to Make Back to School Cookies
Now that we have our ingredients ready, let’s dive into the fun part—making these back to school cookies! Follow these simple steps, and you’ll have a batch of delicious cookies in no time.
Step 1: Preheat the Oven
First things first, preheat your oven to 350°F (175°C). This step is crucial! Preheating ensures that your cookies bake evenly. If you skip this, your cookies might spread too much or not rise properly. Trust me, a well-preheated oven is the secret to cookie perfection!
Step 2: Cream the Butter and Sugars
In a large bowl, cream together the softened butter, granulated sugar, and brown sugar until smooth. This process is key for achieving that delightful texture. When you cream these ingredients, you’re incorporating air, which helps the cookies rise and become light and fluffy. It’s like giving your cookies a little boost!
Step 3: Add Eggs and Vanilla
Next, beat in the eggs one at a time, then stir in the vanilla extract. Eggs are the glue that holds everything together, while vanilla adds a warm, inviting flavor. This combination creates a rich base for your cookies, making each bite a little piece of heaven.
Step 4: Combine Dry Ingredients
In another bowl, mix together the all-purpose flour, baking soda, and salt. Mixing these dry ingredients separately helps ensure that the baking soda and salt are evenly distributed. This step is essential for consistent flavor and texture throughout your cookies.
Step 5: Blend Dry and Wet Ingredients
Gradually blend the dry ingredients into the creamed mixture. I like to do this in batches to avoid a flour explosion! Mix until just combined; overmixing can lead to tough cookies. We want them soft and chewy, not like hockey pucks!
Step 6: Fold in Chocolate Chips and Nuts
Now, it’s time to fold in the chocolate chips and any nuts you’re using. This is where you can get creative! Feel free to swap in white chocolate chips or even dried fruit for a fun twist. Just be gentle when folding to keep the dough light and airy.
Step 7: Drop Dough onto Cookie Sheets
Using a rounded tablespoon, drop the dough onto ungreased cookie sheets. Make sure to leave enough space between each cookie, as they will spread while baking. I usually aim for about two inches apart. This way, they won’t end up as one giant cookie!
Step 8: Bake to Perfection
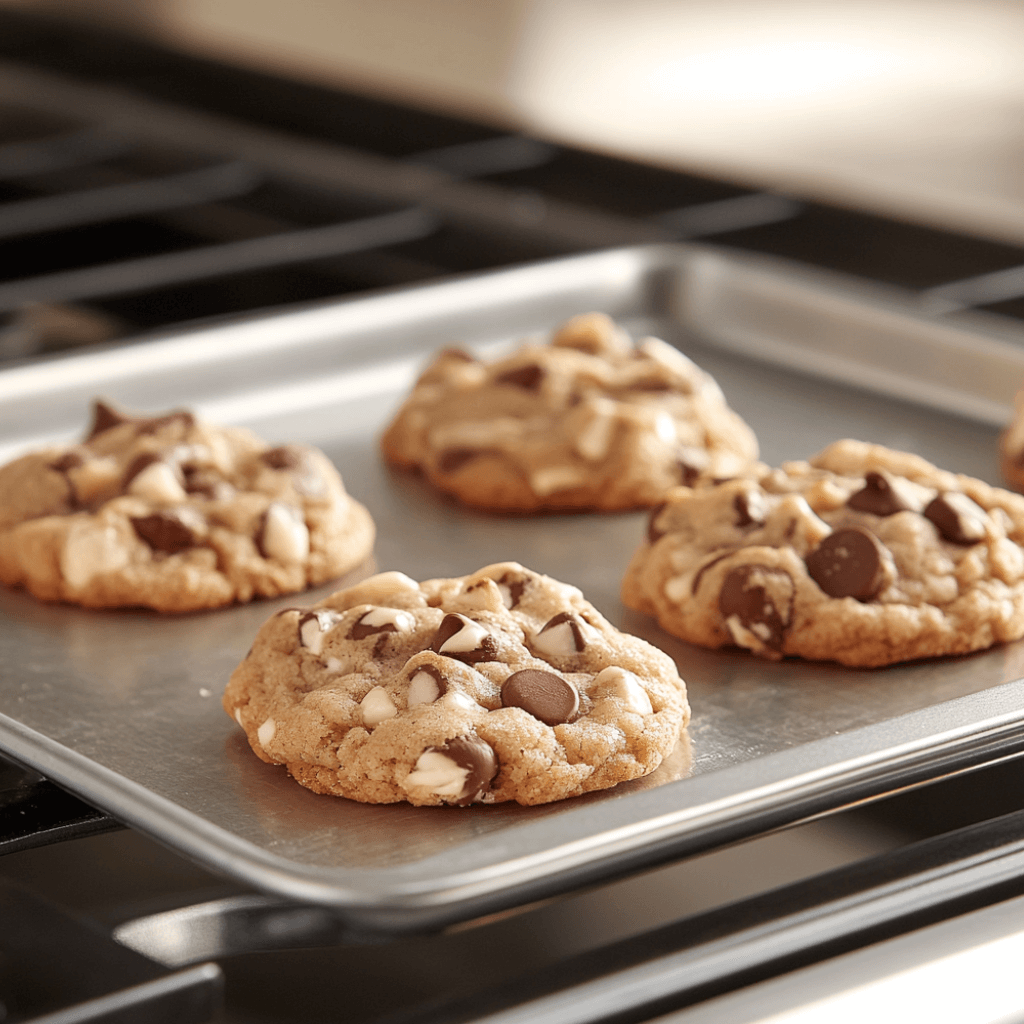
Bake your cookies for 10-12 minutes or until the edges are golden brown. Keep an eye on them! Every oven is different, and you don’t want to overbake. A little underbaking is okay; they’ll continue to cook on the sheet after you take them out.
Step 9: Cool and Enjoy
Once baked, let the cookies cool on the sheets for a few minutes before transferring them to wire racks. This cooling time is important! It allows the cookies to set and makes them easier to handle. Plus, the aroma wafting through your kitchen is simply irresistible!
Tips for Success
- Use room temperature ingredients for better mixing.
- Don’t skip the preheating step; it’s crucial for even baking.
- For softer cookies, slightly underbake them.
- Experiment with different chocolate types for unique flavors.
- Store cookies in an airtight container to keep them fresh longer.
Equipment Needed
- Mixing bowls: A large bowl for creaming and a medium bowl for dry ingredients. You can use any size you have on hand!
- Measuring cups and spoons: Essential for accuracy. If you don’t have them, use a standard coffee mug for rough estimates.
- Baking sheets: A couple of ungreased cookie sheets will do. Parchment paper is a great alternative for easy cleanup.
- Spatula: A sturdy spatula helps with mixing and transferring cookies. A wooden spoon works just as well!

Variations
- Oatmeal Chocolate Chip: Add 1 cup of rolled oats for a chewy texture and extra fiber.
- Peanut Butter Swirl: Replace half the butter with creamy peanut butter for a nutty twist.
- Gluten-Free: Substitute all-purpose flour with a gluten-free blend for a safe option.
- Vegan: Use flax eggs and coconut oil instead of eggs and butter for a plant-based version.
- Spiced Cookies: Add a teaspoon of cinnamon or nutmeg for a warm, cozy flavor.
Serving Suggestions
- Pair these back to school cookies with a glass of cold milk for a classic treat.
- Serve alongside fresh fruit for a balanced snack that kids will love.
- For a fun presentation, stack cookies in a mason jar tied with a ribbon.
- Include a small note in lunchboxes for a sweet surprise!
For more recipes follow me in page Facebook and Pinterest
FAQs about Back to School Cookies
As a fellow busy mom, I know you might have some questions about these delightful back to school cookies. Here are a few common queries that can help you bake with confidence!
Can I make these cookies ahead of time?
Absolutely! These back to school cookies store well in an airtight container for up to a week. You can also freeze the dough for up to three months. Just scoop the dough onto cookie sheets, freeze until solid, then transfer to a freezer bag. Bake straight from the freezer, adding a minute or two to the baking time.
What can I substitute for chocolate chips?
If chocolate isn’t your thing, you can swap in butterscotch chips, white chocolate, or even dried fruits like cranberries or raisins. The possibilities are endless! Just remember to keep the total amount around two cups.
How do I know when the cookies are done baking?
Look for golden brown edges and a slightly soft center. They’ll continue to firm up as they cool. If you prefer a chewier cookie, take them out a minute early. Trust your instincts; you’ll get the hang of it!
Can I use whole wheat flour instead of all-purpose flour?
Yes, you can! Whole wheat flour adds a nutty flavor and extra fiber. Just keep in mind that it may change the texture slightly, making them a bit denser. You might want to mix half whole wheat and half all-purpose for the best results.
What’s the best way to store these cookies?
Store your back to school cookies in an airtight container at room temperature. If you want to keep them fresh longer, you can refrigerate them. Just make sure to let them come to room temperature before serving for the best taste!
Final Thoughts
As the school year kicks off, these back to school cookies become more than just a treat; they’re a symbol of love and care. Baking them fills your home with warmth and sweet aromas, creating memories that last a lifetime. Each bite is a reminder of the joy in simple moments, whether it’s a quick snack after school or a special surprise in a lunchbox. So, roll up your sleeves, gather your loved ones, and enjoy the delightful process of baking together. Trust me, these cookies will not only satisfy cravings but also bring smiles to your family’s faces!

