
As a busy mom, I know how precious time can be, especially when it comes to whipping up something special for my family. That’s why I absolutely adore this Apple Crumble Cheesecake! It’s the perfect blend of creamy cheesecake and sweet, tart apples, all topped with a crunchy crumble that makes every bite a delight. Whether you’re looking to impress guests or simply treat your loved ones, this dessert is a quick solution that brings smiles to the table. Trust me, once you try it, you’ll want to make it again and again!
Print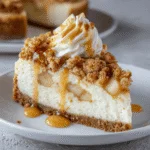
Apple Crumble Cheesecake: A Delicious Dessert Delight!
- Total Time: 1 hour 40 minutes
- Yield: 12 servings 1x
- Diet: Vegetarian
Description
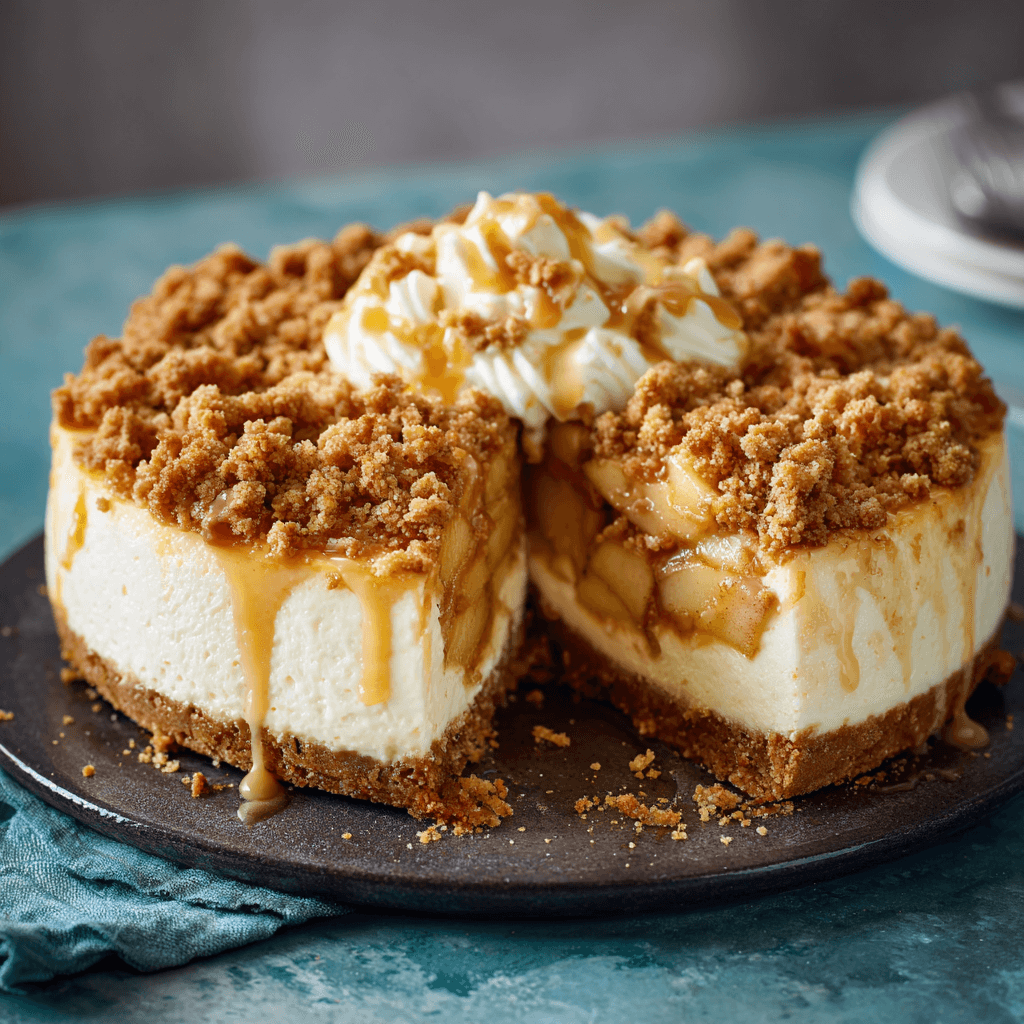
A delightful dessert that combines the creamy richness of cheesecake with the sweet and tart flavors of apples, topped with a crunchy crumble.
Ingredients
- 2 cups of graham cracker crumbs
- 1/2 cup of unsalted butter, melted
- 1 cup of sugar
- 4 (8 oz) packages of cream cheese, softened
- 1 teaspoon of vanilla extract
- 4 large eggs
- 4 cups of peeled and sliced apples
- 1 teaspoon of cinnamon
- 1/2 cup of brown sugar
- 1 cup of rolled oats
- 1/2 cup of all-purpose flour
Instructions
- Preheat the oven to 325°F (160°C).
- In a bowl, mix graham cracker crumbs and melted butter, then press into the bottom of a springform pan.
- In a large bowl, beat cream cheese and sugar until smooth. Add vanilla and eggs, mixing until well combined.
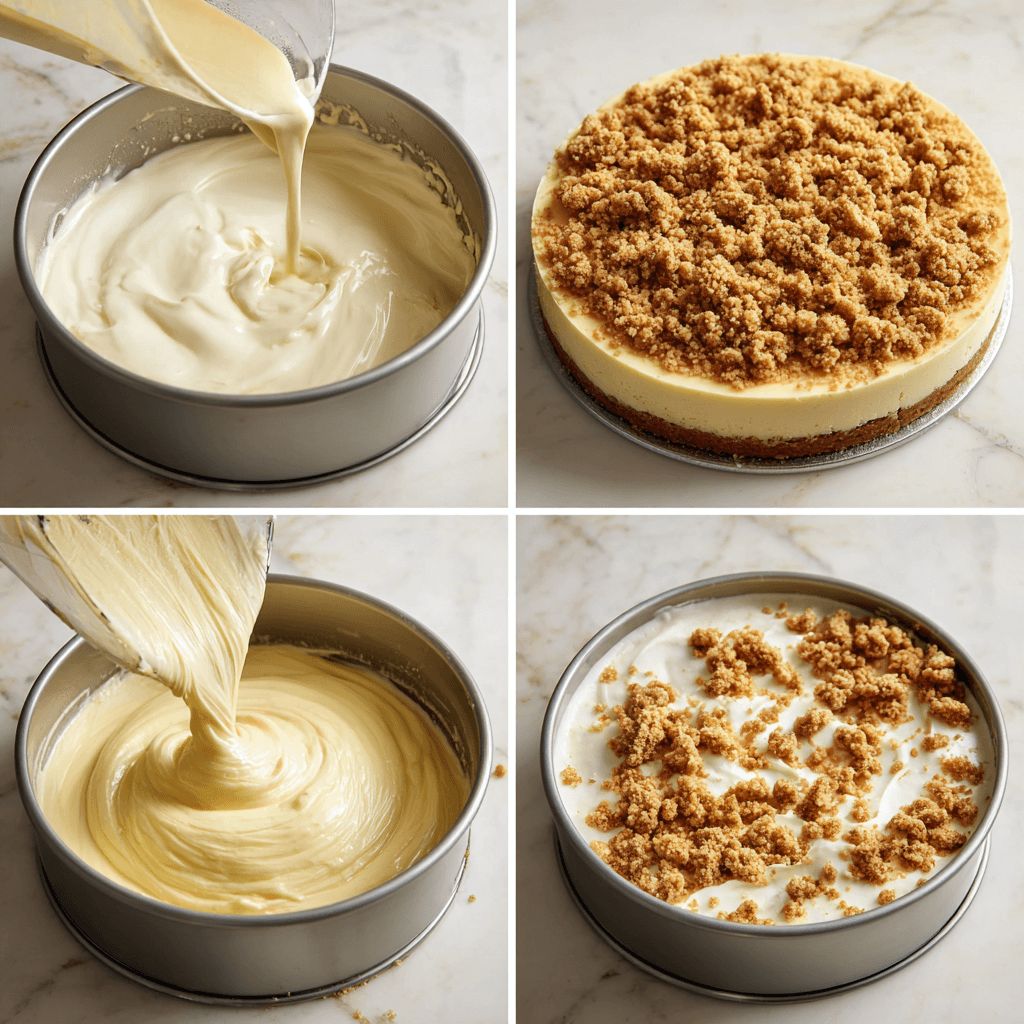
- Pour the cream cheese mixture over the crust in the springform pan.
- In another bowl, combine sliced apples, cinnamon, and brown sugar. Spread the apple mixture over the cheesecake layer.
- In a separate bowl, mix oats, flour, and remaining sugar to create the crumble topping. Sprinkle it over the apples.
- Bake for 60-70 minutes or until the center is set. Let it cool before serving.
Notes
- For a richer flavor, use flavored cream cheese.
- Serve with whipped cream or vanilla ice cream for added indulgence.
- Can be made a day in advance and stored in the refrigerator.
- Prep Time: 30 minutes
- Cook Time: 70 minutes
- Category: Dessert
- Method: Baking
- Cuisine: American
Nutrition
- Serving Size: 1 slice
- Calories: 350
- Sugar: 25g
- Sodium: 200mg
- Fat: 20g
- Saturated Fat: 10g
- Unsaturated Fat: 8g
- Trans Fat: 0g
- Carbohydrates: 40g
- Fiber: 2g
- Protein: 5g
- Cholesterol: 70mg
Keywords: Apple Crumble Cheesecake, dessert, cheesecake, apple dessert
Table of Contents
Why You’ll Love This Apple Crumble Cheesecake
This Apple Crumble Cheesecake is a game-changer for busy days. It’s easy to make, requiring just a handful of ingredients and minimal prep time. The combination of creamy cheesecake and the warm, spiced apples is simply irresistible. Plus, the crunchy crumble topping adds a delightful texture that everyone will love. It’s a dessert that feels fancy but comes together quickly, making it perfect for any occasion!
Ingredients for Apple Crumble Cheesecake
Gathering the right ingredients is the first step to creating this delightful Apple Crumble Cheesecake. Here’s what you’ll need:
- Graham cracker crumbs: These form the base of your crust, providing a sweet and crunchy foundation.
- Unsalted butter: Melted butter binds the crumbs together, adding richness to the crust.
- Sugar: A touch of sweetness enhances the cheesecake filling and the crumble topping.
- Cream cheese: The star of the show! Softened cream cheese gives the cheesecake its creamy texture and rich flavor.
- Vanilla extract: This adds a warm, aromatic flavor that complements the cheesecake beautifully.
- Eggs: Essential for binding the filling together, eggs help create that perfect cheesecake consistency.
- Apples: Peeled and sliced, they bring a sweet and tart flavor that pairs wonderfully with the creamy filling.
- Cinnamon: A sprinkle of cinnamon adds warmth and enhances the apple flavor, making it feel cozy.
- Brown sugar: This adds a deeper sweetness and a hint of caramel flavor to the apple layer.
- Rolled oats: These are used in the crumble topping, providing a hearty texture and nutty flavor.
- All-purpose flour: Flour helps to bind the crumble topping, giving it that perfect crunch.
For those looking to switch things up, consider using flavored cream cheese for an extra twist. You can also substitute the apples with pears or berries for a different fruity experience. Remember, the exact quantities of these ingredients are listed at the bottom of the article for your convenience!
How to Make Apple Crumble Cheesecake
Now that you have all your ingredients ready, let’s dive into the fun part—making this delicious Apple Crumble Cheesecake! Follow these simple steps, and you’ll have a dessert that’s sure to impress.
Step 1: Preheat the Oven
First things first, preheat your oven to 325°F (160°C). Preheating is crucial because it ensures even baking. If you skip this step, your cheesecake might not set properly, and we definitely want that creamy texture!
Step 2: Prepare the Crust
In a mixing bowl, combine your graham cracker crumbs with the melted butter. Stir until the crumbs are fully coated. This mixture should resemble wet sand. Next, press it firmly into the bottom of a springform pan. Use the back of a measuring cup or your fingers to create an even layer. This crust will be the perfect base for your cheesecake!
Step 3: Make the Cheesecake Filling
In a large bowl, beat the softened cream cheese and sugar together until smooth. I like to use an electric mixer for this—it makes the process quicker! Once it’s creamy, add in the vanilla extract and eggs, mixing until everything is well combined. This filling is what makes the cheesecake so rich and delicious!
Step 4: Layer the Cheesecake Mixture
Now, pour the cream cheese mixture over the crust in your springform pan. Use a spatula to spread it evenly. This layer is the heart of your Apple Crumble Cheesecake, so make sure it’s nice and smooth!
Step 5: Prepare the Apple Layer
In another bowl, toss your sliced apples with cinnamon and brown sugar. This step brings out the natural sweetness of the apples and adds a warm, cozy flavor. Spread this apple mixture evenly over the cheesecake layer. The apples will bake beautifully, creating a lovely contrast with the creamy filling.
Step 6: Create the Crumble Topping
In a separate bowl, mix together the rolled oats, all-purpose flour, and remaining sugar. This will be your crumble topping. Stir until everything is well combined. Then, sprinkle this mixture generously over the apples. The oats will add a delightful crunch that complements the creamy cheesecake perfectly!
Step 7: Bake the Cheesecake
It’s time to bake! Place your cheesecake in the preheated oven and bake for 60-70 minutes. Keep an eye on it; the center should be set but still slightly jiggly. Once done, let it cool completely before removing it from the springform pan. This cooling time allows the flavors to meld beautifully!
Tips for Success
- Make sure your cream cheese is at room temperature for easy mixing.
- Don’t rush the cooling process; it helps the cheesecake set properly.
- Use a sharp knife to slice the cheesecake for clean edges.
- For a fun twist, add nuts to the crumble topping for extra crunch.
- Store leftovers in the fridge, covered, for up to three days.
Equipment Needed
- Springform pan: Ideal for cheesecakes, but a regular cake pan works too.
- Mixing bowls: Use any size you have on hand; just ensure they’re sturdy.
- Electric mixer: A hand mixer is great, but a whisk will do in a pinch.
- Spatula: Essential for spreading the cheesecake mixture evenly.
- Measuring cups and spoons: Accurate measurements are key for baking success!
Variations
- Nutty Delight: Add chopped walnuts or pecans to the crumble topping for an extra crunch and flavor.
- Spiced Up: Experiment with different spices like nutmeg or ginger to give your cheesecake a unique twist.
- Fruit Fusion: Swap out apples for pears or berries for a refreshing change in flavor.
- Gluten-Free Option: Use gluten-free graham cracker crumbs and flour to make this dessert suitable for gluten-sensitive friends.
- Lower Sugar: Substitute some of the sugar with a natural sweetener like honey or maple syrup for a healthier version.
Serving Suggestions
- Serve slices of Apple Crumble Cheesecake with a dollop of whipped cream for added indulgence.
- Pair it with a scoop of vanilla ice cream to enhance the flavors.
- Garnish with a sprinkle of cinnamon or a drizzle of caramel sauce for a beautiful presentation.
- Enjoy with a cup of hot tea or coffee for a cozy dessert experience.
For more recipes follow me in page Facebook and Pinterest
FAQs about Apple Crumble Cheesecake
Can I make Apple Crumble Cheesecake ahead of time?
Absolutely! This cheesecake can be made a day in advance. Just store it in the refrigerator, covered, until you’re ready to serve. It actually tastes even better after sitting for a while, as the flavors meld beautifully!
What type of apples are best for this recipe?
I recommend using a mix of sweet and tart apples, like Granny Smith and Honeycrisp. This combination gives the cheesecake a delightful balance of flavors. You can also experiment with your favorite varieties!
How do I know when the cheesecake is done baking?
The cheesecake is done when the edges are set, but the center still has a slight jiggle. It will firm up as it cools. Keep an eye on it during the last few minutes of baking to avoid overcooking.
Can I freeze Apple Crumble Cheesecake?
Yes, you can freeze it! Just wrap it tightly in plastic wrap and then in aluminum foil. It can be frozen for up to three months. Thaw it in the refrigerator overnight before serving.
What can I serve with Apple Crumble Cheesecake?
This cheesecake pairs wonderfully with whipped cream, vanilla ice cream, or even a drizzle of caramel sauce. A cup of coffee or tea on the side makes for a cozy dessert experience!
Final Thoughts
Creating this Apple Crumble Cheesecake is more than just baking; it’s about bringing joy to your family and friends. The creamy filling, sweet apples, and crunchy topping come together to create a dessert that feels like a warm hug. I love how it transforms any gathering into a special occasion, making memories with every slice. Plus, it’s a recipe that invites creativity, allowing you to make it your own. So, roll up your sleeves, embrace the process, and enjoy the delightful smiles that this cheesecake will surely bring to your table!