
Oh, let me tell you about Homemade Cruffins! These delightful pastries are the best of both worlds, combining the flaky, buttery layers of croissants with the adorable shape and filling of muffins. Imagine biting into one and savoring that tender, airy texture while your taste buds dance with excitement from the sweet filling! I first stumbled upon cruffins during a lazy Sunday brunch, and from that moment, I was hooked. There’s something so rewarding about crafting these beauties in your own kitchen. The process feels like a little adventure – from activating the yeast to watching the dough rise and transform into something magical. They’ve quickly become a favorite in my household, whether enjoyed with a cup of coffee in the morning or as a sweet treat in the afternoon. Plus, the endless possibilities for fillings mean every batch can be a fun surprise. Trust me, once you try making Homemade Cruffins, you’ll wonder how you ever lived without them!
Why You’ll Love This Recipe
Homemade Cruffins aren’t just a treat; they’re an experience! Here’s why you’ll fall in love with making them:
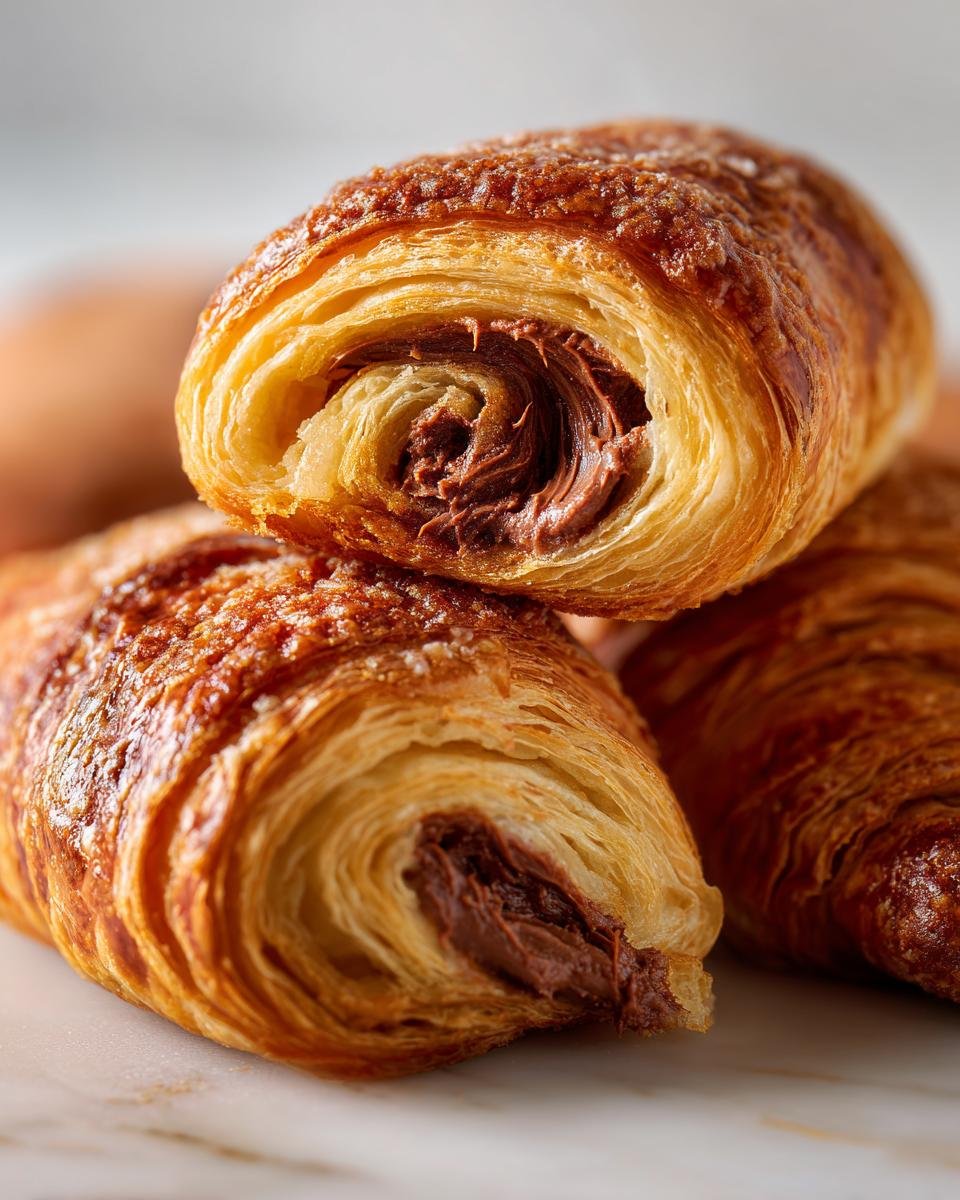
- Flaky Texture: The layers are reminiscent of a croissant, creating a delightful crunch followed by a soft, pillowy interior that melts in your mouth.
- Easy Preparation: While they might seem fancy, the process is straightforward and perfect for bakers of all skill levels. You’ll feel like a pro in no time!
- Versatile Fillings: From Nutella to lemon curd, the filling options are endless! You can switch things up based on what you have or your mood, keeping each batch exciting and unique.
- Perfect for Any Time: Whether it’s breakfast, brunch, or a sweet afternoon snack, these cruffins fit the bill. They also make a fabulous addition to any gathering!
- Impressive Presentation: The charming muffin shape and beautiful layers make them a showstopper on any plate. Your family and friends will be wowed!
Ingredients for Homemade Cruffins
Here’s what you’ll need to bring these delightful Homemade Cruffins to life. Gather these ingredients, and let’s get baking!
- 1 cup (240ml) whole milk, warmed to about 110°F (43°C)
- 2 and 1/4 teaspoons (7g) instant or active dry yeast (1 standard packet)
- 3 Tablespoons (38g) granulated sugar
- 3 Tablespoons (43g) unsalted or salted butter, softened to room temperature and cut into 3 pieces
- 3 cups (375g) all-purpose flour (spooned & leveled), plus more as needed
- 1 and 1/4 teaspoons salt
- 1 cup (16 Tbsp; 226g) salted butter, slightly softened
- 1 Tablespoon all-purpose flour
- 3/4 cup (150g) granulated sugar
- 1 Tablespoon ground cinnamon
- Optional fillings: 6 Tablespoons Nutella, jam, lemon curd, or pastry cream
With these ingredients on hand, you’re all set to create something truly special! Don’t forget to check your pantry for any extras you might want to add, too!
How to Prepare Homemade Cruffins
Making Homemade Cruffins is a delightful journey, and I’m here to walk you through every step! Don’t worry if it seems a bit overwhelming at first; I promise it’s worth it. Let’s dive right into the process of crafting these flaky, scrumptious pastries!
Step 1: Activate the Yeast
First things first, let’s get that yeast working! In a stand mixer bowl, whisk together 1 cup of warm milk (about 110°F or 43°C), 2 and 1/4 teaspoons of yeast, and 3 tablespoons of granulated sugar. This mixture needs some love, so cover it with a clean towel and let it sit for about 5 minutes until it’s foamy. Trust me, this bubbling action is crucial—it means your yeast is alive and ready to help your dough rise!
Step 2: Mix the Dough
Once your yeast is all frothy and ready, it’s time to add in the goodies! Toss in 3 tablespoons of softened butter, 2 cups of all-purpose flour, and 1 and 1/4 teaspoons of salt. Now, beat this mixture on medium speed for about 2 minutes. Don’t forget to scrape down the sides of the bowl every so often to make sure everything’s combined. After that, add the remaining 1 cup of flour and mix on low until a soft dough forms. It should feel tacky but not overly sticky!
Step 3: Knead the Dough
Now, let’s give that dough some TLC! Turn it out onto a lightly floured surface and knead it for about 5 minutes. You’re looking for a soft, slightly tacky texture that springs back when you poke it gently. If it feels too sticky, sprinkle a bit more flour, but be cautious—too much flour can lead to dry cruffins!
Step 4: First Rise
Time to let the dough rise! Lightly grease a bowl and place your kneaded dough inside, covering it with a kitchen towel. You’ll want to let it rise in a warm spot for about 2 hours, or until it’s nearly doubled in size. This step is super important, as it’s what gives your cruffins those beautiful layers!
Step 5: Chill the Dough
Once the dough has risen, it’s time to punch it down gently to release some air. Flatten it into a 10×14-inch rectangle (don’t worry too much about perfection!). Now, cover it again and chill it in the fridge for about 20 minutes. This chilling helps firm up the butter, making it easier to roll out later.
Step 6: Prepare Butter Filling
While your dough is chilling, let’s whip up that buttery goodness! In a small bowl, beat together 1 cup of slightly softened salted butter and 1 tablespoon of flour until well combined. This mixture is going to create those delicious layers, so spread it evenly over the center third of your chilled dough once it’s ready!
Step 7: Final Rolling and Folding
Now comes the fun part! Roll the dough out into a 9×12-inch rectangle, with the butter spread in the center. Fold the dough over to enclose the filling, sealing the edges carefully. Next, roll it out again to about the same size, then fold it into thirds like a letter. Cover it again and refrigerate for another 20 minutes. This rolling and folding process is what gives the cruffins their signature flaky layers—so don’t skip it!
After this final chilling, you’re ready to shape your cruffins and bake them to golden perfection!
Tips for Success
Making Homemade Cruffins is such a joy, but there are a few handy tips I’ve picked up along the way to ensure they turn out perfectly every time. Trust me; these little insights will save you from common pitfalls!
- Pay attention to your yeast: Always check that your milk is warm, not hot, to avoid killing the yeast. If it doesn’t foam after 5 minutes, your yeast might be expired. No foam means no rise!
- Don’t over-flour: It’s tempting to add more flour when the dough feels sticky, but resist that urge! The dough should be slightly tacky, which helps create those delightful layers. If you add too much flour, your cruffins could end up dry.
- Embrace the chill: Chilling the dough is key for flaky layers. Don’t skip the refrigeration steps! They help solidify the butter, which makes for a better roll and ultimately, flakier cruffins.
- Keep an eye on baking time: Every oven is a bit different, so start checking your cruffins a few minutes before the suggested time. They should be golden brown and puffed up to perfection!
- Let them cool: Once baked, allow your cruffins to cool slightly before diving in. This helps set the layers and makes them easier to handle.
With these tips in your back pocket, you’ll be on your way to cruffin success! Happy baking!
Variations on Homemade Cruffins
The beauty of Homemade Cruffins lies in their versatility! You can easily switch up the fillings to suit your cravings or celebrate the season. Here are some delightful variations to consider:
- Chocolate Hazelnut: Swap the classic fillings for a generous dollop of Nutella and sprinkle some chopped hazelnuts for added crunch.
- Fruit-Filled: Use fresh berries, like raspberries or blueberries, mixed with a bit of sugar. Alternatively, a spoonful of lemon curd adds a refreshing zing!
- Cinnamon Roll: For a fun twist, combine brown sugar, cinnamon, and chopped pecans as your filling, bringing that cozy cinnamon roll flavor into your cruffins.
- Maple Pecan: A mixture of maple syrup and chopped pecans makes for a sweet and nutty filling that’s perfect for fall!
Feel free to experiment with your favorite flavors and let your creativity shine! Each batch can be a new adventure in taste, making your cruffins even more special.
Storage & Reheating Instructions
To keep your Homemade Cruffins fresh and delicious, store any leftovers in an airtight container at room temperature for up to 2 days. If you want to keep them longer, you can freeze them! Just wrap each cruffin tightly in plastic wrap or aluminum foil, then place them in a freezer-safe bag. They’ll be good for up to 3 months.
When you’re ready to enjoy them again, reheating is a breeze! For the best results, pop them in a preheated oven at 350°F (175°C) for about 10-15 minutes. This will bring back that lovely flaky texture. If you’re in a hurry, you can also use the microwave for about 10-15 seconds, but be careful not to overdo it, or they might get a bit chewy. Enjoy your delightful cruffins warm!
Nutritional Information
When it comes to Homemade Cruffins, it’s nice to know what you’re indulging in! Each cruffin is approximately 350 calories, making them a delightful treat without going overboard. Here’s a quick breakdown of the typical nutritional values you can expect:
- Calories: 350
- Fat: 20g
- Saturated Fat: 12g
- Cholesterol: 60mg
- Sodium: 180mg
- Carbohydrates: 35g
- Sugar: 15g
- Protein: 4g
- Fiber: 1g
Keep in mind that these values can vary based on the specific ingredients and brands you use. Always check your labels for the most accurate information, and enjoy your cruffins in moderation as part of a balanced diet!
FAQ Section
Got questions about Homemade Cruffins? Don’t worry; I’ve got you covered! Here are some of the most common queries I hear, along with my answers:
Can I use regular all-purpose flour instead of bread flour for cruffins?
Absolutely! While bread flour can give you a chewier texture, all-purpose flour works perfectly for Homemade Cruffins. The key is to ensure your dough is soft and slightly tacky, which all-purpose flour can achieve beautifully.
What if my yeast doesn’t foam?
If your yeast doesn’t foam after mixing it with warm milk and sugar, it might be expired or the milk was too hot. Don’t worry! Just start over with fresh yeast and make sure your milk is warm (around 110°F or 43°C) but not scalding. Fresh yeast is vital for that perfect rise!
Can I make the dough ahead of time?
You sure can! If you want to prep ahead, you can make the dough and keep it in the fridge overnight. Just let it rise as instructed, then cover it tightly and pop it in the fridge. When you’re ready to bake, allow it to come to room temperature before rolling and shaping your cruffins.
What are some good filling ideas besides Nutella or jam?
The options are endless! You can use lemon curd for a zesty twist, or even pastry cream for a rich, creamy filling. For a fun seasonal treat, try mixing in some pumpkin puree and spices for fall, or fresh berries for a burst of flavor in the summer!
How do I know when my cruffins are done baking?
Keep an eye on them! Your Homemade Cruffins should be golden brown and puffed up. A great way to test for doneness is by gently tapping the top; if it sounds hollow, they’re ready! Just remember to let them cool slightly before enjoying to let those layers set.
For more recipes follow me in page Pinterest.


Homemade Cruffins: 5 Irresistible Flavors to Try Today
- Total Time: 2 hours 55 minutes
- Yield: 12 cruffins 1x
- Diet: Vegetarian
Description
Homemade Cruffins are a delightful pastry combining the flaky layers of croissants with the shape and filling of muffins. They are perfect for breakfast or as a sweet treat.
Ingredients
- 1 cup (240ml) whole milk, warmed to about 110°F (43°C)
- 2 and 1/4 teaspoons (7g) instant or active dry yeast (1 standard packet)
- 3 Tablespoons (38g) granulated sugar
- 3 Tablespoons (43g) unsalted or salted butter, softened to room temperature and cut into 3 pieces
- 3 cups (375g) all-purpose flour (spooned & leveled), plus more as needed
- 1 and 1/4 teaspoons salt
- 1 cup (16 Tbsp; 226g) salted butter, slightly softened
- 1 Tablespoon all-purpose flour
- 3/4 cup (150g) granulated sugar
- 1 Tablespoon ground cinnamon
- optional fillings: 6 Tablespoons Nutella, jam, lemon curd, or pastry cream
Instructions
- Whisk warm milk, yeast, and sugar in a stand mixer bowl. Cover and let sit for 5 minutes until foamy.
- Add butter, 2 cups of flour, and salt. Beat on medium speed for 2 minutes, scraping the bowl as needed.
- Add remaining 1 cup of flour, beat on low speed until a soft dough forms.
- Knead the dough for 5 minutes until soft and slightly tacky.
- Lightly grease a bowl, place dough in it, and cover. Let rise for about 2 hours until nearly double in size.
- Punch down the dough, flatten it into a 10×14-inch rectangle, and chill for 20 minutes.
- Beat slightly softened butter and 1 Tablespoon flour together until combined.
- Spread the butter on the center third of the dough, fold and seal the edges to enclose the butter.
- Roll out to a 9×12-inch rectangle, fold, cover, and refrigerate for 20 minutes.
Notes
- Use step-by-step photos as visuals before you begin.
- Make room in the refrigerator for your baking sheet during chilling steps.
- Don’t add more flour than necessary to avoid a dry dough.
- Prep Time: 30 minutes
- Cook Time: 25 minutes
- Category: Pastry
- Method: Baking
- Cuisine: French
Nutrition
- Serving Size: 1 cruffin
- Calories: 350
- Sugar: 15g
- Sodium: 180mg
- Fat: 20g
- Saturated Fat: 12g
- Unsaturated Fat: 8g
- Trans Fat: 0g
- Carbohydrates: 35g
- Fiber: 1g
- Protein: 4g
- Cholesterol: 60mg
Keywords: Homemade Cruffins, pastry, baking, breakfast