
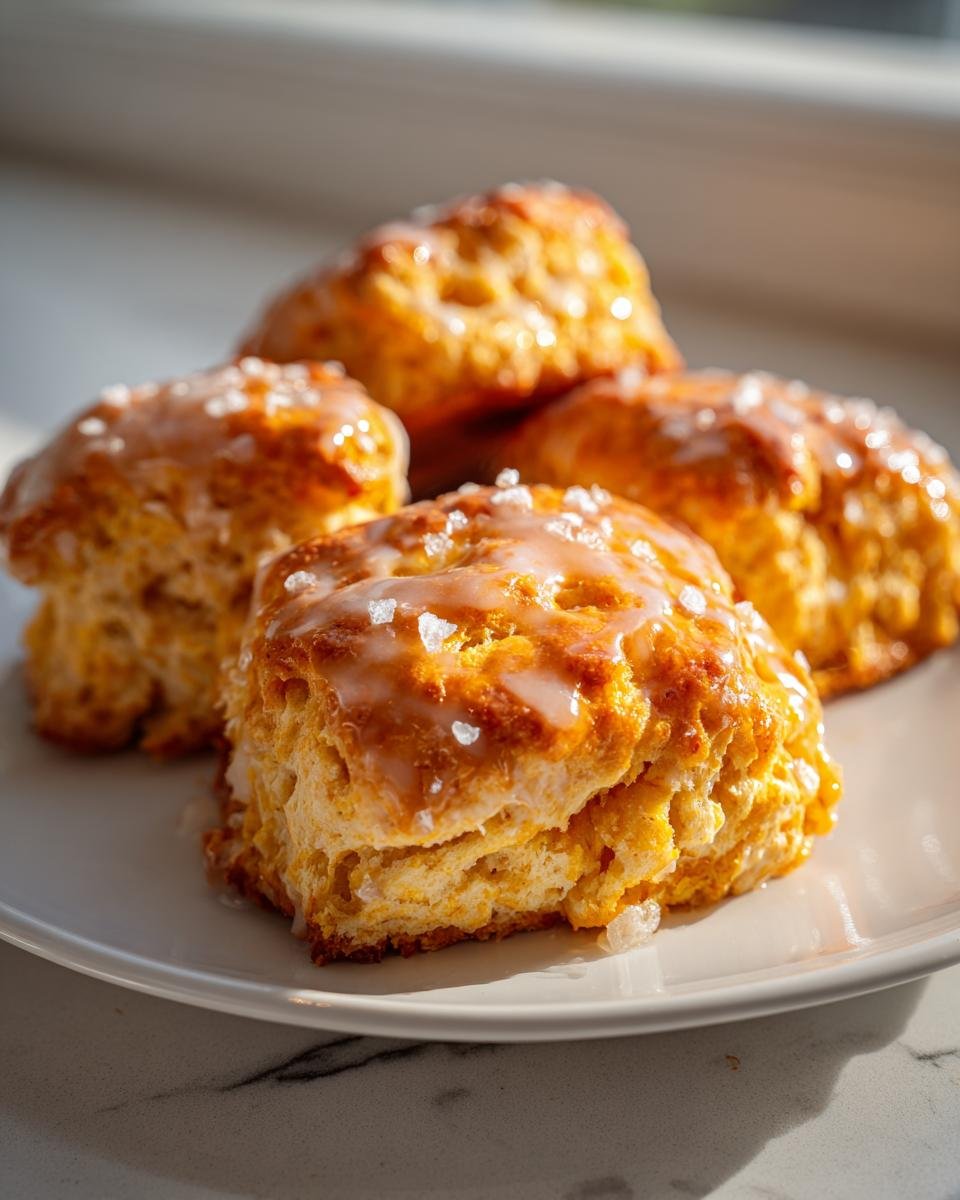
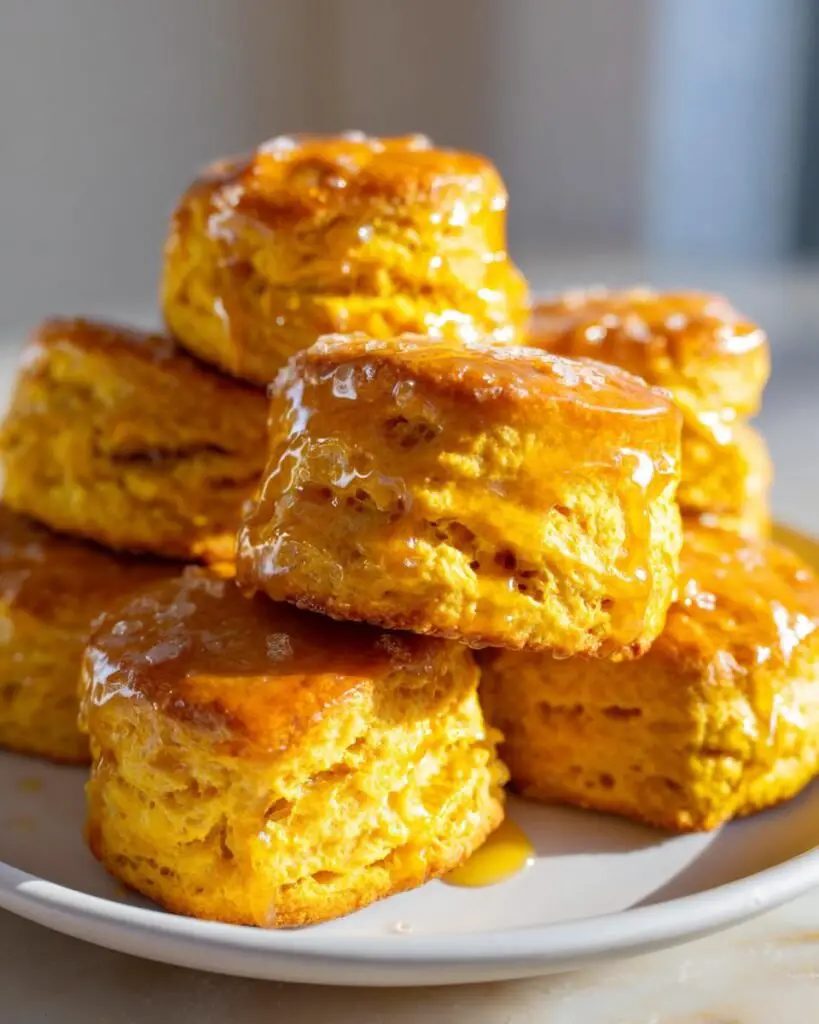
As the leaves turn vibrant shades of orange and gold, there’s nothing quite like the cozy aroma of freshly baked Classic Pumpkin Scones wafting through the kitchen. It’s like a warm hug on a chilly autumn day! Trust me, the blend of pumpkin puree and warm spices will transport you straight to a pumpkin patch, making every bite a celebration of fall.
These scones are not just delicious; they’re also incredibly easy to whip up, making them perfect for those busy mornings or lazy weekend brunches. I still remember the first time I made them for my family. It was a crisp October morning, and as soon as they came out of the oven, my kids couldn’t wait to dig in. The way their eyes lit up with the first bite is a memory I cherish. Between the tender, flaky texture and the sweet maple glaze, these scones quickly became our autumn tradition. So, grab your apron, and let’s dive into this delightful recipe that’s sure to fill your home with warmth and joy this season!
Ingredients for Classic Pumpkin Scones
- 2 cups (250g) all-purpose flour (spooned & leveled)
- 2 and 1/2 teaspoons baking powder
- 1 teaspoon ground cinnamon
- 1 and 1/2 teaspoons pumpkin pie spice
- 1/2 teaspoon salt
- 1/2 cup (8 Tbsp; 113g) unsalted butter, frozen
- 1/3 cup + 2 Tablespoons (105ml) heavy cream, divided
- 1 large egg
- 1/2 cup (115g) canned pumpkin puree, blotted
- 1/2 cup (100g) light brown sugar
- 1 teaspoon pure vanilla extract
- optional: coarse sugar for sprinkling on top before baking
- Maple Glaze
- 2 Tablespoons (28g) unsalted butter
- 1/3 cup (80ml) pure maple syrup
- 1 cup (112g) sifted confectioners’ sugar
- pinch salt, to taste
How to Prepare Classic Pumpkin Scones
Preheat and Prepare
First things first, let’s get that oven preheating to 400°F (204°C). You want it nice and hot! While that’s happening, adjust your baking rack to the middle-low position and line one or two large baking sheets with parchment paper or a silicone baking mat. This ensures that your scones won’t stick, and clean-up will be a breeze!
Mix Dry Ingredients
In a big mixing bowl, whisk together the flour, baking powder, cinnamon, pumpkin pie spice, and salt until everything is combined evenly. I love how the spices create an inviting aroma even at this stage. It really sets the mood for what’s to come. Make sure there are no lumps – we want everything to blend beautifully!
Incorporate Butter
Now, here’s where the magic starts! Grab that frozen butter and grate it right into the dry mixture. Trust me, this step is key for achieving those flaky layers in your scones. Use your fingers to mix the grated butter into the flour until it resembles pea-sized crumbs. It’s okay if some bits are a little larger; that’ll just add to the texture!
Combine Wet Ingredients
In a separate small bowl, whisk together 1/3 cup of heavy cream, the egg, blotted pumpkin puree, light brown sugar, and vanilla extract until smooth. This mixture adds moisture and sweetness to our scones. Once it’s all well combined, drizzle it over the dry ingredients and mix gently until everything is just moistened. Be careful not to overmix – we want tender scones, not tough ones!
Shape and Cut Scones
Transfer your dough to a floured surface and form it into a ball. Gently press it into an 8-inch disc, about 1 inch thick. Use a sharp knife or a pizza cutter to slice it into 8 wedges. This is where you can get creative! Just make sure to space them at least 2 inches apart on your baking sheet to allow for some spreading while baking.
Baking Process
Now it’s time to bake! Pop those scones into the preheated oven. If you made larger scones, they’ll need about 20-25 minutes to get lightly browned. Smaller ones will be perfect in about 18-20 minutes. Keep an eye on them – they should be golden and firm to the touch, but still soft in the middle!
Preparing the Maple Glaze
While your scones are baking, let’s whip up that delicious maple glaze! In a small saucepan over low heat, melt the butter and maple syrup together. Once melted, whisk in the sifted confectioners’ sugar until smooth. Add a pinch of salt to balance the sweetness. This glaze is going to take your scones to a whole new level!
Drizzle and Serve
Once your scones are out of the oven and slightly cooled, it’s time for the fun part! Drizzle the warm maple glaze generously over the scones. Serve them warm with a cup of coffee or tea, and enjoy the cozy flavors of fall! Trust me, they won’t last long!
Nutritional Information Disclaimer
Please note that the nutritional information provided for these Classic Pumpkin Scones can vary based on the specific ingredients and brands used. For the most accurate values, it’s always best to calculate based on your exact ingredients. The values listed are estimates and should be used for general guidance only.
Why You’ll Love This Recipe
- Quick and Easy: These Classic Pumpkin Scones come together in just about 45 minutes, making them an effortless choice for breakfast or brunch.
- Delicious Flavor: The warm spices, combined with the rich pumpkin puree, create a mouthwatering flavor that truly embodies the essence of fall.
- Perfectly Flaky: With the technique of grating frozen butter, you’ll achieve that irresistible flaky texture that melts in your mouth.
- Ideal with Your Favorite Beverage: Whether you enjoy them with a hot cup of coffee or a soothing herbal tea, these scones are the perfect companion for your cozy moments.
- Customizable: Feel free to add your favorite mix-ins like chocolate chips or nuts to make these scones uniquely yours!
Trust me, once you try these scones, they’ll become a fall favorite you’ll want to make year after year!
Tips for Success
To ensure your Classic Pumpkin Scones turn out perfectly every time, here are a few tried-and-true tips. First, make sure your ingredients are cold, especially the butter. This is crucial for that flaky texture, so don’t skip the freezing step! When grating the butter, work quickly to prevent it from warming up.
Also, be gentle when mixing your dough. Overmixing can lead to tough scones, and we definitely want them light and fluffy! Just stir until everything is moistened, and if you see a few flour streaks, that’s okay. And remember, spacing the scones on the baking sheet is important; give them room to spread while baking for that perfect shape.
Finally, don’t be afraid to get creative! If you want to add nuts or dried fruit, do it! These little tweaks can elevate your scones and make them uniquely yours. Happy baking!
Variations on Classic Pumpkin Scones
One of the best things about these Classic Pumpkin Scones is how easily they can be customized to suit your taste! If you love a little crunch, consider adding some chopped nuts like walnuts or pecans. They’ll add a delightful texture and pairs perfectly with the pumpkin flavor.
Feeling adventurous? Try swapping out the spices! Instead of pumpkin pie spice, you could experiment with ginger or cardamom for a different flavor profile. And for all the chocolate lovers out there, fold in some chocolate chips for a sweet twist that will have everyone reaching for seconds!
You could even jazz them up with a sprinkle of dried cranberries or raisins for a fruity surprise. The possibilities are endless, so don’t hesitate to get creative and make these scones your own. After all, baking should be fun and personalized!
Storage & Reheating Instructions
To keep your Classic Pumpkin Scones fresh and delicious, proper storage is key! If you have any leftovers (which is rare, trust me!), let them cool completely before placing them in an airtight container. You can store them at room temperature for up to 2 days, but if you want to keep them longer, I recommend freezing them.
For freezing, wrap each scone tightly in plastic wrap and then place them in a freezer-safe bag or container. They’ll stay good for up to 3 months! When you’re ready to enjoy them, simply thaw overnight in the refrigerator. To reheat, pop them in a preheated oven at 350°F (175°C) for about 10 minutes or until warmed through. This will help restore their delightful flaky texture. Enjoy your cozy scones whenever the craving strikes!
FAQ Section
Q1: Can I use fresh pumpkin instead of canned pumpkin puree?
Absolutely! If you have fresh pumpkin, just make sure to cook and puree it first. Blot it well to remove excess moisture, just like you would with canned pumpkin, to ensure the right texture in your scones.
Q2: What can I substitute for heavy cream?
If you’re looking for a lighter option, you can use whole milk or half-and-half, but keep in mind that it may alter the richness slightly. For a dairy-free version, try coconut cream or almond milk, although it might change the flavor a bit.
Q3: How should I store leftover scones?
Leftover Classic Pumpkin Scones can be stored in an airtight container at room temperature for up to 2 days. If you’d like to keep them longer, freeze them wrapped in plastic wrap and placed in a freezer-safe bag for up to 3 months.
Q4: Can I make these scones ahead of time?
Yes! You can prepare the dough ahead of time and refrigerate it for up to 24 hours before baking. Just make sure to wrap it tightly to keep it fresh. When you’re ready to bake, simply shape and cut the scones, then bake as directed!
Q5: What can I add to the scone dough for extra flavor?
Feel free to get creative! You can add chocolate chips, dried cranberries, or chopped nuts for some extra texture and flavor. Just keep in mind that adding too many mix-ins might affect the scone’s overall balance, so be mindful of the quantity.
For more recipes follow me in page Pinterest.
Print
Classic Pumpkin Scones: 5 Reasons You’ll Fall in Love
- Total Time: 45 minutes
- Yield: 8 large scones 1x
- Diet: Vegetarian
Description
Classic Pumpkin Scones with a maple glaze.
Ingredients
- 2 cups (250g) all-purpose flour (spooned & leveled)
- 2 and 1/2 teaspoons baking powder
- 1 teaspoon ground cinnamon
- 1 and 1/2 teaspoons pumpkin pie spice
- 1/2 teaspoon salt
- 1/2 cup (8 Tbsp; 113g) unsalted butter, frozen
- 1/3 cup + 2 Tablespoons (105ml) heavy cream, divided
- 1 large egg
- 1/2 cup (115g) canned pumpkin puree, blotted
- 1/2 cup (100g) light brown sugar
- 1 teaspoon pure vanilla extract
- optional: coarse sugar for sprinkling on top before baking
- Maple Glaze
- 2 Tablespoons (28g) unsalted butter
- 1/3 cup (80ml) pure maple syrup
- 1 cup (112g) sifted confectioners’ sugar
- pinch salt, to taste
Instructions
- Preheat oven to 400°F (204°C). Adjust baking rack to the middle-low position. Line 1 or 2 large baking sheets with parchment paper or silicone baking mat(s).
- Whisk flour, baking powder, cinnamon, pumpkin pie spice, and salt together in a large bowl.
- Grate the frozen butter and add it to the flour mixture. Combine until it resembles pea-sized crumbs.
- In a small bowl, whisk 1/3 cup heavy cream, egg, blotted pumpkin, brown sugar, and vanilla extract. Drizzle over the flour mixture and mix until moistened.
- Form the dough into a ball and transfer to a floured surface. Press into an 8-inch disc, cutting into 8 wedges.
- Place scones on the baking sheet, at least 2 inches apart. Brush with remaining heavy cream and sprinkle with coarse sugar.
- Bake larger scones for 20-25 minutes or until lightly browned. Bake smaller scones for 18-20 minutes.
- For the glaze, melt butter and maple syrup in a saucepan over low heat. Whisk in sifted confectioners’ sugar and add a pinch of salt if desired.
- Drizzle glaze over warm scones. Enjoy immediately or store for up to 2 days.
Notes
- Plain baked scones freeze well for up to 3 months. Thaw overnight in the refrigerator before reheating.
- Prep Time: 20 minutes
- Cook Time: 25 minutes
- Category: Breakfast
- Method: Baking
- Cuisine: American
Nutrition
- Serving Size: 1 scone
- Calories: 250
- Sugar: 10g
- Sodium: 150mg
- Fat: 12g
- Saturated Fat: 7g
- Unsaturated Fat: 4g
- Trans Fat: 0g
- Carbohydrates: 30g
- Fiber: 1g
- Protein: 3g
- Cholesterol: 40mg
Keywords: Pumpkin Scones, Fall Recipes, Breakfast Scones