
Ah, gravy! There’s just something magical about drenching your meal in a warm, savory sauce that takes everything to the next level. Growing up, I remember the aroma wafting through the house as my mom would whip up her famous gravy, transforming simple meals into comforting feasts. But what if you’re in a pinch without any drippings? That’s where my Velvety Gluten Free Gravy comes in! Trust me, this recipe is a game-changer.
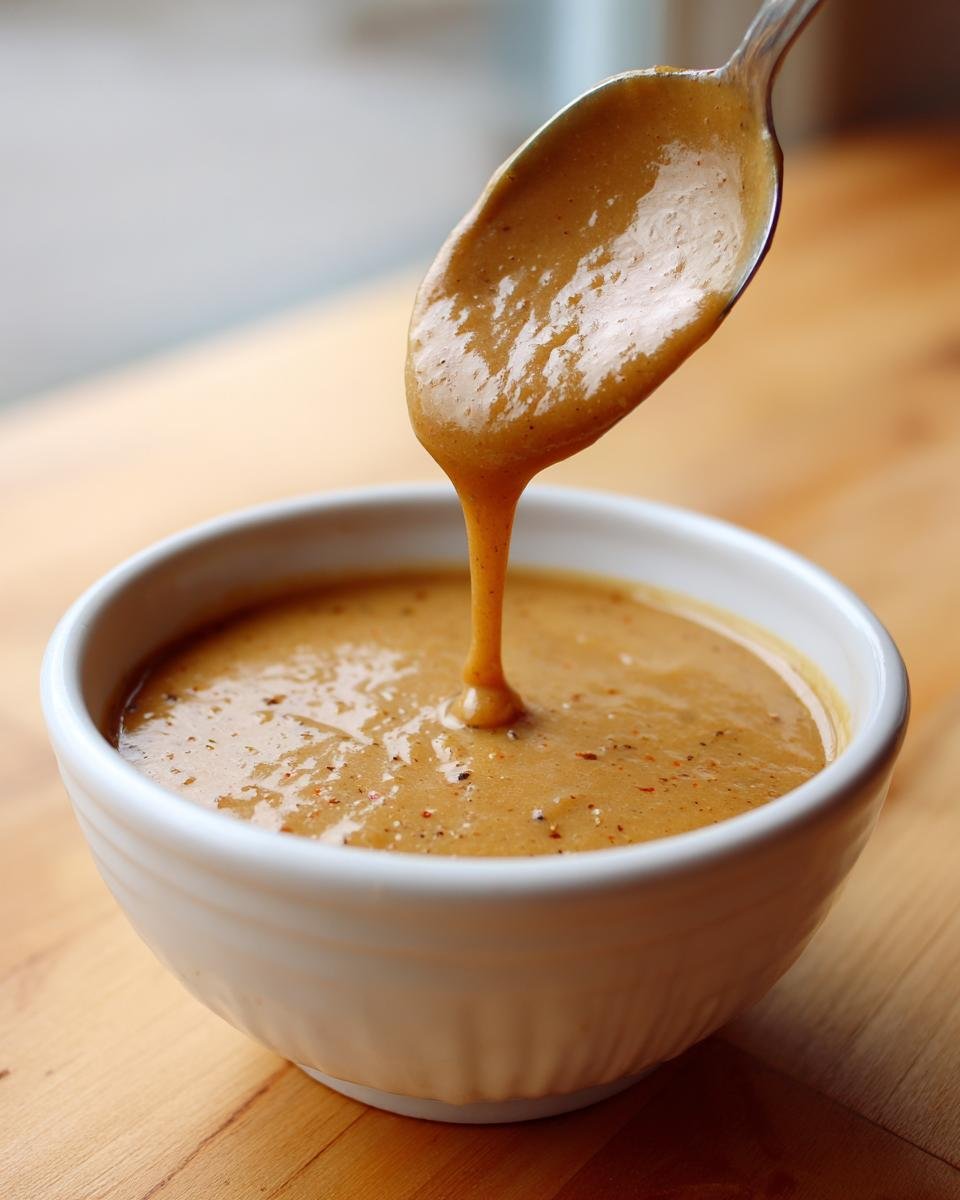
This gravy is incredibly thick and flavorful, making it perfect for those who need a delicious alternative without the traditional drippings. Plus, it whips up in no time—just 25 minutes from start to finish! Imagine pouring this luscious, creamy gravy over mashed potatoes, roasted vegetables, or even your favorite gluten-free biscuits. The warmth and richness will have everyone coming back for seconds (or thirds!).
So grab your whisk, and let’s get ready to make some gravy magic happen!
Ingredients List
Gathering your ingredients is a breeze! Here’s what you’ll need for my Velvety Gluten Free Gravy:
- 4 tablespoons butter – You can use a combination of butter and pan drippings if you have them, but butter alone works beautifully.
- ¼ cup sweet rice flour – This is my secret weapon for thickening! It creates that lovely velvety texture. If you can’t find it, feel free to substitute with gluten-free all-purpose flour.
- 2-3 cups gluten-free broth or stock – Choose turkey, chicken, or beef broth, depending on your preference. I love using homemade broth for that extra depth of flavor!
- ¼-½ teaspoon salt – Start with the lower end and adjust as needed. You can always add more, but it’s tough to take it out!
- ⅛-¼ teaspoon pepper – Freshly ground pepper adds a nice kick, so feel free to adjust this to your taste.
- Optional seasonings: For a little extra flavor, consider adding ¼ teaspoon onion powder, ¼ teaspoon poultry seasoning, and ½-1 teaspoon gluten-free Worcestershire sauce. These give your gravy that delightful complexity!
Make sure to gather everything before you start, so you can whisk your way to gravy perfection without missing a beat!
How to Prepare Velvety Gluten Free Gravy
Now that you’ve got all your ingredients ready, let’s dive into the magic of making this Velvety Gluten Free Gravy. I promise, it’s easy as pie—or should I say, easy as gravy? Here’s how to do it step by step:
Step 1: Mix the Base
First things first, let’s create that silky base for our gravy. In a medium bowl, whisk together ¼ cup sweet rice flour with ½ cup of your gluten-free broth until it’s completely smooth. This is crucial, so take your time here! You don’t want any lumps sneaking into your gravy later. Set this aside while we prepare the next steps.
Step 2: Heat the Butter or Drippings
Next up, it’s time to heat things up! If you’re using butter, melt 4 tablespoons in a small pot over medium heat. If you’ve got pan drippings, strain them first to ensure a silky sauce. Then, simply heat those drippings until they’re nice and warm. This part is all about creating that rich flavor, so don’t rush it!
Step 3: Create the Thick Paste
Once your butter or drippings are ready, it’s time to whisk in the flour mixture from earlier. Pour it in slowly while stirring continuously. You’ll see a thick paste form right before your eyes—this is what’s going to give your gravy that luscious consistency. Keep whisking until it’s smooth and free of lumps. It’s like a little workout for your arms, but totally worth it!
Step 4: Add Broth Gradually
Now, let’s bring this gravy to life! Gradually pour in an additional 1 cup of gluten-free broth in a steady stream while whisking continuously. This is key—adding the broth slowly helps to keep everything nice and smooth. You’ll want to keep whisking until the mixture is fully combined and smooth before moving on to the next step. Trust me, your patience will pay off!
Step 5: Achieve Desired Thickness
Time to heat things up! Place the pot back on medium-low heat and keep stirring as the gravy heats up. You’ll notice it starting to bubble gently. This is where the magic happens—keep stirring until it thickens to your desired consistency. If it’s too thick, just add a splash more broth. If it’s too thin, let it simmer a bit longer. You’re the captain of this gravy ship!
Step 6: Season to Taste
Finally, let’s finish this off with some flavor! Stir in ¼-½ teaspoon salt and ⅛-¼ teaspoon pepper to start. Taste as you go and adjust according to your preference. This is where those optional seasonings come into play. If you want a little extra kick, toss in ¼ teaspoon onion powder, ¼ teaspoon poultry seasoning, or a dash of gluten-free Worcestershire sauce. It’s all about making this gravy your own!
Nutritional Information
Alright, let’s talk numbers! While I believe the best part of this Velvety Gluten Free Gravy is the taste, I know many of you like to keep an eye on nutrition too. Here are the estimated nutritional values per serving (about 1 tablespoon):
- Calories: 66
- Fat: 6g
- Saturated Fat: 4g
- Unsaturated Fat: 2.2g
- Trans Fat: 0.2g
- Carbohydrates: 3g
- Fiber: 0.4g
- Protein: 1g
- Sodium: 336mg
- Cholesterol: 16mg
- Sugar: 0.4g
Keep in mind, these values are estimates and can vary based on the specific ingredients you choose. If you’re using different types of broth or adding extra seasonings, the numbers might shift a bit. But hey, it’s all about enjoying your delicious gravy, right? Happy cooking!
Tips for Success
Let’s make sure your Velvety Gluten Free Gravy turns out perfectly every time! Here are some handy tips that I’ve picked up along the way:
Whisking is Key
Don’t underestimate the power of a good whisk! Whisking continuously while adding the broth is crucial to achieving a smooth and lump-free gravy. I love using a sturdy whisk for this—it gives me better control and makes the process feel almost therapeutic.
Know Your Broth
The flavor of your gravy largely depends on the broth you use. If you can, go for homemade broth—it adds depth and richness that store-bought just can’t match. But if you’re short on time, don’t sweat it! Just grab a quality gluten-free broth from the store. It’ll still taste amazing!
Adjusting Consistency
If you find your gravy a bit too thick, don’t panic! Just add a splash more broth while it’s simmering. On the flip side, if it’s too thin, let it cook a little longer so it can thicken up. It’s all about finding that perfect balance, and it might take a little practice to get it just right.
Storage Tips
Got leftovers? No problem! Store your gravy in an airtight container in the fridge for up to three days. Just make sure it’s completely cooled before you tuck it away. For longer storage, you can freeze it for up to three months. When you’re ready to use it again, thaw it overnight in the fridge and reheat gently on the stovetop, whisking to restore that velvety texture.
Experiment with Flavors
Don’t be afraid to play around with the optional seasonings! A little bit of garlic powder or fresh herbs can take your gravy to the next level. Trust your taste buds—if you think something might enhance the flavor, give it a try!
With these tips in your back pocket, you’ll be well on your way to mastering the art of gravy-making. Enjoy the process and let the deliciousness flow!
Variations
The beauty of my Velvety Gluten Free Gravy is its versatility! You can easily customize it to suit your taste preferences or the meal you’re serving. Here are some delicious variations to consider:
Different Broths for Unique Flavors
Switching up the type of broth can completely change the flavor profile of your gravy. Try using beef broth for a rich, hearty taste or vegetable broth if you want a lighter option. Each broth brings its own character, so feel free to experiment until you find your favorite!
Herb-Infused Gravy
Add a touch of freshness by incorporating herbs! Mixing in fresh thyme, rosemary, or sage can elevate your gravy to new heights. Just chop them finely and stir them in during the final seasoning step for a delightful burst of flavor.
A Touch of Heat
If you like a bit of spice, consider adding a pinch of cayenne pepper or a dash of hot sauce to your gravy. This will give it a subtle kick that pairs wonderfully with savory dishes!
Smoky Flavor Twist
For a smoky twist, try incorporating a splash of liquid smoke or a bit of smoked paprika. This will add depth and complexity, making your gravy even more enticing.
Sweet and Savory Combo
For an interesting blend of flavors, add a hint of maple syrup or a touch of honey. This can give your gravy a unique sweetness that complements roasted meats beautifully.
These variations are all about making the gravy your own. Don’t hesitate to mix and match flavors until you find the perfect combination that makes your taste buds sing! Happy experimenting!
Storage & Reheating Instructions
Leftover Velvety Gluten Free Gravy is a wonderful thing! You’ll want to store it properly to keep that delicious flavor and creamy texture intact. Here’s how to handle your gravy after the meal:
Storing Leftovers
First, let your gravy cool completely before storing it. This step is crucial! Once cooled, transfer it to an airtight container and pop it in the refrigerator. It’ll stay good for up to 3 days, so you can enjoy those tasty leftovers without worry.
Freezing for Later
If you want to save your gravy for a longer time, freezing it is a great option! Just make sure it’s in an airtight container or a heavy-duty freezer bag. You can freeze it for up to 3 months. I like to label my containers with the date so I know when I need to use them up. Just remember, gravy can expand when frozen, so leave a little room at the top of your container!
Reheating Methods
When you’re ready to enjoy your gravy again, you’ve got a couple of options for reheating. If you’ve frozen it, let it thaw overnight in the refrigerator. For reheating, you can:
- Stovetop: Pour the gravy into a small saucepan over medium-low heat. Stir gently and continuously until it’s heated through. If it’s too thick, don’t hesitate to add a splash of broth to bring it back to that velvety consistency!
- Microwave: If you’re in a hurry, you can microwave the gravy in a microwave-safe bowl. Heat it in 30-second intervals, stirring in between, until it’s hot. Just be careful, as it can splatter!
With these storage and reheating tips, you can savor every last drop of your delicious gravy. Enjoy every moment of your culinary creation, even days later!
Why You’ll Love This Recipe
- Quick Preparation: You can whip up this Velvety Gluten Free Gravy in just 25 minutes—perfect for those busy weeknight dinners or last-minute holiday meals!
- Gluten-Free Assurance: This recipe is entirely gluten-free, making it a safe and delicious option for anyone with dietary restrictions.
- Rich Flavor: With the combination of butter, sweet rice flour, and your choice of gluten-free broth, this gravy is packed with flavor that elevates any dish!
- No Drippings Needed: No need to worry about saving drippings from a roast. This gravy is just as tasty without them, so you can enjoy it any time!
- Versatile: Whether you’re pouring it over mashed potatoes, roasted vegetables, or gluten-free biscuits, this gravy complements a variety of meals perfectly.
- Customizable: With optional seasonings and variations, you can easily adjust the flavor to suit your personal taste or the dish you’re serving.
For more recipes follow me in page Pinterest.
Print
Velvety Gluten Free Gravy: 6 Steps to Comforting Perfection
- Total Time: 25 minutes
- Yield: 4 servings 1x
- Diet: Gluten Free
Description
This velvety gluten-free gravy is perfect for those without drippings. It’s thick and flavorful, making it an excellent addition to your meals.
Ingredients
- 4 tablespoons butter, pan drippings, or combination of both
- ¼ cup sweet rice flour, highly recommended, can sub GF all-purpose flour
- 2–3 cups gluten-free broth or stock, turkey, chicken, or beef
- ¼–½ teaspoon salt
- ⅛–¼ teaspoon pepper
- optional seasonings: ¼ tsp onion powder, ¼ tsp poultry seasoning, ½-1 teaspoon gluten-free Worcestershire sauce
Instructions
- Whisk together the sweet rice flour (or GF flour) with 1/2 cup broth until smooth. Set aside.
- If using pan drippings, strain first for a smooth sauce. Melt the butter or heat the drippings in a small pot over medium heat.
- Whisk in the rice flour / broth mixture until a thick paste forms.
- Pour in an additional 1 cup broth in a steady stream, whisking continuously. Whisk until smooth before adding additional broth.
- Gradually add the remaining broth over medium-low heat until the gravy starts to bubble and the desired thickness is reached.
- Stir in seasonings. Start with 1/4 tsp salt or sea salt and 1/8 tsp black pepper, and add more as needed. Serve immediately.
Notes
- Store leftovers in an airtight container up to 3 days in the refrigerator.
- To make ahead of time, ensure the gravy has completely cooled before storing.
- To reheat, whisk over medium-low heat until hot or microwave as needed.
- Gravy may also be frozen for up to 3 months. Thaw overnight in the refrigerator before reheating gently on the stovetop.
- Prep Time: 10 minutes
- Cook Time: 15 minutes
- Category: Sauce
- Method: Stovetop
- Cuisine: American
Nutrition
- Serving Size: 1 tablespoon
- Calories: 66
- Sugar: 0.4g
- Sodium: 336mg
- Fat: 6g
- Saturated Fat: 4g
- Unsaturated Fat: 2.2g
- Trans Fat: 0.2g
- Carbohydrates: 3g
- Fiber: 0.4g
- Protein: 1g
- Cholesterol: 16mg
Keywords: Velvety Gluten Free Gravy, gluten-free gravy, no drippings gravy, thick gravy