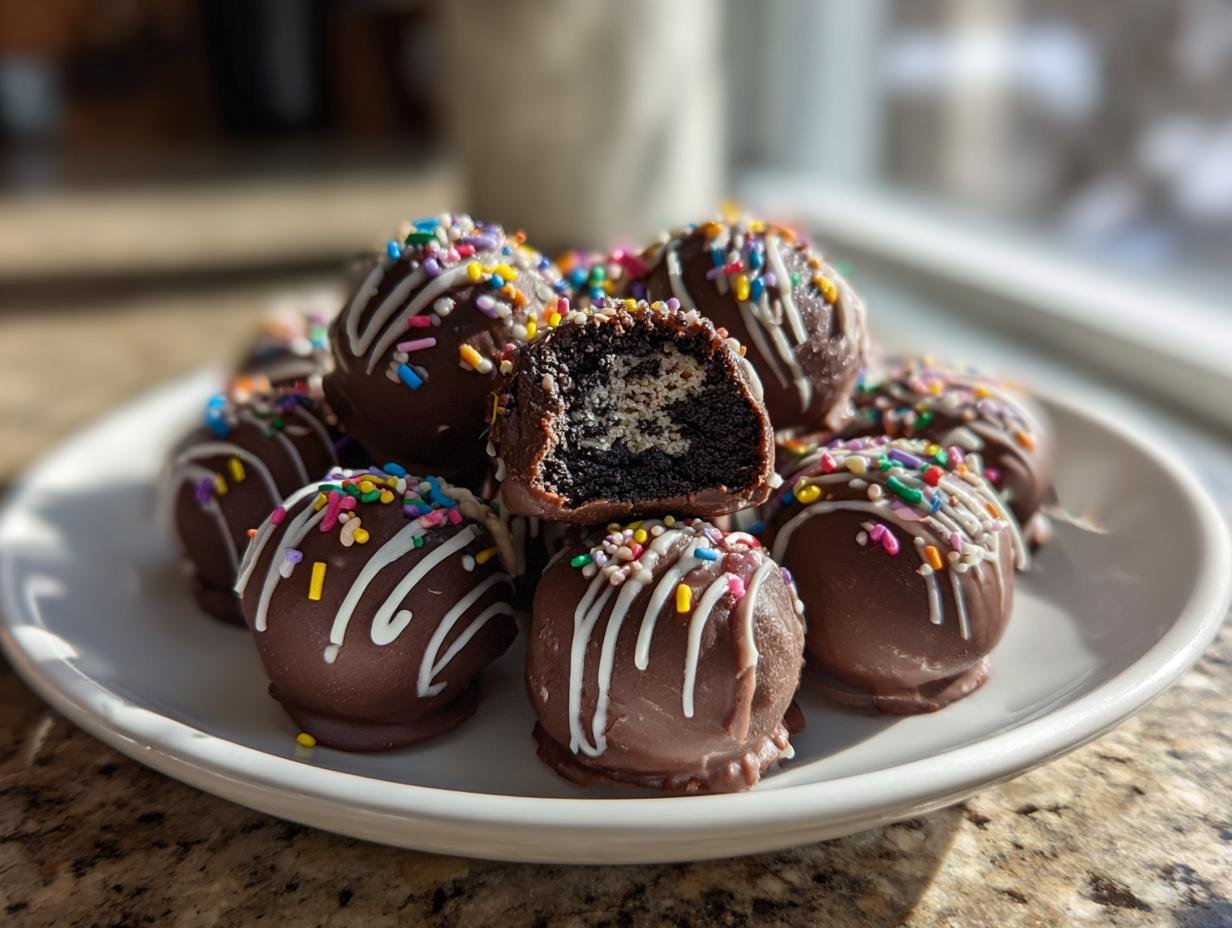
Oh my goodness, let me tell you about the magic that is *Oreo Balls*! These little bites of joy are not just tasty; they’re a no-bake wonder that makes dessert so much easier and quicker to whip up. I remember the first time I made them for a family gathering. I was a little skeptical at first—how could something so simple be so good? But let me tell you, the moment I took that first bite, I was hooked! The creamy, dreamy filling of crushed Oreos and cream cheese wrapped in smooth chocolate just melts in your mouth. It’s like pure bliss!
What I love most about these treats is how customizable they are. You can throw in some sprinkles, use different chocolates, or even mix in some peanut butter for a twist! They’re perfect for parties, movie nights, or just because you want a sweet treat. Plus, they’re a hit with everyone; kids and adults alike can’t get enough of them! They’re always a crowd-pleaser, and I guarantee they’ll disappear faster than you can say “Oreo!” So, let’s dive into how to make these delightful bites together!
Ingredients
- 24 Oreo cookies, crushed
- 8 oz cream cheese, softened
- 12 oz chocolate chips
How to Prepare Oreo Balls
Making *Oreo Balls* is as easy as pie—well, easier! You won’t believe how quickly these delightful treats come together. Just follow these simple steps, and you’ll have a batch of irresistible, creamy bites ready to impress your family and friends!
Step-by-Step Instructions
- Crush the Oreo cookies: Start by placing the 24 crushed Oreo cookies in a large mixing bowl. You can use a food processor for a fine crumb or put them in a ziplock bag and crush them with a rolling pin. Just make sure they’re nice and crumbly; you want that perfect texture!
- Mix with cream cheese: Next, add the 8 oz of softened cream cheese to the crushed Oreos. Use a spatula or your hands to mix everything together until it’s well combined. It should be a bit sticky and hold together when you press it. This is the fun part—don’t be afraid to get your hands in there!
- Form the balls: Now it’s time to shape the mixture into small balls, about 1 inch in diameter. If you find the mixture is too sticky, you can chill it in the fridge for about 10-15 minutes to make it easier to handle. Place the formed balls on a baking sheet lined with parchment paper.
- Chill the balls: Pop the baking sheet into the refrigerator and chill those little beauties for about 30 minutes. This step is crucial as it helps them hold their shape when you coat them in chocolate.
- Melt the chocolate: While the balls are chilling, it’s time to melt your 12 oz of chocolate chips. You can do this in the microwave in 30-second intervals, stirring in between until it’s smooth and fully melted. Alternatively, you can use a double boiler for a more controlled melt—just be careful, as chocolate can seize if it gets too hot!
- Dip the balls: Once the chocolate is melted, take the chilled Oreo balls out of the fridge. Using a fork or a toothpick, dip each ball into the melted chocolate, making sure it’s fully coated. Let any excess chocolate drip off before placing it back on the baking sheet.
- Set the chocolate: Finally, return the coated *Oreo Balls* to the refrigerator for another 15-20 minutes, or until the chocolate has completely set. If you’re feeling fancy, sprinkle some crushed Oreos or colorful sprinkles on top before the chocolate hardens!
And there you have it—your homemade *Oreo Balls*! They’re decadent, creamy, and oh-so-delicious. Trust me, once you take that first bite, you’ll be wondering why you didn’t make these sooner!
Why You’ll Love This Recipe
- No-bake goodness: No oven needed! Just mix, chill, and enjoy.
- Quick to prepare: With just 15 minutes of prep time, you can whip these up in a flash.
- Customizable: Feel free to get creative with toppings—think sprinkles, crushed nuts, or different chocolate coatings!
- Crowd-pleaser: These treats are loved by both kids and adults, making them perfect for parties or gatherings.
- Simple ingredients: You probably already have everything you need at home—Oreo cookies and cream cheese are all you need!
Honestly, once you make these *Oreo Balls*, you’ll be hooked! They’re the perfect sweet treat for any occasion.
Tips for Success
Getting your *Oreo Balls* just right is a breeze with a few handy tips up your sleeve! First off, make sure your cream cheese is really softened—this helps it blend perfectly with the crushed Oreos. If it’s too cold, you’ll end up with lumps instead of that smooth, creamy filling we want!
When you’re crushing those Oreos, aim for a fine crumb. If they’re too chunky, the balls won’t hold together well. A food processor makes this super easy, but if you don’t have one, a good ol’ ziplock bag and rolling pin work just fine—just put a little muscle into it!
Now, don’t skip the chilling step! Chilling the balls not only helps them firm up but also makes dipping them in chocolate a lot less messy. And speaking of chocolate, if it starts to thicken while you’re dipping, just pop it back in the microwave in short bursts to keep it smooth.
Lastly, have fun with toppings! Don’t be afraid to get creative—colored sprinkles, crushed nuts, or even a drizzle of white chocolate on top can elevate these little delights. Enjoy the process, and you’ll end up with irresistible *Oreo Balls* every time!
Nutritional Information
Now, let’s talk numbers! Each delightful *Oreo Ball* is not just a treat for your taste buds but also brings some nutritional information to the table. Here’s what to expect per serving (that’s one ball, if you can even stop at one!):
- Calories: 120
- Fat: 7g
- Saturated Fat: 4g
- Trans Fat: 0g
- Cholesterol: 15mg
- Sodium: 40mg
- Carbohydrates: 14g
- Fiber: 1g
- Sugar: 10g
- Protein: 1g
Keep in mind that these values are estimates and can vary based on the specific ingredients you use, especially if you decide to switch up the chocolate or add any fun toppings. But hey, a little indulgence every now and then is part of the joy, right? Enjoy your *Oreo Balls* guilt-free, and remember, it’s all about balance!
FAQ About Oreo Balls
Got questions about *Oreo Balls*? No problem! Here are some common queries that I often hear, along with my personal tips and tricks to help you out!
Q1: How should I store my Oreo Balls?
To keep your *Oreo Balls* fresh and delicious, store them in an airtight container in the refrigerator. They’ll last about a week, but I doubt they’ll hang around that long—they’re just too irresistible!
Q2: Can I make these gluten-free?
Absolutely! If you’re looking for a gluten-free option, just swap out the regular Oreo cookies for gluten-free Oreos. The rest of the recipe stays the same, and you’ll still get that delightful taste and texture!
Q3: What variations can I try?
Oh, the possibilities are endless! You can use different flavored Oreos, like mint or peanut butter, to change things up. For the coating, feel free to experiment with white chocolate, or even colorful candy melts for a fun twist. You could also add toppings like crushed nuts or coconut for some extra crunch!
Q4: Can I freeze Oreo Balls?
Yes, you can! If you want to make a batch ahead of time, just place the *Oreo Balls* in a single layer on a baking sheet to freeze them first. Once they’re solid, transfer them to an airtight container or a freezer bag. They’ll stay good for about a month! Just let them thaw in the fridge before enjoying.
Q5: Are there any dietary considerations I should know about?
These *Oreo Balls* are vegetarian, but they do contain cream cheese, which is not suitable for vegans. If you’re looking for a vegan alternative, try using a dairy-free cream cheese substitute and ensure your chocolate is dairy-free as well. You can still enjoy these treats without compromising your dietary needs!
I hope these answers help you on your *Oreo Balls* journey! Feel free to reach out if you have more questions or if you try out any fun variations—you know I love hearing about your creations!
Storage & Reheating Instructions
Storing your delicious *Oreo Balls* is super easy! Just pop them into an airtight container and keep them in the refrigerator. They’ll stay fresh for about a week, but I doubt they’ll last that long—they’re just too tempting! If you want to make a batch ahead of time, you can also freeze them. Just lay the *Oreo Balls* out on a baking sheet to freeze individually, and once they’re solid, transfer them to a freezer bag or container. They can be frozen for up to a month!
When you’re ready to enjoy them, simply pull them out of the freezer and let them thaw in the fridge for a few hours. No reheating necessary—these bites are best enjoyed chilled! Just remember to resist the urge to eat them all in one sitting!
Serving Suggestions
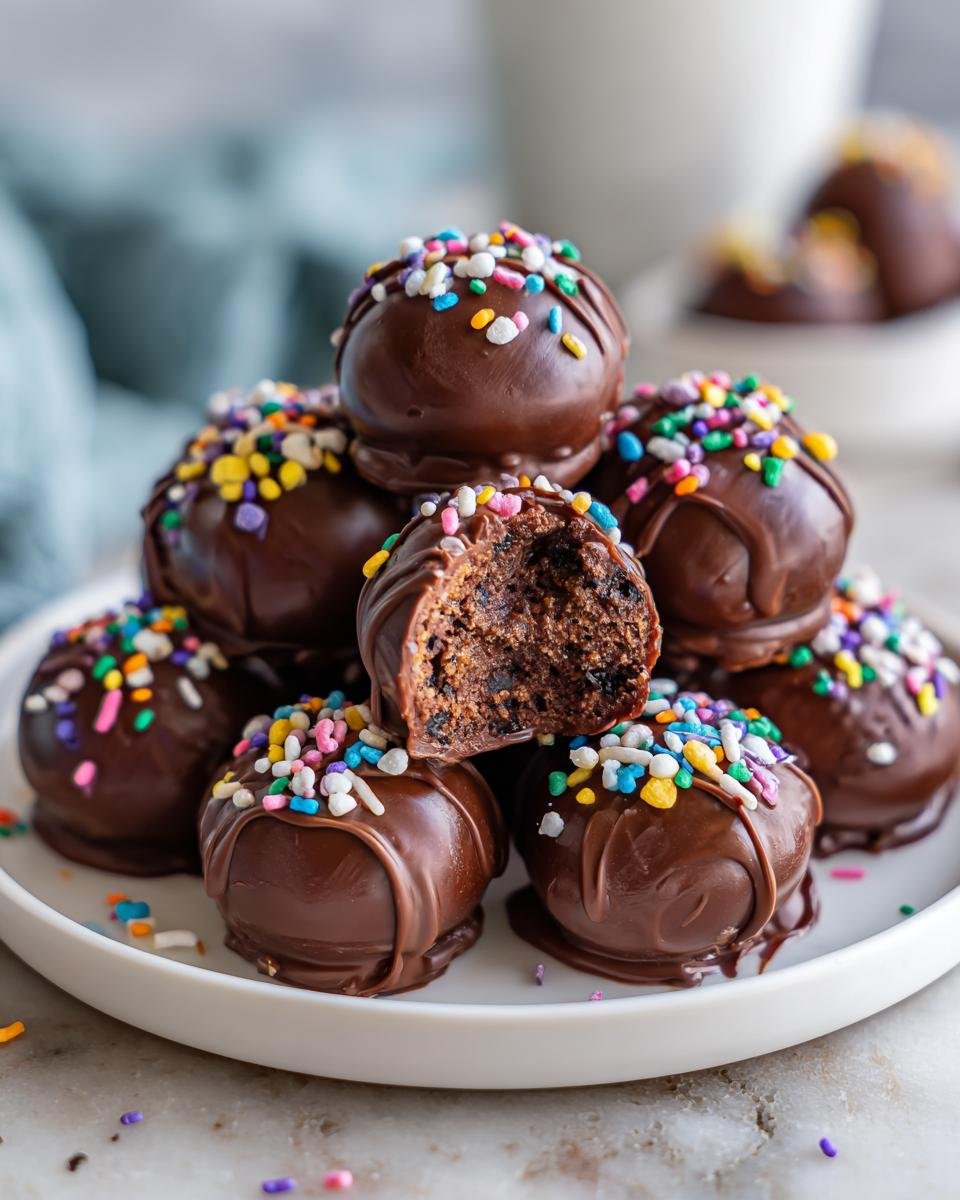
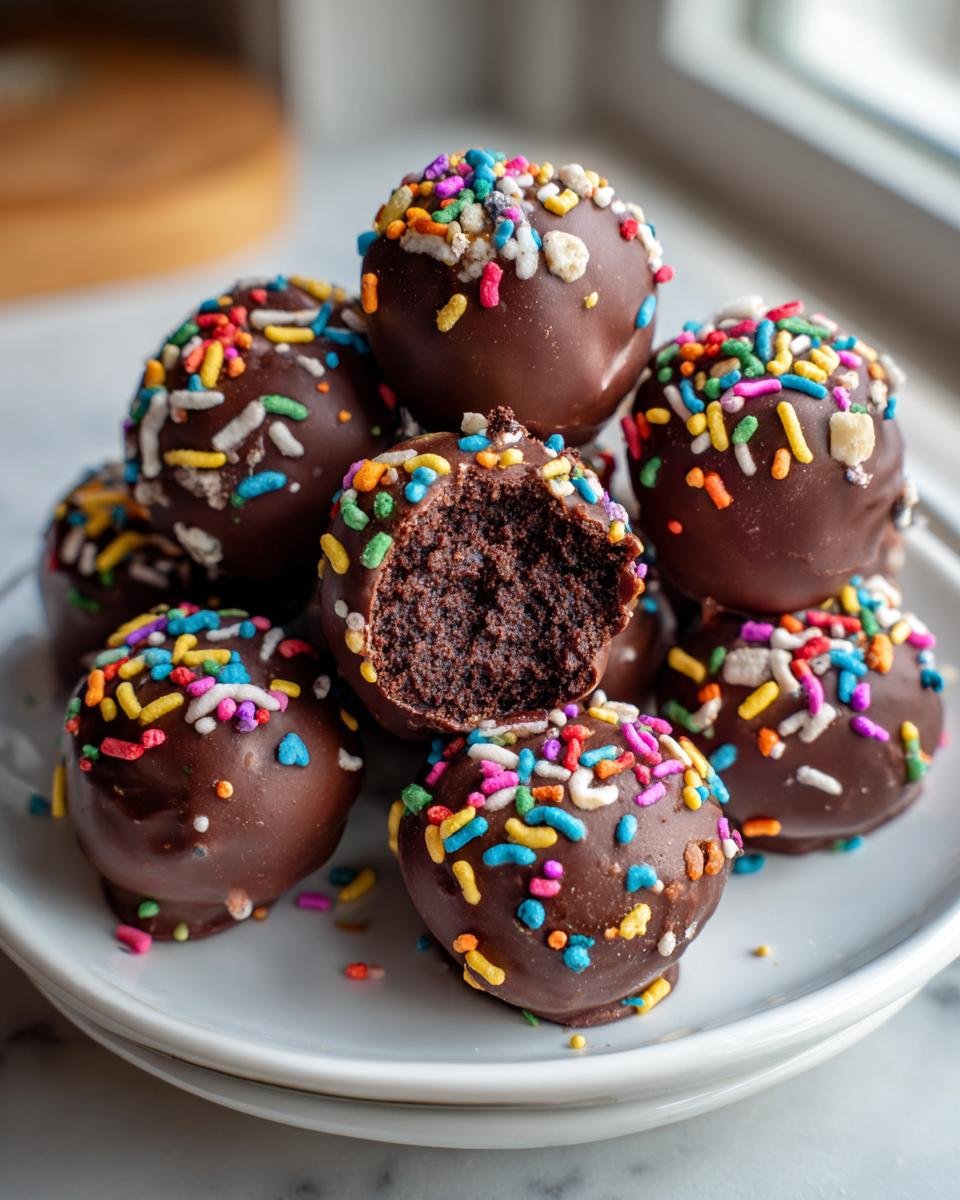
When it comes to serving *Oreo Balls*, the possibilities are absolutely delightful! For a fun presentation, arrange them on a beautiful platter and sprinkle some crushed Oreos or colorful sprinkles around for that extra wow factor. You can even use mini cupcake liners to make them look like fancy little treats at a party!
If you’re hosting a gathering, consider pairing *Oreo Balls* with a variety of other no-bake desserts like chocolate-covered strawberries or rice krispie treats. They create a beautiful dessert table that will have your guests oohing and aahing!
For a cozy movie night, serve them alongside popcorn and your favorite candies for a sweet and salty combo that everyone will love. Trust me, these little bites of joy will be the star of the show no matter the occasion!
For more recipes follow me in page Pinterest.
Print
Oreo Balls: 7 Irresistible Treats That Will Delight You
- Total Time: 45 minutes
- Yield: 24 balls 1x
- Diet: Vegetarian
Description
Oreo Balls are a delicious no-bake dessert made with crushed Oreo cookies and cream cheese, coated in chocolate.
Ingredients
- 24 Oreo cookies
- 8 oz cream cheese, softened
- 12 oz chocolate chips
Instructions
- Crush the Oreo cookies into fine crumbs.
- Mix the crushed cookies with softened cream cheese until well combined.
- Form the mixture into small balls and place them on a baking sheet.
- Chill the balls in the refrigerator for about 30 minutes.
- Melt the chocolate chips in a microwave or double boiler.
- Dip each ball in the melted chocolate, ensuring they are fully coated.
- Place the coated balls back on the baking sheet.
- Refrigerate until the chocolate sets.
Notes
- Store in an airtight container in the fridge.
- For variety, you can use white chocolate or colored chocolate for coating.
- These can be decorated with sprinkles or additional crushed Oreos.
- Prep Time: 15 minutes
- Cook Time: 0 minutes
- Category: Dessert
- Method: No-bake
- Cuisine: American
Nutrition
- Serving Size: 1 ball
- Calories: 120
- Sugar: 10g
- Sodium: 40mg
- Fat: 7g
- Saturated Fat: 4g
- Unsaturated Fat: 2g
- Trans Fat: 0g
- Carbohydrates: 14g
- Fiber: 1g
- Protein: 1g
- Cholesterol: 15mg
Keywords: Oreo, dessert, no-bake, chocolate