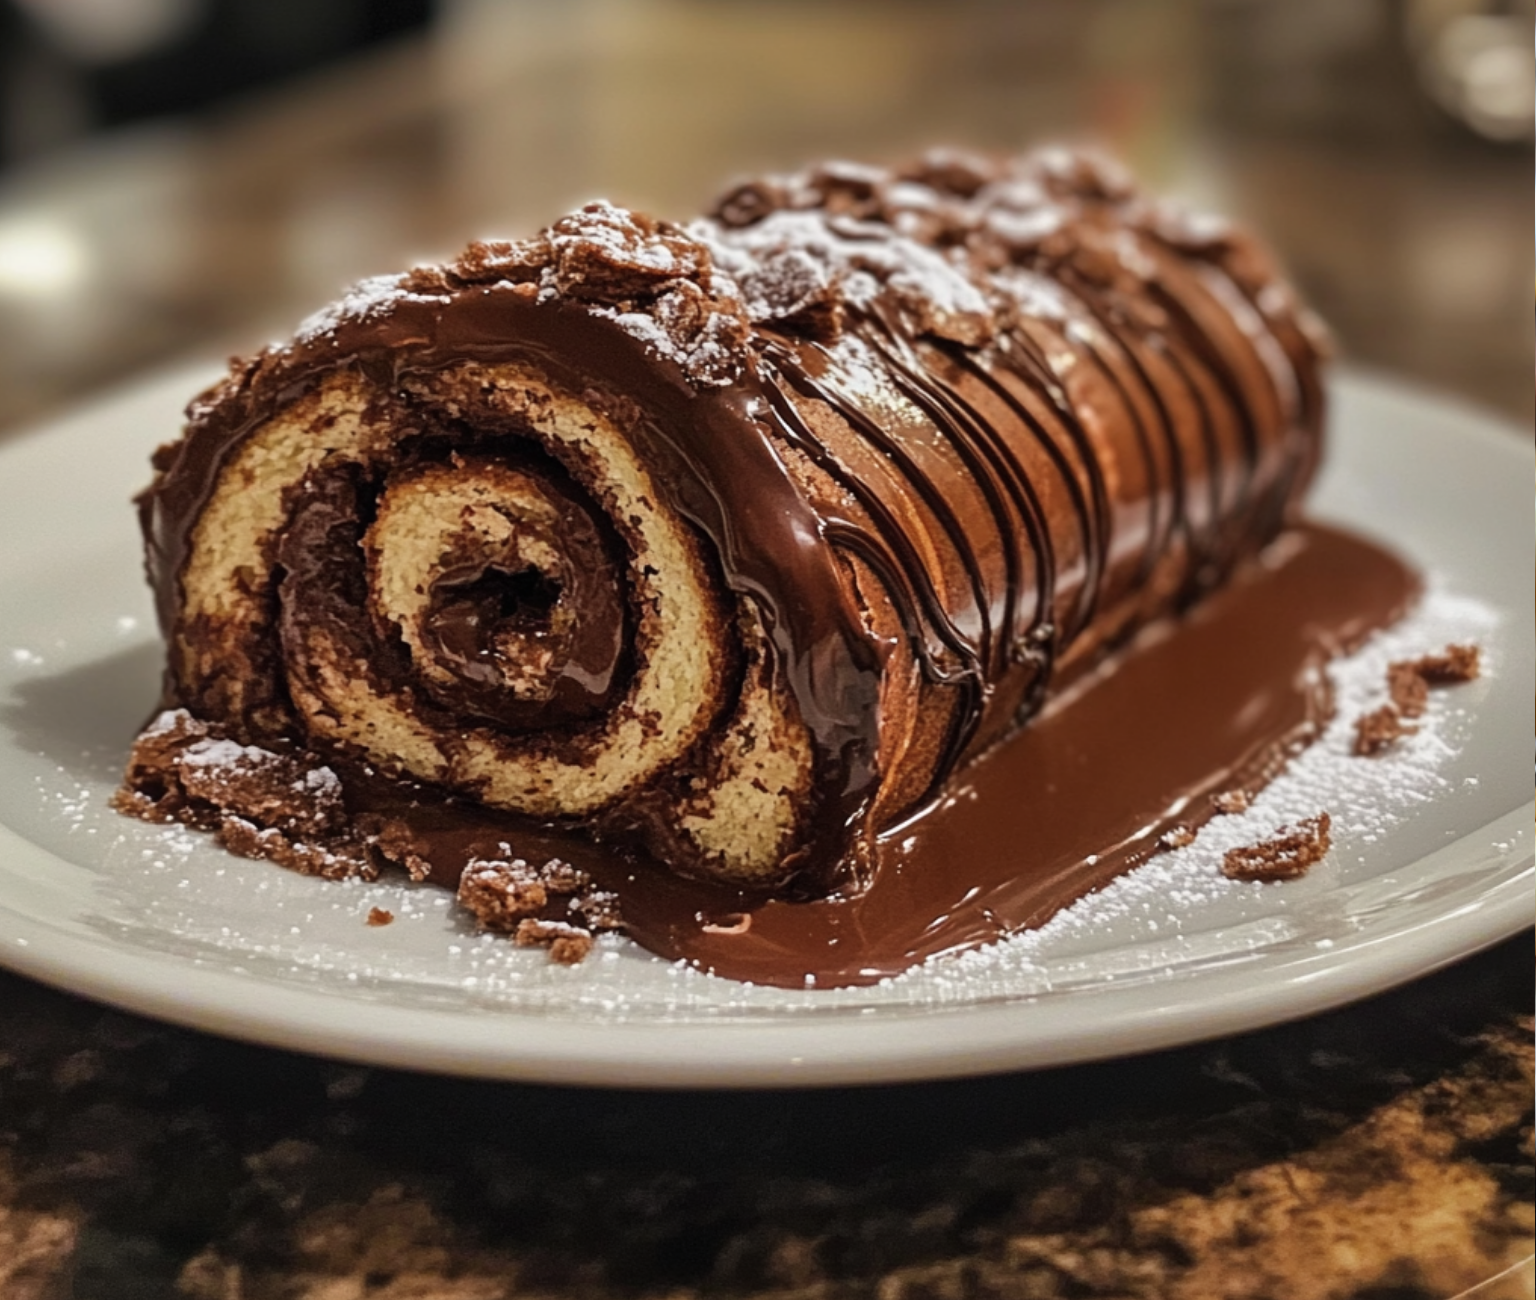
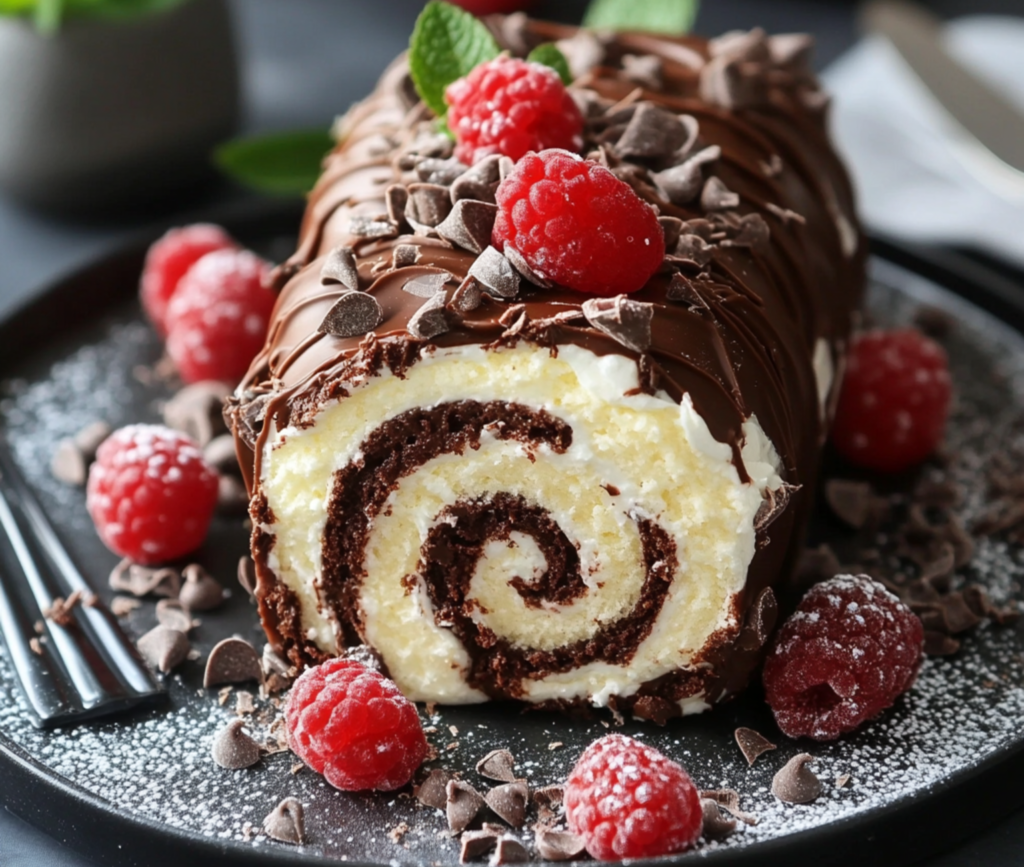
Creating a homemade chocolate roll is an absolute delight for both novice bakers and seasoned pros. This guide will walk you through every step, from gathering ingredients to rolling and decorating your cake. Not only is this chocolate roll scrumptious, but it’s also a show-stopper for any occasion. Let’s dive into the world of chocolate perfection!
Introduction
Introduction to Homemade Chocolate Roll
Making a homemade chocolate roll isn’t just about satisfying your sweet tooth; it’s about crafting a dessert that combines rich, moist cake with a luscious filling, all wrapped up in a beautiful roll. Originating from the Swiss roll, this dessert has evolved into a chocolate lover’s dream. With our detailed guide, you’ll master the art of creating this delectable treat.
Ingredients and Equipment
Ingredients Required for Homemade Chocolate Roll
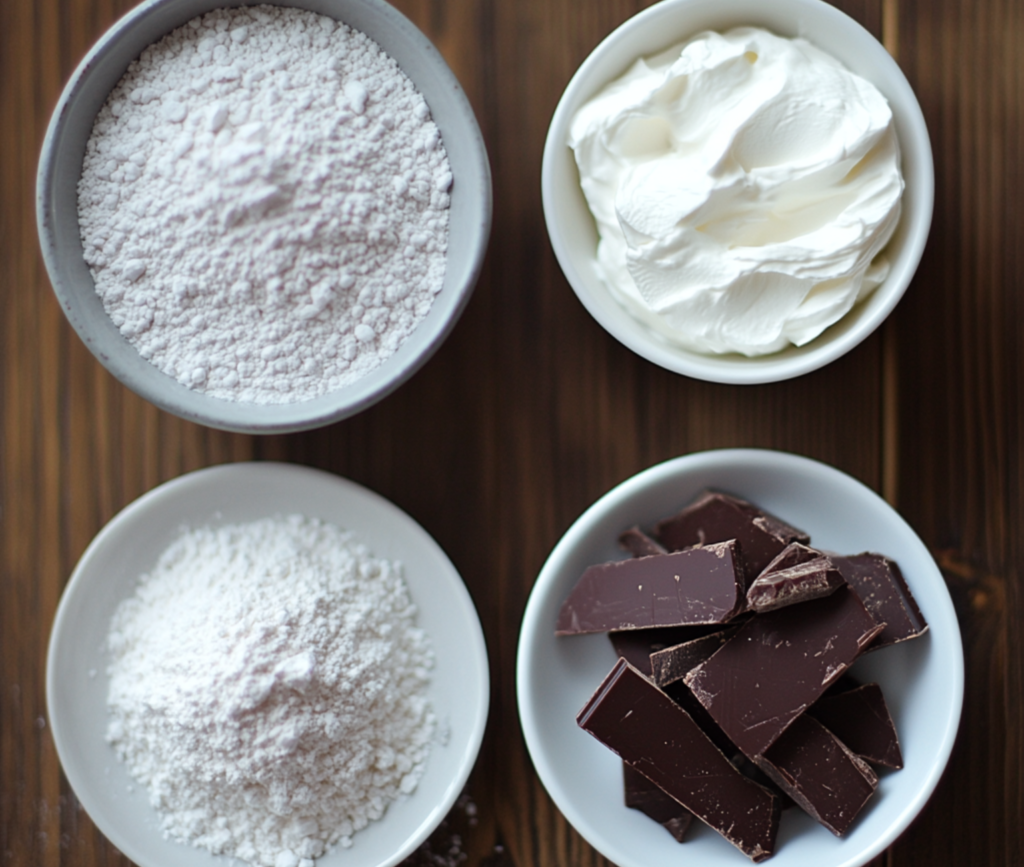
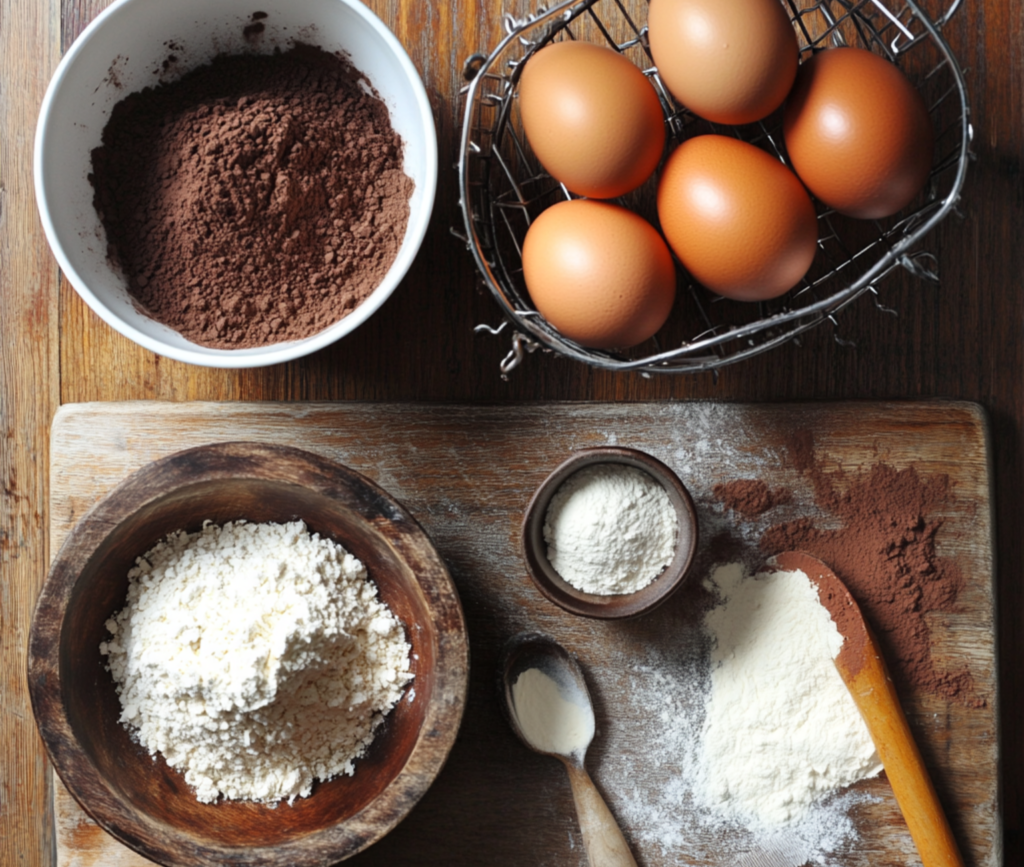
To start, you’ll need a precise list of ingredients. Each one plays a crucial role in achieving that perfect texture and flavor. Here’s what you’ll need:
- 3/4 cup (95g) cake flour or all-purpose flour (spooned & leveled)
- 1/4 cup (21g) unsweetened cocoa powder
- 1 teaspoon baking powder
- 1/2 teaspoon salt
- 5 large eggs, separated
- 1 cup granulated sugar
- 1 teaspoon vanilla extract
- 2 tablespoons vegetable oil
- 1/4 cup confectioners’ sugar (for dusting)
Optional Substitutions: If you prefer a gluten-free option, you can use almond flour instead of cake flour. For a richer chocolate flavor, consider using Dutch-process cocoa powder.
Essential Equipment for Making Chocolate Cake Roll
Having the right tools makes all the difference. Here’s what you’ll need to ensure your chocolate roll turns out perfectly:
- Mixing bowls – For combining your ingredients.
- Electric mixer – To beat the eggs to the right consistency.
- Sifter – To ensure your flour and cocoa powder are lump-free.
- Baking sheet – Preferably a jelly roll pan for even baking.
- Parchment paper – To prevent sticking.
- Kitchen towel – For rolling the cake.
- Cooling rack – To let the cake cool completely.
Each piece of equipment is essential to create a flawless chocolate roll. Don’t skip on these tools, as they ensure your baking process is smooth and your results are delicious.
Step-by-Step Recipe
Making the Filling for Homemade Chocolate Roll
Now that your cake is cooling, it’s time to prepare the filling. The filling is what makes your homemade chocolate roll irresistibly creamy and delicious.
Ingredients for the Filling:
- 1 cup heavy whipping cream
- 1/4 cup powdered sugar
- 1 teaspoon vanilla extract
- 1/2 cup melted chocolate (optional)
- Whip the Cream: In a large mixing bowl, beat the heavy whipping cream with an electric mixer on high speed until it begins to thicken.
- Add Sugar and Vanilla: Gradually add the powdered sugar and vanilla extract, continuing to beat until stiff peaks form. If you want an extra chocolatey filling, fold in the melted chocolate at this stage.
- Chill: Place the filling in the refrigerator until you’re ready to use it. This helps it stay firm and easy to spread.
Rolling the Homemade Chocolate Roll
Once your cake has cooled completely, it’s time to roll it up with the filling.
- Unroll the Cake: Gently unroll the cooled cake. Don’t worry if it has a few cracks; these can be hidden with filling and decoration.
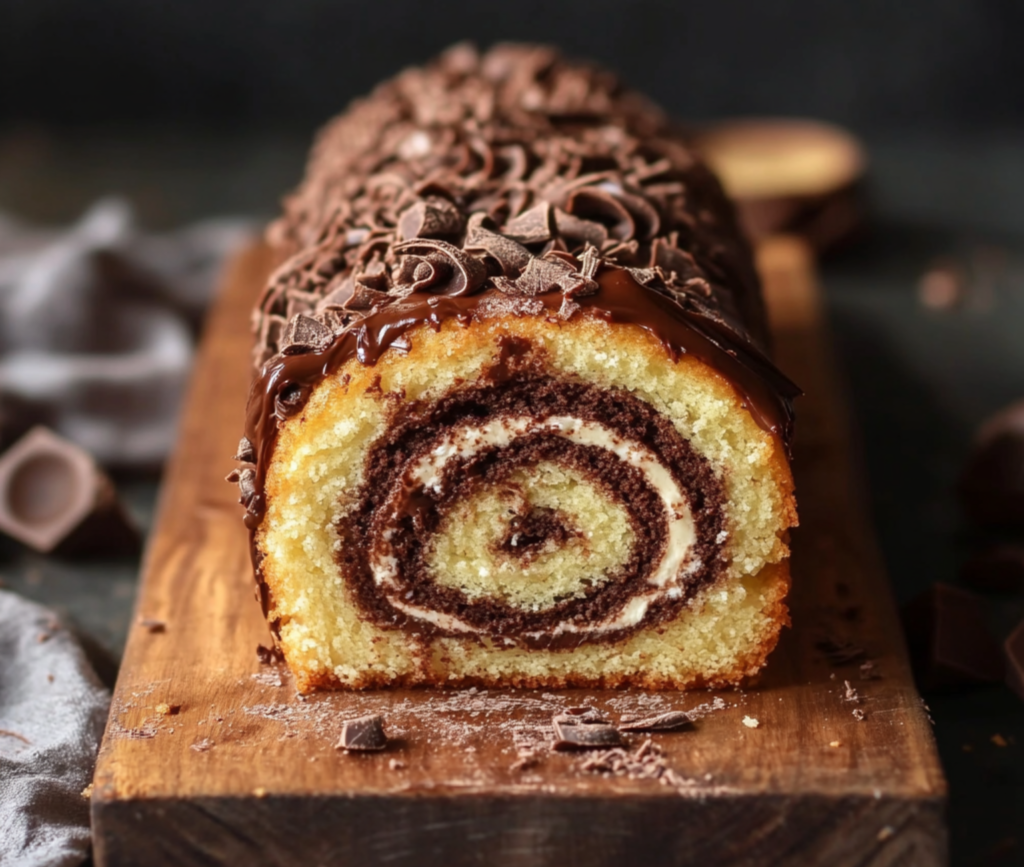
- Add the Filling: Spread an even layer of the prepared filling over the entire surface of the cake, leaving a small border around the edges.
- Roll the Cake: Carefully roll the cake back up, this time without the towel. Use the towel to help guide the cake if needed. Roll it as tightly as possible without squeezing out the filling.
- Wrap and Chill: Wrap the rolled cake in plastic wrap and refrigerate for at least an hour. This helps it set and makes it easier to slice.
Decorating the Homemade Chocolate Roll
Now for the fun part – decorating your homemade chocolate roll. Here are a few ideas to make it look as good as it tastes.
- Chocolate Ganache: Drizzle a rich chocolate ganache over the top of the roll. To make ganache, heat 1/2 cup of heavy cream and pour it over 1 cup of chopped chocolate. Stir until smooth, then let it cool slightly before drizzling.
- Powdered Sugar Dusting: For a classic look, simply dust the top with powdered sugar.
- Fresh Berries: Add a pop of color and a burst of flavor with fresh berries on top of your roll.
- Chocolate Shavings: Use a vegetable peeler to create elegant chocolate shavings and sprinkle them over the top.
Remember, the presentation is key, so take your time and have fun with it!
Tips and Tricks for Homemade Chocolate Roll
Common Mistakes to Avoid in Homemade Chocolate Roll
Creating the perfect homemade chocolate roll can be tricky, but with these tips, you can avoid common pitfalls.
- Overbaking the Cake: Overbaking can make the cake dry and prone to cracking. Keep a close eye on it and remove it from the oven as soon as it’s done. Test by gently pressing the center; it should spring back.
- Rushing the Cooling Process: Let the cake cool completely before unrolling and adding the filling. If it’s still warm, the filling will melt and ooze out.
- Skipping the Sifting: Sifting the dry ingredients ensures a smooth batter and prevents lumps. This step is crucial for a light and airy texture.
- Incorrect Rolling Technique: Roll the cake while it’s still warm using a kitchen towel dusted with confectioners’ sugar to help prevent sticking and cracking.
Tips for the Perfect Homemade Chocolate Roll
Here are some expert tips to ensure your homemade chocolate roll turns out perfectly every time:
- Use Room Temperature Eggs: Room temperature eggs whip up better and help create a lighter, fluffier cake. Take them out of the refrigerator at least 30 minutes before you start baking.
- Roll While Warm: Roll the cake in the towel while it’s still warm to help set the shape. This prevents the cake from breaking when you roll it again after adding the filling.
- Chill the Filling: Keep the filling cold until you’re ready to use it. This makes it easier to spread and helps it stay firm inside the roll.
- Don’t Overfill: Adding too much filling can make rolling difficult and messy. Spread an even layer, leaving a small border around the edges to prevent overflow.
Serving and Storing Your Homemade Chocolate Roll
Serving Suggestions for Homemade Chocolate Roll
Now that you’ve made your delicious homemade chocolate roll, it’s time to serve it in style. Here are some ideas to elevate your dessert presentation and delight your guests.
Perfect Pairings:
- Whipped Cream: Serve slices with a dollop of freshly whipped cream.
- Ice Cream: A scoop of vanilla or chocolate ice cream complements the rich flavors perfectly.
- Fresh Berries: Add fresh strawberries, raspberries, or blueberries for a burst of freshness.
- Chocolate Sauce: Drizzle a bit of warm chocolate sauce over the top for extra decadence.
For a beautiful presentation, slice the roll using a sharp knife wiped clean after each cut. Arrange the slices on a platter, garnish with a few berries, and dust lightly with powdered sugar.
Storage and Shelf Life of Homemade Chocolate Roll
To keep your homemade chocolate roll fresh and delicious, proper storage is key. Follow these tips to ensure it maintains its flavor and texture:
Refrigeration:
- Wrap and Store: After serving, wrap the remaining chocolate roll tightly in plastic wrap to prevent it from drying out. Store it in the refrigerator.
- Shelf Life: When properly stored, the chocolate roll will stay fresh for up to 3-4 days.
Freezing:
- Prep for Freezing: If you want to store the roll for a longer period, wrap it in plastic wrap and then in aluminum foil to prevent freezer burn.
- Freezing Time: It can be frozen for up to 2 months. To serve, let it thaw in the refrigerator overnight.
These storage tips will help you enjoy your homemade chocolate roll over several days or even weeks, ensuring it remains a treat you can indulge in anytime.
Nutritional Information for Homemade Chocolate Roll
Understanding the nutritional content of your homemade chocolate roll can help you make informed choices, especially if you’re mindful of your diet.
Nutritional Breakdown:
- Calories: Approximately 250 per slice
- Fat: 15g per slice
- Carbohydrates: 30g per slice
- Protein: 5g per slice
- Sugar: 20g per slice
These values are estimates and can vary based on the specific ingredients and portion sizes you use. For those looking to make the dessert a bit healthier, consider using low-fat cream or sugar substitutes.
Variations and Customizations for Homemade Chocolate Roll
Flavor Variations for Homemade Chocolate Roll
One of the joys of baking a homemade chocolate roll is the ability to customize it to your taste. Here are some exciting flavor variations to try:
- Mint Chocolate Roll: Add a few drops of peppermint extract to the filling for a refreshing twist. You can also sprinkle crushed candy canes over the ganache for a festive look.
- Mocha Chocolate Roll: Incorporate a tablespoon of instant coffee granules into the batter to create a rich mocha flavor. Top with chocolate-covered espresso beans for an extra touch.
- Nutty Chocolate Roll: Fold finely chopped nuts, such as hazelnuts or almonds, into the batter. For added crunch, sprinkle some over the filling before rolling the cake.
- Orange Chocolate Roll: Add a tablespoon of orange zest to the batter and a few drops of orange extract to the filling. Garnish with candied orange peel for a sophisticated flavor combination.
- Berry Chocolate Roll: Spread a layer of berry jam (such as raspberry or strawberry) over the cake before adding the filling. The fruity contrast pairs wonderfully with the chocolate.
Dietary Modifications for Homemade Chocolate Roll
If you have dietary restrictions or preferences, you can still enjoy a delicious homemade chocolate roll. Here are some modifications to consider:
- Gluten-Free Chocolate Roll: Substitute the cake flour with a gluten-free all-purpose flour blend. Ensure all other ingredients are certified gluten-free.
- Vegan Chocolate Roll: Use flax eggs (1 tablespoon of ground flaxseed mixed with 3 tablespoons of water per egg) in place of regular eggs. Substitute dairy cream with coconut cream or a plant-based whipping cream.
- Low-Sugar Chocolate Roll: Replace granulated sugar with a sugar substitute like stevia or erythritol. Opt for sugar-free chocolate in the filling and ganache.
- Dairy-Free Chocolate Roll: Use dairy-free alternatives for cream and butter, such as coconut cream and vegan margarine. Ensure your chocolate is dairy-free as well.
Frequently Asked Questions (FAQs) About Homemade Chocolate Roll
To help you troubleshoot and perfect your homemade chocolate roll, here are answers to some common questions:
- How do you keep a chocolate roll from cracking?
- Answer: Roll the cake while it’s still warm using a kitchen towel dusted with confectioners’ sugar. This helps set the shape and prevents cracks.
- Can you freeze a chocolate roll?
- Answer: Yes, wrap the chocolate roll tightly in plastic wrap and then in aluminum foil to prevent freezer burn. It can be frozen for up to 2 months. Thaw it in the refrigerator overnight before serving.
- How long does a homemade chocolate roll last?
- Answer: When stored properly in the refrigerator, a chocolate roll can last up to 3-4 days. Ensure it’s wrapped tightly to prevent it from drying out.
- What is the best filling for a chocolate roll?
- Answer: Whipped cream is a classic choice, but you can also use chocolate mousse, buttercream, or cream cheese frosting for different flavors and textures.
- Can I make a chocolate roll without a Swiss roll pan?
- Answer: Yes, you can use any baking sheet with a rim. Just ensure it’s the right size (about 15×10 inches) to get the correct thickness for rolling.
Conclusion and Final Thoughts on Homemade Chocolate Roll
Summary and Final Thoughts on Homemade Chocolate Roll
Creating a homemade chocolate roll is a rewarding experience that combines baking skill with creative flair. This delightful dessert, with its rich chocolate sponge and creamy filling, is sure to impress at any gathering. Here’s a quick recap and some final thoughts to help you perfect your chocolate roll:
Key Points to Remember:
- Ingredients and Equipment: Ensure you have all the necessary ingredients and equipment ready before you start. This preparation is crucial for a smooth baking process.
- Follow the Steps: Carefully follow the steps for preparing the batter, baking the cake, making the filling, and rolling the cake. Each step is important for achieving the best results.
- Avoid Common Mistakes: Be mindful of common pitfalls like overbaking, rushing the cooling process, and skipping the sifting step.
- Personalize Your Roll: Experiment with different flavor variations and dietary modifications to make your homemade chocolate roll unique.
- Serve and Store Properly: Serve your chocolate roll with thoughtful pairings and store it correctly to keep it fresh.
With these tips and detailed instructions, you can create a stunning homemade chocolate roll that is as beautiful as it is delicious. Whether you’re a novice baker or a seasoned pro, this guide will help you master the art of the chocolate roll.
External Links and Recommended Anchor Text
- Chocolate Cake Roll Recipe – “Detailed recipe”
- Guide to Making Swiss Rolls – “Making Swiss rolls”
- Nutritional Information for Chocolate Rolls – “Nutritional breakdown”
By using these resources, you can further refine your techniques and gain additional insights into making the perfect chocolate roll.
Final Encouragement
Don’t be afraid to experiment and make the recipe your own. Baking is as much about creativity as it is about precision. Enjoy the process, have fun with the decorations, and most importantly, savor every bite of your delicious homemade chocolate roll.
With this comprehensive guide, you’re well-equipped to create a delectable dessert that will impress your friends and family. Happy baking!

