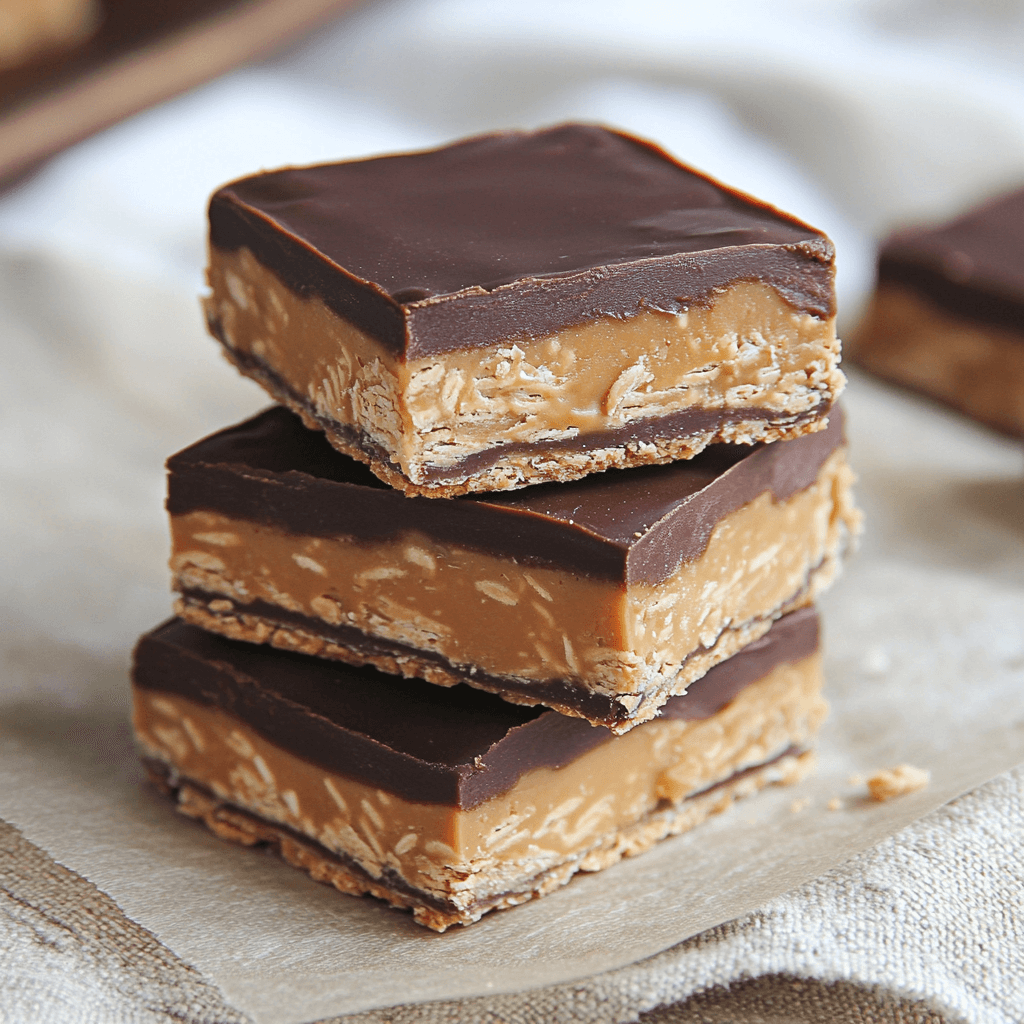
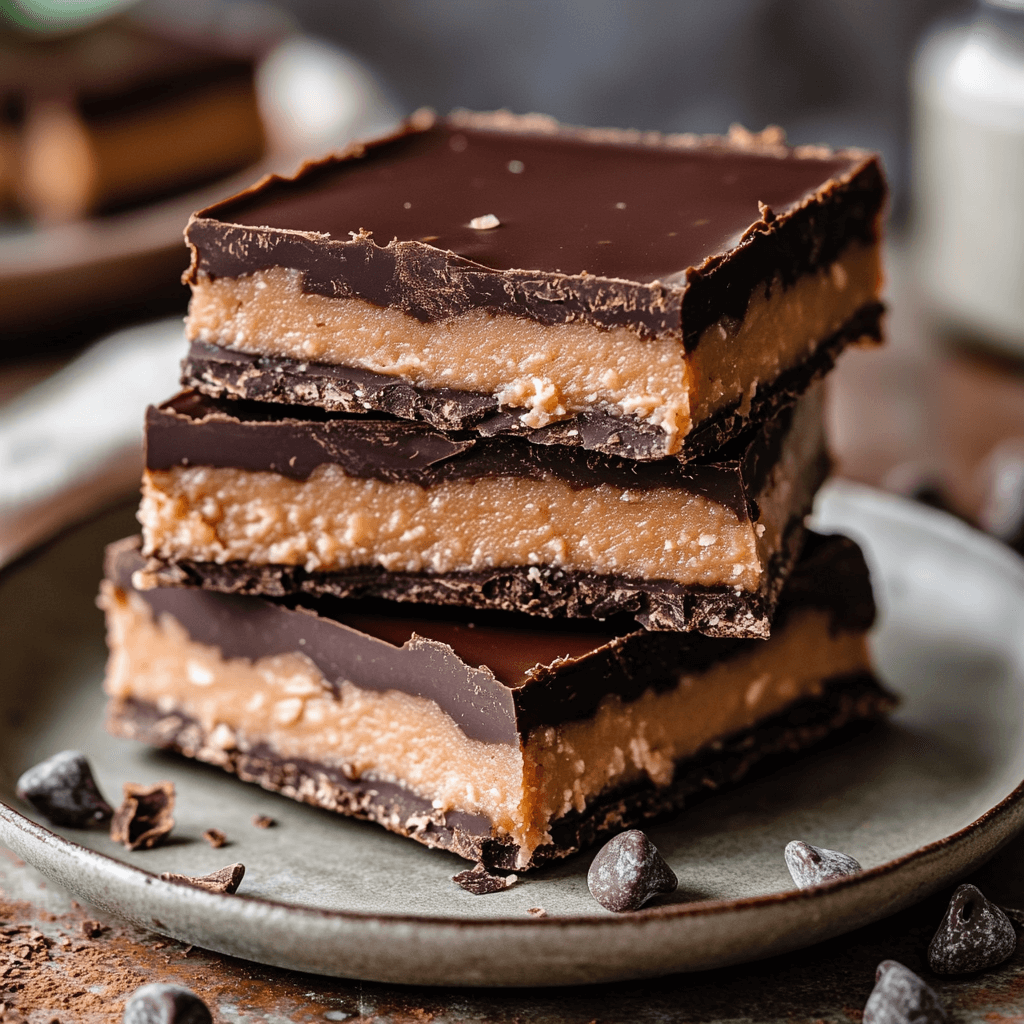
As a busy mom, I know how challenging it can be to find time for a sweet treat that doesn’t compromise our health goals. That’s why I’m excited to share my recipe for Homemade Healthy Twix Bars (Gluten-Free Recipe). These bars are not only delicious but also made with wholesome ingredients that you can feel good about. Whether you need a quick snack for the kids or a guilt-free indulgence for yourself, these bars are the perfect solution. Trust me, once you try them, you’ll want to keep this recipe on hand for all your sweet cravings!
Print
Homemade Healthy Twix Bars: Enjoy Guilt-Free Indulgence!
- Total Time: 1 hour 27 minutes
- Yield: 12 bars 1x
- Diet: Gluten Free
Description
A delicious and healthier version of the classic Twix bars, made with wholesome ingredients and gluten-free.
Ingredients
- 1 cup almond flour
- 1/4 cup coconut oil, melted
- 1/4 cup maple syrup
- 1/2 cup natural peanut butter
- 1/2 cup dark chocolate chips
- 1/4 cup coconut milk
- 1/4 teaspoon sea salt
Instructions
- Preheat the oven to 350°F (175°C) and line a baking dish with parchment paper.
- In a bowl, mix almond flour, melted coconut oil, maple syrup, and sea salt until well combined.
- Press the mixture into the bottom of the prepared baking dish to form the base layer.
- Bake for 10-12 minutes until lightly golden, then let it cool.
- Spread the peanut butter evenly over the cooled base layer.
- In a small saucepan, melt the dark chocolate chips with coconut milk over low heat, stirring until smooth.
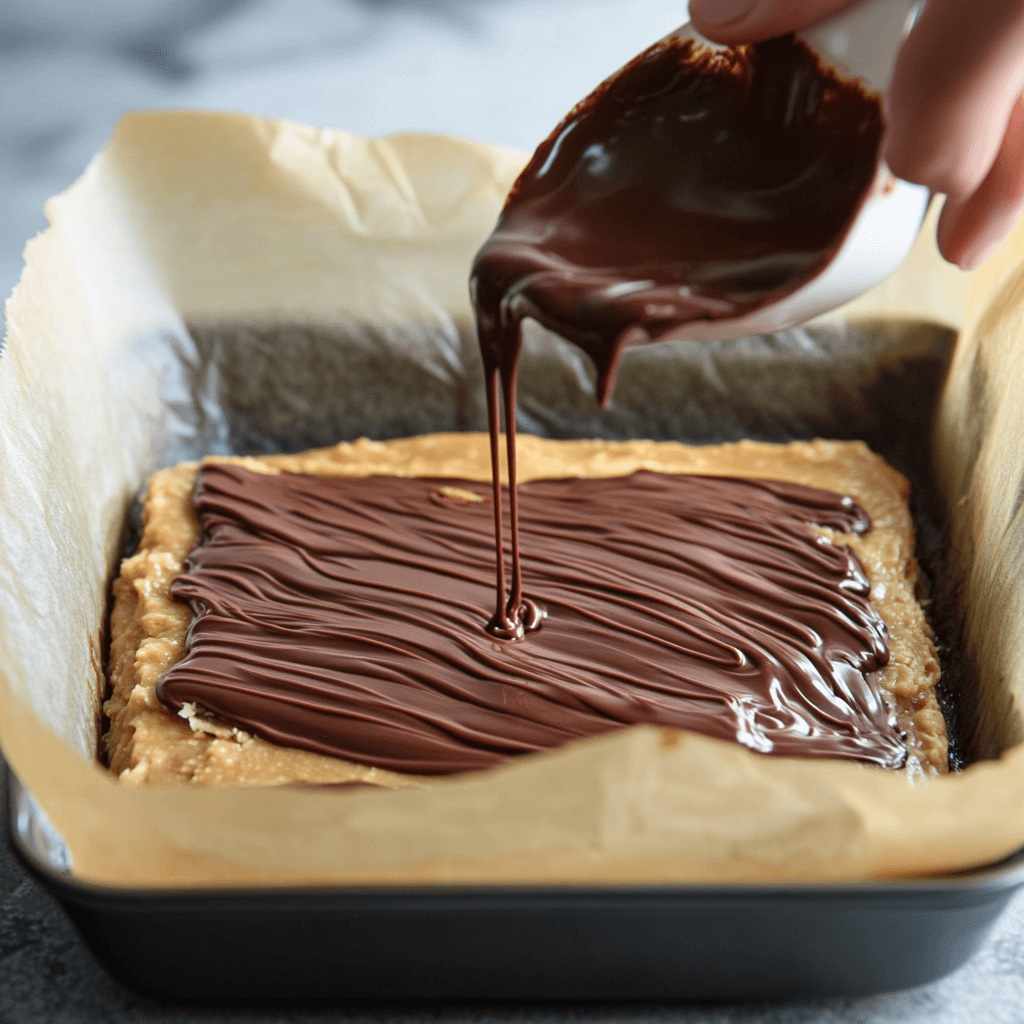
- Pour the melted chocolate over the peanut butter layer and spread evenly.
- Refrigerate for at least 1 hour until set, then cut into bars and serve.
Notes
- Store in an airtight container in the refrigerator for up to a week.
- Feel free to substitute almond flour with another gluten-free flour if desired.
- For a vegan option, ensure the chocolate chips are dairy-free.
- Prep Time: 15 minutes
- Cook Time: 12 minutes
- Category: Dessert
- Method: Baking
- Cuisine: American
Nutrition
- Serving Size: 1 bar
- Calories: 150
- Sugar: 5g
- Sodium: 50mg
- Fat: 10g
- Saturated Fat: 5g
- Unsaturated Fat: 3g
- Trans Fat: 0g
- Carbohydrates: 15g
- Fiber: 2g
- Protein: 4g
- Cholesterol: 0mg
Keywords: Homemade Healthy Twix Bars, Gluten-Free Recipe, Healthy Dessert
Table of Contents
Why You’ll Love This Homemade Healthy Twix Bars (Gluten-Free Recipe)
These Homemade Healthy Twix Bars are a game-changer for busy days. They come together in just over an hour, making them a quick and satisfying treat. The combination of creamy peanut butter and rich dark chocolate will have your taste buds dancing with joy. Plus, they’re gluten-free, so everyone can enjoy them without worry. You’ll love how easy they are to make and how they satisfy your sweet tooth without the guilt!

Ingredients for Homemade Healthy Twix Bars (Gluten-Free Recipe)
Gathering the right ingredients is key to making these delightful Homemade Healthy Twix Bars. Here’s what you’ll need:
- Almond flour: This gluten-free flour gives the base a nutty flavor and a lovely texture.
- Coconut oil: Melted coconut oil adds richness and helps bind the ingredients together.
- Maple syrup: A natural sweetener that brings a hint of caramel flavor to the bars.
- Natural peanut butter: Creamy and delicious, it adds protein and a satisfying taste.
- Dark chocolate chips: These provide a rich, indulgent topping that makes the bars irresistible.
- Coconut milk: This creamy addition helps melt the chocolate smoothly and adds a subtle coconut flavor.
- Sea salt: Just a pinch enhances the sweetness and balances the flavors beautifully.
Feel free to get creative! You can substitute almond flour with another gluten-free flour if you prefer. If you’re looking for a vegan option, just ensure your chocolate chips are dairy-free. For exact measurements, check the bottom of the article where you can find them available for printing.
How to Make Homemade Healthy Twix Bars (Gluten-Free Recipe)
Step 1: Preheat and Prepare
First things first, let’s get that oven preheating to 350°F (175°C). This is the perfect temperature for baking our delicious Homemade Healthy Twix Bars. While the oven warms up, grab a baking dish and line it with parchment paper. This little trick makes it super easy to lift the bars out later. Trust me, you’ll thank yourself when it’s time to cut them into perfect squares!
Step 2: Mix the Base Layer
Now, let’s create the base layer that will hold our bars together. In a mixing bowl, combine the almond flour, melted coconut oil, maple syrup, and sea salt. Use a spatula or spoon to mix everything until it’s well combined. You want a nice, cohesive mixture that’s slightly sticky. This base is the foundation of our bars, so make sure it’s mixed well for that delicious texture!
Step 3: Bake the Base
Once your mixture is ready, it’s time to press it into the prepared baking dish. Use your hands or the back of a spoon to spread it evenly across the bottom. Bake it in the preheated oven for about 10-12 minutes, or until it’s lightly golden. This step is crucial for achieving that perfect texture. Let it cool completely before moving on to the next layer. Patience is key here!
Step 4: Add the Peanut Butter Layer
Now comes the fun part—adding the creamy peanut butter layer! Once the base has cooled, spread the natural peanut butter evenly over the top. Make sure to cover every inch for that rich, nutty flavor in every bite. This layer not only adds creaminess but also packs in some protein. It’s like a warm hug for your taste buds!
Step 5: Melt the Chocolate
In a small saucepan, melt the dark chocolate chips along with the coconut milk over low heat. Stir continuously until the mixture is smooth and glossy. This luscious chocolate will be the crowning glory of our bars. Once melted, remove it from the heat and let it cool slightly before pouring it over the peanut butter layer. You want it to be warm but not too hot!
Step 6: Assemble and Chill
Finally, pour the melted chocolate over the peanut butter layer, spreading it evenly with a spatula. This is where the magic happens! Once it’s all spread out, pop the baking dish into the refrigerator for at least an hour. This chilling time allows the layers to set perfectly. Once set, you can cut them into bars and enjoy your Homemade Healthy Twix Bars. They’re worth the wait!
Tips for Success
- Make sure your coconut oil is fully melted for easy mixing.
- Use a spatula to press the base layer firmly into the dish for even baking.
- Let the base cool completely before adding the peanut butter layer to prevent melting.
- For a smoother chocolate layer, stir continuously while melting.
- Chill the bars long enough to ensure they set properly before cutting.

Equipment Needed
- Baking dish: A 9×9 inch dish works perfectly, but any similar size will do.
- Parchment paper: If you don’t have it, greasing the dish with coconut oil is a good alternative.
- Mixing bowl: Any large bowl will suffice for combining ingredients.
- Spatula: A rubber spatula is great for mixing and spreading.
- Small saucepan: Use this for melting the chocolate; a microwave-safe bowl works too.
Variations
- Nut Butter Swap: Try almond butter or cashew butter instead of peanut butter for a different flavor profile.
- Sweetener Alternatives: Use honey or agave syrup in place of maple syrup for a different sweetness.
- Flavor Boost: Add a teaspoon of vanilla extract to the base layer for an extra depth of flavor.
- Crunchy Texture: Mix in some chopped nuts or seeds into the base layer for added crunch.
- Chocolate Variations: Experiment with white chocolate or milk chocolate chips for a sweeter topping.
- Spice It Up: Add a pinch of cinnamon or a dash of sea salt on top of the chocolate layer for a flavor twist.
Serving Suggestions
- Pair these bars with a cup of herbal tea for a cozy afternoon treat.
- Serve with fresh fruit like strawberries or bananas for a refreshing contrast.
- For a fun presentation, drizzle extra melted chocolate on top before serving.
- Enjoy with a dollop of coconut whipped cream for an indulgent dessert.
- Pack them in lunchboxes for a sweet surprise that kids will love!
For more recipes follow me in page Facebook and Pinterest
FAQs about Homemade Healthy Twix Bars (Gluten-Free Recipe)
Can I make these bars vegan?
Absolutely! To make these Homemade Healthy Twix Bars vegan, simply ensure that your dark chocolate chips are dairy-free. You can also use maple syrup as your sweetener, which is naturally vegan.
How should I store the bars?
Store your Homemade Healthy Twix Bars in an airtight container in the refrigerator. They’ll stay fresh for up to a week, making them a perfect grab-and-go snack!
Can I freeze these bars?
Yes, you can freeze them! Just wrap each bar individually in plastic wrap and place them in a freezer-safe container. They’ll keep well for up to three months. Just thaw them in the fridge before enjoying!
What can I substitute for almond flour?
If you don’t have almond flour on hand, you can use other gluten-free flours like coconut flour or oat flour. Just keep in mind that the texture may vary slightly, so adjust the liquid ingredients as needed.
How do I make these bars lower in sugar?
To reduce the sugar content, you can cut back on the maple syrup or use a sugar-free sweetener like stevia or erythritol. Just remember to adjust the liquid ingredients accordingly to maintain the right consistency!
Final Thoughts
Making Homemade Healthy Twix Bars (Gluten-Free Recipe) has been a delightful journey for me, and I hope it becomes one for you too. These bars are not just a treat; they’re a way to indulge without the guilt. Each bite is a reminder that we can enjoy sweet moments while still being mindful of our health. Whether you’re sharing them with family or sneaking a piece for yourself, these bars bring joy and satisfaction. So, roll up your sleeves, gather your ingredients, and let the magic happen in your kitchen. You deserve this sweet escape!

