
As a busy mom, I know how challenging it can be to whip up something special for family gatherings or unexpected guests. That’s where this creative pie crust comes in! It’s not just about the taste; it’s about the joy of creating something beautiful and delicious. This recipe is perfect for those moments when you want to impress your loved ones without spending hours in the kitchen. With just a few simple ingredients, you can craft a pie crust that’s both unique and delightful, making every bite a memorable experience.
Print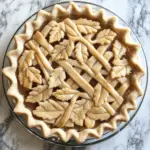
Creative pie crust that will impress your guests!
- Total Time: 4 hours 30 minutes
- Yield: 1 pie crust 1x
- Diet: Vegetarian
Description
A unique and creative pie crust recipe that will impress your guests with its flavor and presentation.
Ingredients
- 2 1/2 cups all-purpose flour
- 1 cup unsalted butter, chilled and diced
- 1/4 cup sugar
- 1/4 teaspoon salt
- 1/4 cup ice water
Instructions
- In a large bowl, mix flour, sugar, and salt.
- Add the diced butter and mix until the mixture resembles coarse crumbs.
- Stir in the ice water, a tablespoon at a time, until the mixture forms a ball.
- Wrap the dough in plastic wrap and refrigerate for at least 4 hours.
- Roll out the dough on a floured surface and shape it into your desired pie form.
- Pre-bake the crust at 375°F (190°C) for 15 minutes before adding your filling.
Notes
- For a sweeter crust, add more sugar to the dough.
- Experiment with different flavors by adding spices like cinnamon or nutmeg.
- Make sure the butter is very cold for a flaky crust.
- Prep Time: 15 minutes
- Cook Time: 15 minutes
- Category: Dessert
- Method: Baking
- Cuisine: American
Nutrition
- Serving Size: 1 slice
- Calories: 200
- Sugar: 1g
- Sodium: 150mg
- Fat: 12g
- Saturated Fat: 7g
- Unsaturated Fat: 3g
- Trans Fat: 0g
- Carbohydrates: 22g
- Fiber: 1g
- Protein: 3g
- Cholesterol: 30mg
Keywords: creative pie crust, unique pie crust, pie crust recipe
Table of Contents
Why You’ll Love This Creative Pie Crust
This creative pie crust is a game-changer for busy cooks like us! It’s quick to prepare, taking just 15 minutes of hands-on time. The flavor is simply divine, with a hint of sweetness that complements any filling. Plus, it’s versatile enough to adapt to your favorite recipes. Whether you’re baking a classic apple pie or a rich chocolate tart, this crust will elevate your dessert to new heights!

Ingredients for Creative Pie Crust
Gathering the right ingredients is the first step to creating your creative pie crust. Here’s what you’ll need:
- All-purpose flour: This is the backbone of your crust, providing structure and texture. You can also use whole wheat flour for a nuttier flavor.
- Unsalted butter: Chilled and diced, butter adds richness and flakiness. Make sure it’s cold to achieve that perfect texture!
- Sugar: A touch of sweetness enhances the flavor. Feel free to adjust the amount based on your filling or personal preference.
- Salt: Just a pinch balances the sweetness and enhances the overall taste of the crust.
- Ice water: This helps bind the dough together. The cold water keeps the butter from melting, ensuring a flaky crust.
For those looking to get creative, consider adding spices like cinnamon or nutmeg for a warm flavor twist. You can also experiment with flavored extracts, such as vanilla or almond, to give your crust a unique flair. If you’re in a pinch, store-bought pie crusts can be a quick alternative, but nothing beats the taste of homemade!
For exact measurements, check the bottom of the article where you can find everything listed for easy printing.
How to Make Creative Pie Crust
Now that you have your ingredients ready, let’s dive into the fun part: making your creative pie crust! Follow these simple steps, and you’ll be on your way to a delicious dessert that will wow your guests.
Step 1: Mix the Dry Ingredients
Start by grabbing a large bowl. In it, combine the all-purpose flour, sugar, and salt. Use a whisk or a fork to mix them well. This step is crucial as it ensures that the sugar and salt are evenly distributed throughout the flour. It’s like giving your crust a solid foundation!
Step 2: Incorporate the Butter
Next, add the chilled, diced butter to your flour mixture. Using a pastry cutter or your fingers, mix until the mixture resembles coarse crumbs. You want to see small pea-sized pieces of butter throughout. This is what creates that flaky texture we all love. Remember, the colder the butter, the better!
Step 3: Add Ice Water
Now, it’s time to bring it all together. Gradually stir in the ice water, one tablespoon at a time. Mix gently until the dough starts to form a ball. Be careful not to overwork it; you want to keep that butter cold. If the dough feels too dry, add a little more water. It should be moist but not sticky.
Step 4: Chill the Dough
Once your dough is formed, wrap it in plastic wrap. This is a crucial step! Refrigerate it for at least 4 hours. Chilling allows the butter to firm up again, which is key for a flaky crust. Plus, it gives the flavors time to meld together. Trust me, it’s worth the wait!
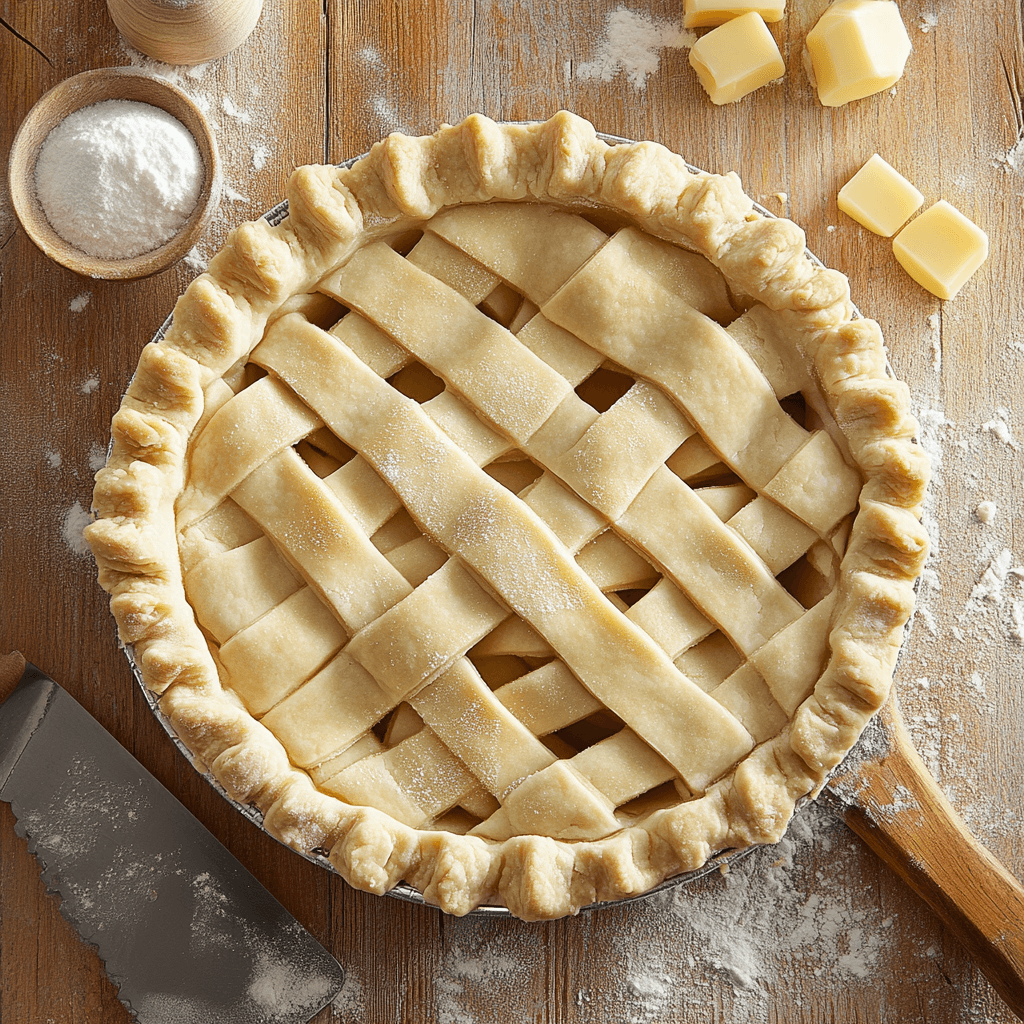
Step 5: Roll Out the Dough
After chilling, it’s time to roll out your dough. Lightly flour your work surface and your rolling pin. Take the dough out of the fridge and let it sit for a few minutes to soften slightly. Roll it out to your desired thickness, about 1/8 inch is perfect. Don’t forget to shape it into your pie form, whether it’s a classic round or something more creative!
Step 6: Pre-bake the Crust
Finally, pre-bake your crust! Preheat your oven to 375°F (190°C). Place the rolled-out crust in your pie dish and bake for 15 minutes. This step helps set the crust and prevents it from getting soggy once you add your filling. Keep an eye on it; you want it to be lightly golden.
Tips for Success
- Always use cold butter and ice water for a flaky texture.
- Don’t skip the chilling step; it’s essential for the best results.
- When rolling out, keep your surface and rolling pin floured to prevent sticking.
- For a decorative touch, use cookie cutters to create shapes from leftover dough.
- Experiment with flavors by adding herbs or spices to the dough.
Equipment Needed
- Large mixing bowl: A sturdy bowl for combining ingredients. A glass or ceramic bowl works well.
- Pastry cutter or fork: For mixing butter into the flour. You can also use your fingers if needed.
- Plastic wrap: Essential for chilling the dough. A reusable silicone bag is a great alternative.
- Rolling pin: For rolling out the dough. A wine bottle can work in a pinch!
- Pie dish: To bake your crust. Any oven-safe dish will do if you’re in a bind.
Variations of Creative Pie Crust
- Whole Wheat Crust: Substitute half of the all-purpose flour with whole wheat flour for a nuttier flavor and added fiber.
- Gluten-Free Option: Use a gluten-free all-purpose flour blend to make this crust suitable for those with gluten sensitivities.
- Herb-Infused Crust: Add finely chopped fresh herbs like rosemary or thyme to the dough for a savory twist that pairs beautifully with quiches or savory pies.
- Cocoa Powder Crust: Mix in a couple of tablespoons of cocoa powder for a chocolatey crust that’s perfect for dessert pies.
- Nutty Crust: Incorporate ground nuts, such as almonds or pecans, into the flour mixture for a rich, nutty flavor and added texture.
Serving Suggestions for Creative Pie Crust
- Pair your pie with a scoop of vanilla ice cream for a classic dessert experience.
- Serve with a dollop of freshly whipped cream to add a light, airy touch.
- For a refreshing contrast, offer a side of mixed berries or a fruit salad.
- Consider a warm cup of spiced chai or coffee to complement the flavors.
- Garnish with mint leaves for a pop of color and freshness on the plate.
For more recipes follow me in page Facebook and Pinterest
FAQs about Creative Pie Crust
As you embark on your journey to create this creative pie crust, you might have a few questions. Here are some common queries I’ve encountered, along with helpful answers to guide you along the way.
Can I make the dough ahead of time?
Absolutely! You can prepare the dough a day or two in advance. Just wrap it tightly in plastic wrap and store it in the fridge. This way, you’ll have it ready to roll out whenever you need it!
What if my dough is too crumbly?
If your dough feels too crumbly, it might need a bit more moisture. Add a teaspoon of ice water at a time until it comes together. Remember, it should be moist but not sticky!
Can I freeze the pie crust?
Yes, you can freeze the unbaked pie crust! Just wrap it well in plastic wrap and then in aluminum foil. It can be stored for up to three months. When you’re ready to use it, let it thaw in the fridge overnight.
How can I make my crust more flavorful?
To enhance the flavor of your unique pie crust, consider adding spices like cinnamon or nutmeg. You can also experiment with flavored extracts, such as vanilla or almond, to give it a delightful twist!
What’s the best way to prevent a soggy bottom crust?
Pre-baking your crust is key! This step helps set the crust and keeps it from getting soggy once you add your filling. Make sure to keep an eye on it while baking for that perfect golden color.
Final Thoughts
Creating this creative pie crust is more than just a cooking task; it’s a delightful experience that brings joy to both the baker and the guests. The aroma of freshly baked crust fills your kitchen, wrapping you in warmth and nostalgia. Each slice reveals a flaky, flavorful masterpiece that’s sure to impress. Whether it’s a family gathering or a cozy night in, this pie crust elevates any dessert. So roll up your sleeves, embrace the process, and let your creativity shine. After all, the best memories are made around the table, sharing delicious food with loved ones!