As summer fades and the hustle of daily life picks up, I find myself longing for those sweet, sun-kissed flavors of fresh corn. Freezing corn is my secret weapon to capture that essence and enjoy it all year round. It’s a quick solution for busy days when I want to whip up something delicious without the fuss. Plus, there’s something incredibly satisfying about knowing I’ve preserved a bit of summer magic in my freezer. Join me on this culinary adventure, and let’s unlock the fresh flavors of corn together!
Print
Freezing corn: Unlock fresh summer flavors year-round!
- Total Time: 25 minutes
- Yield: 4 cups of frozen corn
- Diet: Vegetarian
Description
Learn how to freeze corn to enjoy fresh summer flavors all year round.
Ingredients
- Fresh corn on the cob
- Water
- Ice
Instructions
- Start by husking the corn and removing all silk.
- Bring a large pot of water to a boil.
- Blanch the corn in boiling water for 4-6 minutes.
- Immediately transfer the corn to an ice bath to stop the cooking process.
- Once cooled, cut the kernels off the cob.
- Pack the corn kernels into freezer bags, removing as much air as possible.
- Label the bags with the date and freeze.
Notes
- Use fresh corn for the best flavor.
- Blanching is essential to preserve color and flavor.
- Frozen corn can last up to 12 months in the freezer.
- Prep Time: 15 minutes
- Cook Time: 10 minutes
- Category: Preservation
- Method: Freezing
- Cuisine: American
Nutrition
- Serving Size: 1 cup
- Calories: 143
- Sugar: 6 g
- Sodium: 2 mg
- Fat: 2 g
- Saturated Fat: 0 g
- Unsaturated Fat: 1 g
- Trans Fat: 0 g
- Carbohydrates: 31 g
- Fiber: 3 g
- Protein: 5 g
- Cholesterol: 0 mg
Keywords: freezing corn, preserving corn, summer flavors, corn recipes
Table of Contents
Why You’ll Love This Freezing Corn
Freezing corn is a game-changer for busy moms and professionals like us. It’s incredibly easy and quick, allowing you to savor summer’s sweetness without the hassle. Imagine having fresh corn ready to toss into salads, soups, or casseroles at a moment’s notice! Plus, the taste is unbeatable—nothing compares to the vibrant flavor of home-frozen corn. You’ll feel like a culinary superhero, effortlessly bringing summer to your table all year long!
Ingredients for Freezing Corn
To embark on this delightful journey of freezing corn, you’ll need just a few simple ingredients. Here’s what you’ll gather:
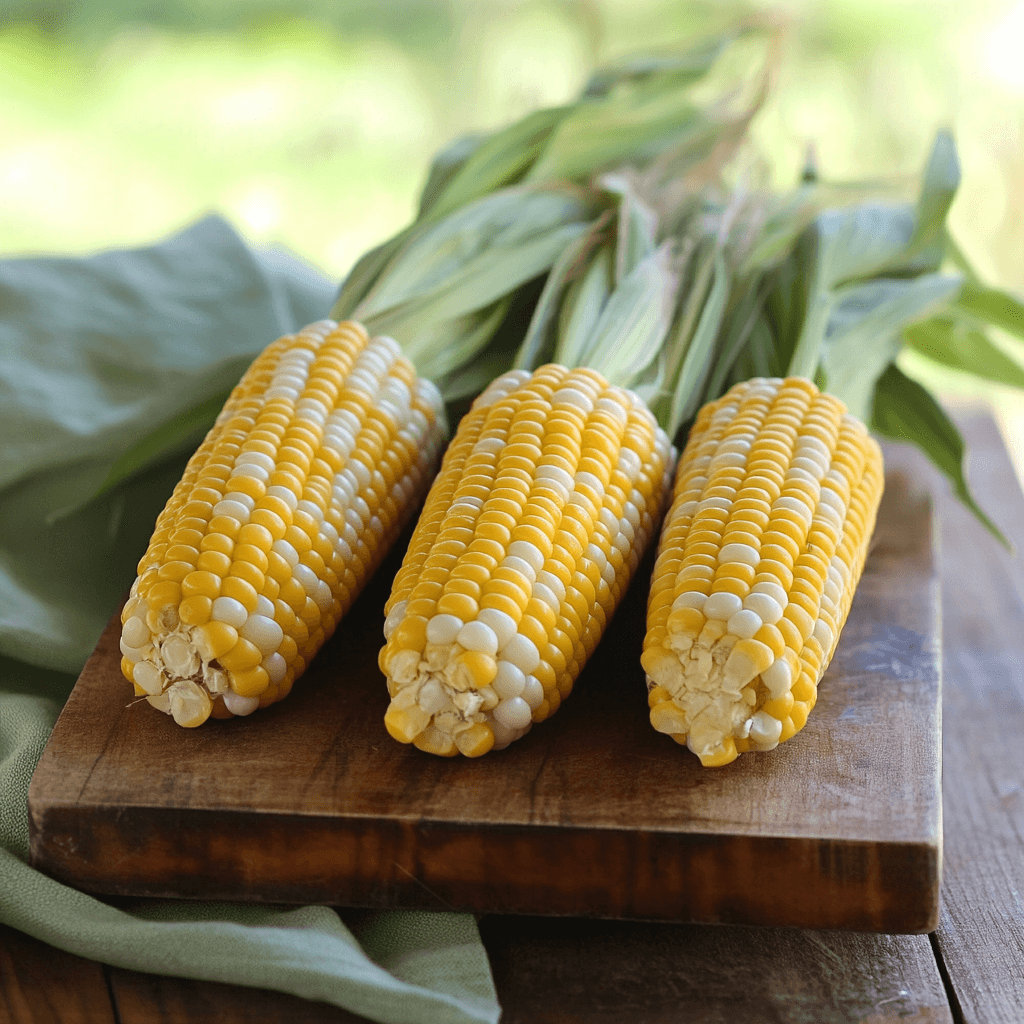
- Fresh corn on the cob: The star of the show! Look for ears that are plump and have bright green husks. Fresh corn is key to capturing that sweet summer flavor.
- Water: Essential for boiling and blanching. It helps to cook the corn quickly, preserving its vibrant color and taste.
- Ice: This is your secret weapon for stopping the cooking process. An ice bath ensures your corn stays crisp and delicious.
While these are the main ingredients, feel free to get creative! You can add spices or herbs to the corn before freezing for a flavor boost. Just remember, the fresher the corn, the better the taste. For exact measurements, check the bottom of the article where you can find everything ready for printing!
How to Make Freezing Corn
Now that we have our ingredients ready, let’s dive into the steps for freezing corn. This process is simple and quick, ensuring you capture that fresh summer flavor. Follow along, and I promise you’ll feel like a pro in no time!
Step 1: Husk the Corn
First things first, let’s husk the corn. Grab an ear of corn and peel back the green husks. Don’t forget to remove all the silky threads that cling to the kernels. This step is crucial because any leftover silk can affect the texture of your corn. Once you’ve husked it, give the corn a quick rinse under cold water to wash away any dirt.
Step 2: Boil Water
Next, it’s time to boil some water. Fill a large pot with water and bring it to a rolling boil. This step is essential for blanching, which helps preserve the corn’s vibrant color and sweet flavor. Blanching also stops the enzymes that can cause the corn to lose its taste and texture over time. So, don’t skip this part!
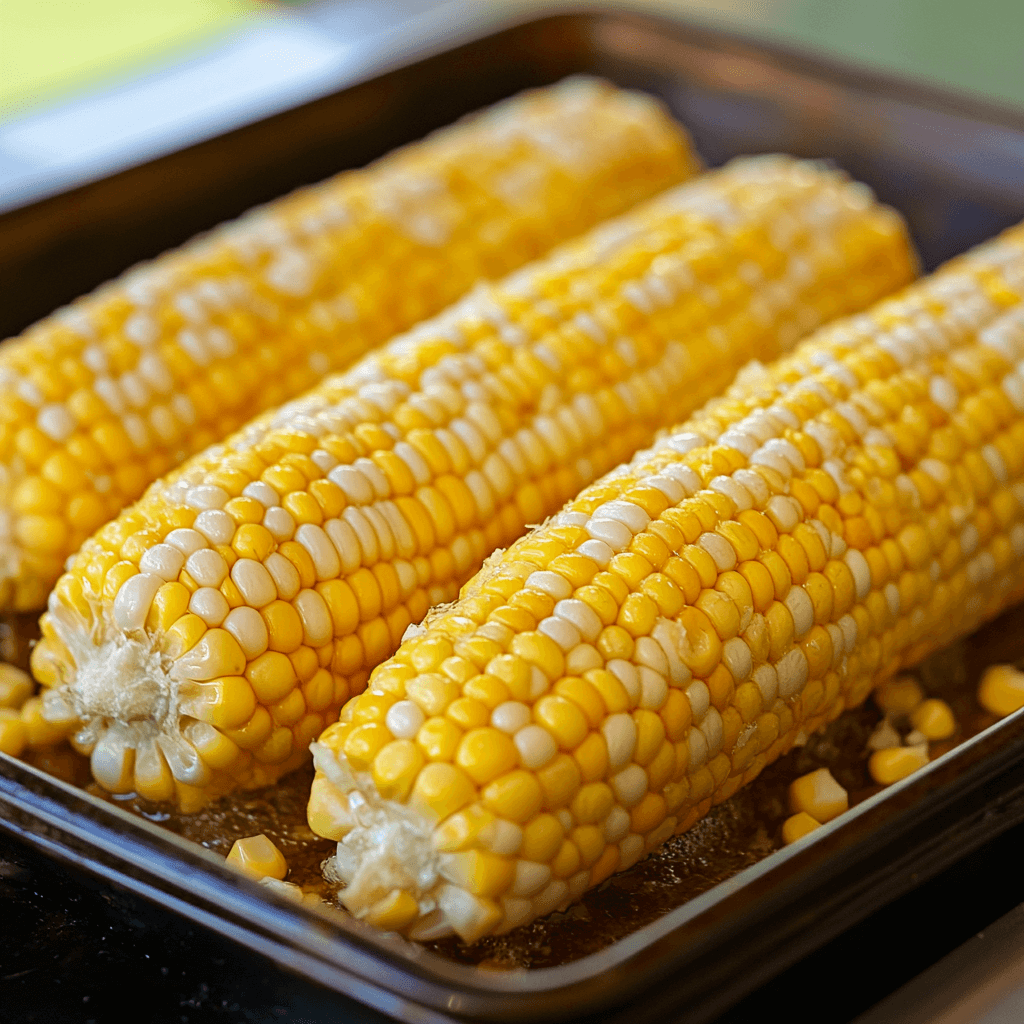
Step 3: Blanch the Corn
Once the water is boiling, carefully add the corn. Blanch the corn for about 4-6 minutes. This short cooking time is just enough to lock in the flavor without overcooking. You’ll notice the corn turning a bright yellow, which is a good sign! After the time is up, use tongs to remove the corn from the pot.
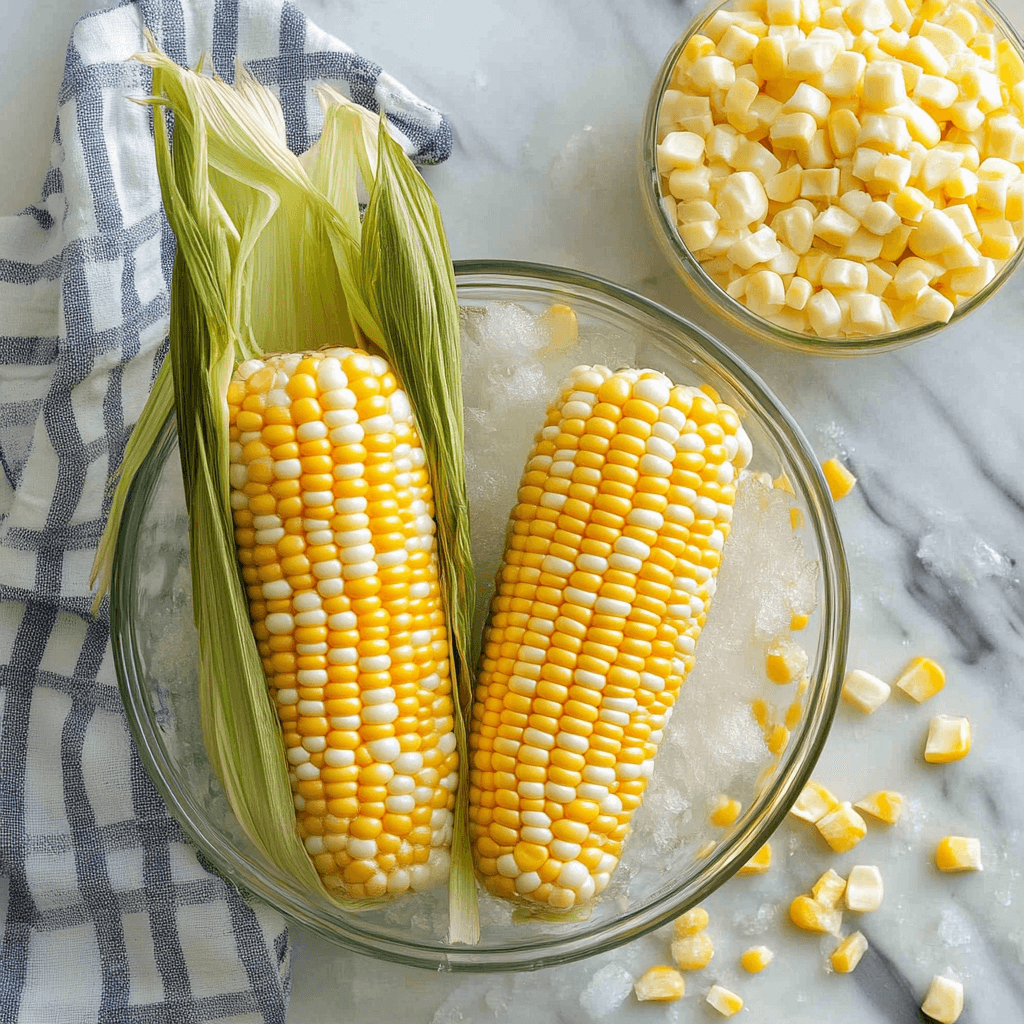
Step 4: Ice Bath
Now, let’s prepare an ice bath. Fill a large bowl with ice and cold water. Immediately transfer the blanched corn into this icy mixture. This step is vital as it stops the cooking process, keeping your corn crisp and delicious. Let it sit in the ice bath for about the same time you blanched it.
Step 5: Cut the Kernels
Once the corn is cool, it’s time to cut the kernels off the cob. Place the ear of corn upright in a bowl. Using a sharp knife, slice down the sides to remove the kernels. Be careful not to cut too deep into the cob. You want to get all those sweet kernels without any tough bits. This is where the magic happens!
Step 6: Pack for Freezing
Now that you have your beautiful corn kernels, it’s time to pack them for freezing. Grab some freezer bags and fill them with the corn. Make sure to remove as much air as possible before sealing. This helps prevent freezer burn and keeps your corn tasting fresh. I like to use a straw to suck out the air if I’m feeling fancy!
Step 7: Label and Freeze
Finally, don’t forget to label your bags with the date. This way, you’ll know how long they’ve been in the freezer. Frozen corn can last up to 12 months, but it’s best to use it within six months for optimal flavor. Store the bags flat in the freezer, and you’re all set to enjoy summer’s sweetness whenever you like!
Tips for Success
- Always choose the freshest corn for the best flavor.
- Blanching time is crucial—don’t overdo it!
- Use a sharp knife for cutting kernels; it makes the job easier.
- Consider portioning corn into smaller bags for easy use later.
- Keep your workspace clean to avoid any mess during the process.
Equipment Needed
- Large pot: A big pot for boiling water. A stockpot works great!
- Tongs: Handy for safely removing corn from boiling water. If you don’t have tongs, a slotted spoon will do.
- Knife: A sharp knife for cutting kernels off the cob.
- Freezer bags: Essential for storing your corn. You can also use airtight containers.
- Large bowl: For the ice bath. Any bowl will work, just make sure it’s big enough!
Variations
- Spicy Corn: Add a pinch of cayenne pepper or chili powder to the corn before freezing for a kick of heat.
- Herbed Corn: Toss in fresh herbs like basil or cilantro for a burst of flavor. Just chop them finely and mix with the kernels.
- Sweet Corn: Drizzle a little honey or maple syrup over the corn before freezing for a sweet twist.
- Cheesy Corn: Mix in grated Parmesan or cheddar cheese before sealing the bags for a cheesy delight.
- Vegetarian Medley: Combine corn with diced bell peppers or zucchini for a colorful veggie mix that’s perfect for stir-fries.
Serving Suggestions
- Serve your frozen corn as a side dish with grilled chicken or fish for a colorful plate.
- Mix it into a fresh salad with cherry tomatoes and avocado for a summer vibe.
- Pair with a chilled glass of lemonade or iced tea for a refreshing meal.
- Top with a sprinkle of feta cheese and fresh herbs for an elegant touch.
- Use in soups or casseroles for added texture and flavor.
For more recipes follow me in page Facebook and Pinterest
FAQs about Freezing Corn
Can I freeze corn without blanching it?
While you can freeze corn without blanching, it’s not recommended. Blanching helps preserve the color, flavor, and texture of the corn. It also stops the enzymes that can lead to spoilage. So, for the best results, always blanch your corn before freezing!
How long does frozen corn last?
Frozen corn can last up to 12 months in the freezer. However, for the best flavor and quality, try to use it within six months. Just remember to label your bags with the date to keep track!
Can I use frozen corn in recipes without thawing it first?
Absolutely! You can toss frozen corn directly into soups, stews, or casseroles without thawing. It will cook quickly and add that delightful summer flavor to your dishes. Just adjust the cooking time slightly to account for the frozen corn.
What’s the best way to thaw frozen corn?
The easiest way to thaw frozen corn is to leave it in the refrigerator overnight. If you’re in a hurry, you can also run it under cold water or microwave it for a few minutes. Just be careful not to overcook it!
Can I freeze corn on the cob?
Yes, you can freeze corn on the cob! Just follow the same blanching process, then wrap each ear tightly in plastic wrap or aluminum foil before placing it in freezer bags. This way, you can enjoy fresh corn on the cob anytime!
Final Thoughts
Freezing corn is more than just a cooking technique; it’s a way to capture the essence of summer and bring it into our busy lives. Each time I open a bag of my frozen corn, I’m reminded of sun-soaked days spent at the farmer’s market, picking the freshest ears. It’s a simple joy that transforms everyday meals into something special. Whether you’re adding it to a cozy soup or a vibrant salad, you’ll feel that summer warmth with every bite. So, let’s embrace this culinary adventure and savor those sweet summer flavors all year long!