
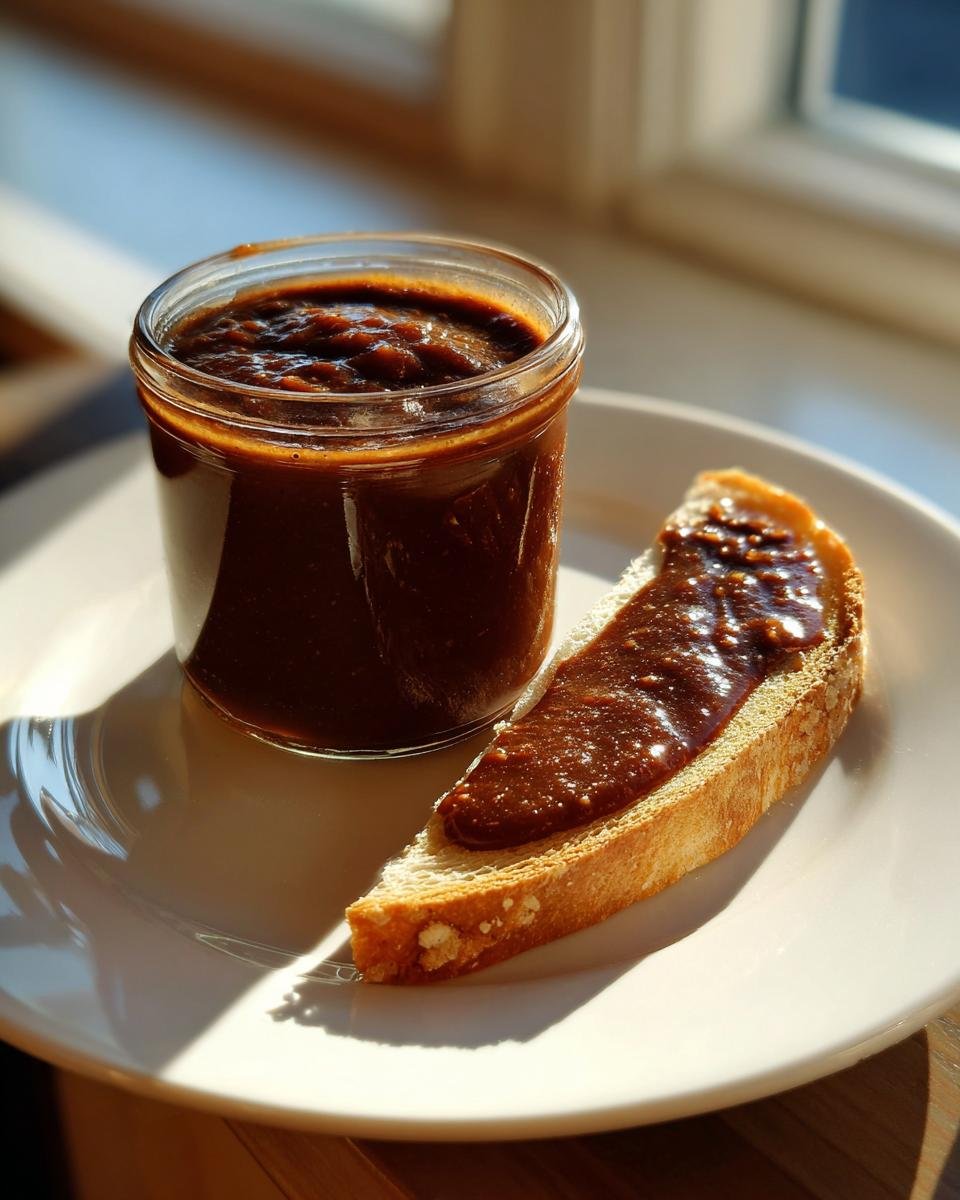
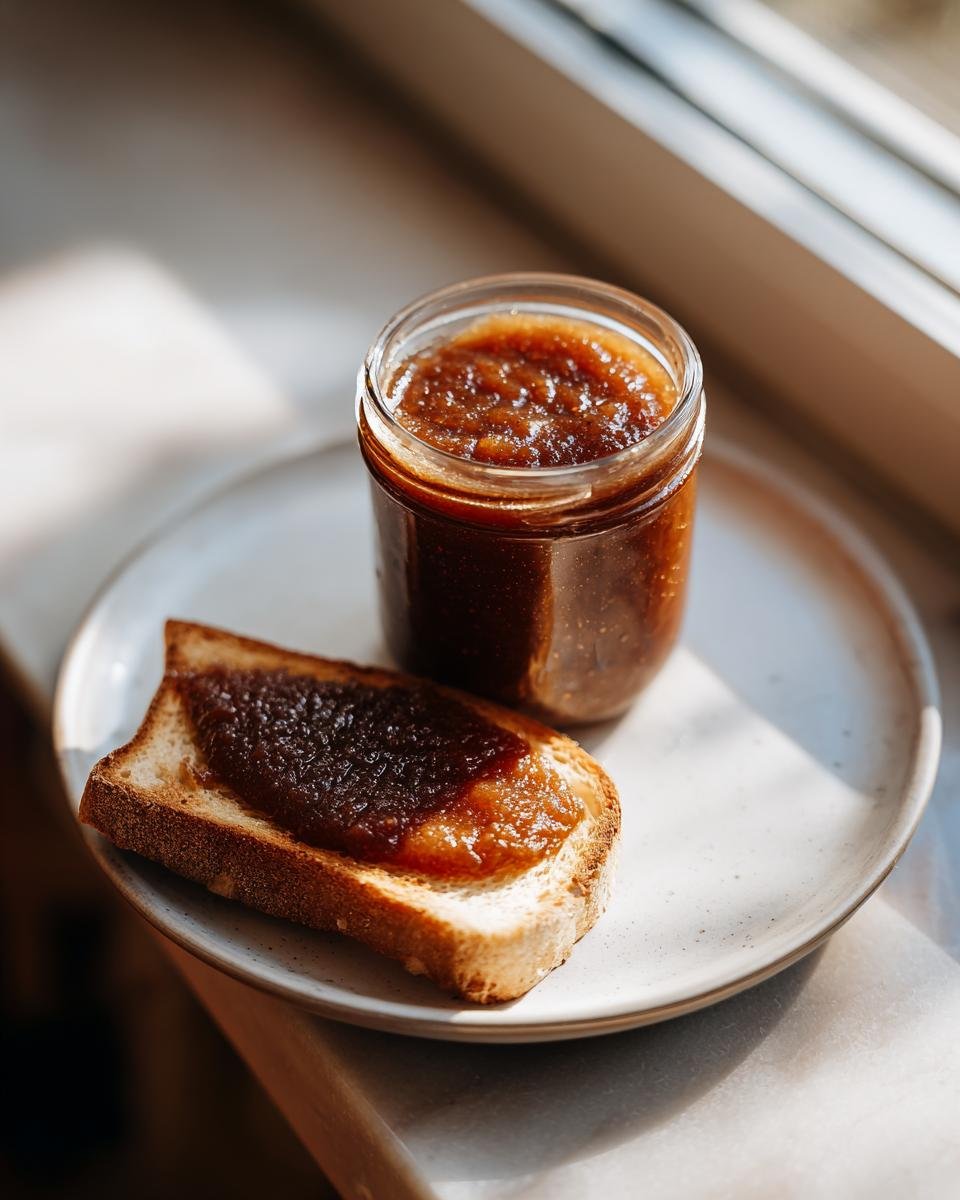
Oh, let me tell you about the magic of Homemade Apple Butter! This sweet, spiced spread is like a warm hug for your toast, pancakes, or even as a delightful filling for desserts. I can still remember the first time I made it—my kitchen filled with the comforting aroma of simmering apples and cinnamon. It felt as if autumn had wrapped itself around me, even in the middle of summer!
There’s something incredibly satisfying about transforming simple apples into a luscious, rich butter. I love how it captures the essence of fall, with every spoonful bursting with flavors that remind me of my grandmother’s kitchen. She used to whip up batches every year, and I can almost hear her laughter as we’d spread it thick on warm biscuits. You’ll find that making your own apple butter is not just about the taste; it’s about creating those special moments that linger long after the last bite. Trust me, once you try this recipe, you’ll never want to go back to store-bought again!
Ingredients for Homemade Apple Butter
- 4 lbs (1.8 kg) apples (about 10 small–medium apples), cored and chopped
- ½ cup (118 ml) apple juice or water
- 1 Tbsp lemon juice
- 1 cup (200 g) light brown sugar, gently packed
- 2 tsp ground cinnamon
- ¼ tsp ground cloves
- ¼ tsp salt
When you’re picking your apples, opt for a mix of sweet and tart varieties for that perfect flavor balance. Trust me, it makes a world of difference! And don’t worry too much about peeling them—those peels add extra flavor and nutrients. Just give them a good wash, and you’re all set! I like to use a mix of Granny Smith and Honeycrisp for that sweet-tart combo, but you can go with whatever apples you have on hand. Let your taste buds be your guide!
How to Prepare Homemade Apple Butter
Step-by-Step Instructions
Preparing your own Homemade Apple Butter is a delightful journey, and I’m here to walk you through it step by step! So, grab your apron and let’s get started!
First things first, take those lovely chopped apples and place them into a large stock pot. You don’t need to peel them if you don’t want to; the peels will add flavor and nutrients. Just make sure they’re washed well! Next, pour in the ½ cup of apple juice (or water) along with 1 tablespoon of lemon juice. This little bit of acidity is key to brightening up the flavors.
Now it’s time to sweeten things up! Add in 1 cup of light brown sugar, along with the 2 teaspoons of ground cinnamon, ¼ teaspoon of ground cloves, and ¼ teaspoon of salt. Stir everything together well until the sugar is nicely mixed in. You want those spices to coat the apples evenly!
Cover your pot and cook over medium-low heat, letting it gently simmer for about 1 to 2 hours. Don’t forget to stir occasionally! You’ll know it’s ready when the apples are super soft and starting to break down. This is where the magic happens, and the smell will be heavenly!
Once your apples are soft, it’s time to blend! Use an immersion blender to purée the mixture right in the pot, or transfer it in batches to a blender. Just be careful—hot apple butter can splatter! Blend it until it’s smooth and velvety.
Now, remove the lid and continue to cook uncovered for another 30 to 60 minutes, stirring now and then. This step helps thicken it up and gives that beautiful deep brown color. To test for doneness, spoon a small amount onto a plate; if no liquid separates after cooling, it’s ready! Once it reaches that perfect consistency, spoon it into jars and let it cool completely before storing. You did it! Your homemade apple butter is ready to spread joy on everything!
Why You’ll Love This Recipe
- Quick Preparation Time: It only takes about 15 minutes to prep before you let the stovetop do its magic!
- Simple Ingredients: You’re just a few apples and some pantry staples away from a delicious spread!
- Aromatic Experience: The smell of simmering apples and spices will fill your kitchen with a warm, inviting aroma that’s pure comfort.
- Endless Versatility: Use it on toast, pancakes, or as a filling for pastries. You can even swirl it into oatmeal for a cozy breakfast!
- Customizable Flavor: Feel free to experiment with spices and sweetness levels to make it truly your own!
- Perfect for Gift Giving: Put some in a cute jar, and you’ve got a heartfelt gift that friends and family will adore!
Tips for Success with Homemade Apple Butter
To ensure your Homemade Apple Butter turns out just right, here are a few handy tips that I’ve learned along the way!
First, be mindful of your apple selection. Mixing sweet and tart varieties not only enhances the flavor but also balances the natural sweetness. If your apples are particularly sweet, you might want to cut back a little on the brown sugar to avoid a dessert that’s too sugary.
Also, keep an eye on your cooking time! If your apple butter isn’t thickening up after the recommended time, don’t hesitate to let it simmer longer. Just remember to stir occasionally to prevent sticking or burning on the bottom of the pot.
And here’s a pro tip: when puréeing, if you’re using a blender, let the mixture cool slightly before blending in batches. This prevents any hot splatter accidents! Finally, don’t skip the cooling test on a plate—trust me, it’s the best way to ensure you’ve hit that perfect consistency before jarring it up!
Variations on Homemade Apple Butter
If you’re feeling adventurous, there are so many fun ways to switch up your Homemade Apple Butter! For a little kick, try adding a pinch of ground ginger or a dash of nutmeg alongside the cinnamon. You could even toss in some vanilla extract for a warm, comforting flavor twist!
Feeling a bit more daring? Swap out the brown sugar for maple syrup or honey for a unique sweetness that pairs beautifully with the apples. You could also experiment with different types of apples, like Fuji or Gala, to see how the flavors change. The possibilities are endless, so don’t be afraid to get creative and make this recipe your own!
Storage & Reheating Instructions for Homemade Apple Butter
Storing your Homemade Apple Butter is easy-peasy! Once it’s completely cooled, spoon it into clean jars and seal them tightly. You can keep it in the refrigerator for up to a month, but trust me, it won’t last that long! For longer storage, freeze it in freezer-safe containers, and it should stay good for up to a year. Just make sure to leave some space at the top of the container, as it will expand when frozen.
When you’re ready to enjoy it again, simply thaw it in the fridge overnight. If you want to warm it up, you can gently reheat it on the stovetop over low heat, stirring occasionally. It’ll be just like you made it fresh!
Nutritional Information for Homemade Apple Butter
When it comes to Homemade Apple Butter, knowing what’s in it can help you enjoy it guilt-free! A typical serving size of about 1 tablespoon contains approximately 35 calories, with 7 grams of sugar and no fat. The beauty of this spread is that it’s naturally low in calories while offering a delightful hit of sweetness.
Keep in mind that the nutritional values can vary based on the types of apples you choose and how much sugar you decide to add. If you opt for sweeter apples, you might find you can reduce the sugar a bit without sacrificing flavor. This flexibility makes it easy to customize your apple butter to fit your dietary preferences while still enjoying that delicious homemade taste!
FAQ about Homemade Apple Butter
Q1: Can I use any type of apple for making apple butter?
Absolutely! A mix of sweet and tart apples works best for homemade apple butter. Granny Smith and Honeycrisp create a perfect balance, but feel free to use whatever you have on hand!
Q2: How do I know when my apple butter is done?
The best way to check is by spooning a small amount onto a plate. If no liquid separates after cooling, it’s ready! You can also look for a thick, deep brown consistency.
Q3: Can I make this apple butter without added sugar?
You sure can! Just be mindful that your apple butter might taste less sweet. If your apples are naturally sweet, you might not need any additional sugar at all!
Q4: How long does homemade apple butter last?
In the refrigerator, it lasts about a month. If you freeze it in proper containers, you can enjoy it for up to a year!
Q5: Can I can homemade apple butter for long-term storage?
Yes! Process filled jars in boiling water for 10 minutes to ensure long-term storage. Just let them cool completely before storing them away!
For more recipes follow me in page Pinterest.
Print
Homemade Apple Butter: 7 Ways to Spread Sweet Joy
- Total Time: 2 hours 15 minutes
- Yield: 5½ cups 1x
- Diet: Vegetarian
Description
This homemade apple butter is a sweet and spiced spread perfect for toast or desserts.
Ingredients
- 4 lbs (1.8 kg) apples (about 10 small–medium apples), cored and chopped
- ½ cup (118 ml) apple juice or water
- 1 Tbsp lemon juice
- 1 cup (200 g) light brown sugar, gently packed
- 2 tsp ground cinnamon
- ¼ tsp ground cloves
- ¼ tsp salt
Instructions
- Place chopped apples into a large stock pot. Peeling is optional.
- Add apple juice (or water), lemon juice, brown sugar, cinnamon, cloves, and salt. Stir well.
- Cover and cook over medium-low heat at a gentle simmer, stirring occasionally, until apples are very soft (about 1–2 hours).
- Purée the apples using an immersion blender, or blend in batches and return to the pot.
- Continue cooking uncovered for 30–60 minutes, stirring occasionally, until thick and deep brown.
- Test by spooning a small amount onto a plate; if no liquid separates after cooling, it’s ready.
- Spoon into jars and cool completely before storing.
Notes
- Yield: about 5½ cups
- Adjust sugar based on the natural sweetness of your apples.
- Store in the refrigerator for up to 1 month.
- To freeze: store in freezer-safe containers for up to 1 year.
- For long-term storage, process filled jars in boiling water for 10 minutes and cool completely before storing.
- Prep Time: 15 minutes
- Cook Time: 2 hours
- Category: Spread
- Method: Stovetop
- Cuisine: American
Nutrition
- Serving Size: 1 Tbsp
- Calories: 35
- Sugar: 7 g
- Sodium: 0 mg
- Fat: 0 g
- Saturated Fat: 0 g
- Unsaturated Fat: 0 g
- Trans Fat: 0 g
- Carbohydrates: 9 g
- Fiber: 1 g
- Protein: 0 g
- Cholesterol: 0 mg
Keywords: apple butter, homemade, spread, recipe