What Makes Fantastic Creamy Oreo Cheesecake Special?
Unique Layers and Textures of Oreo Cheesecake
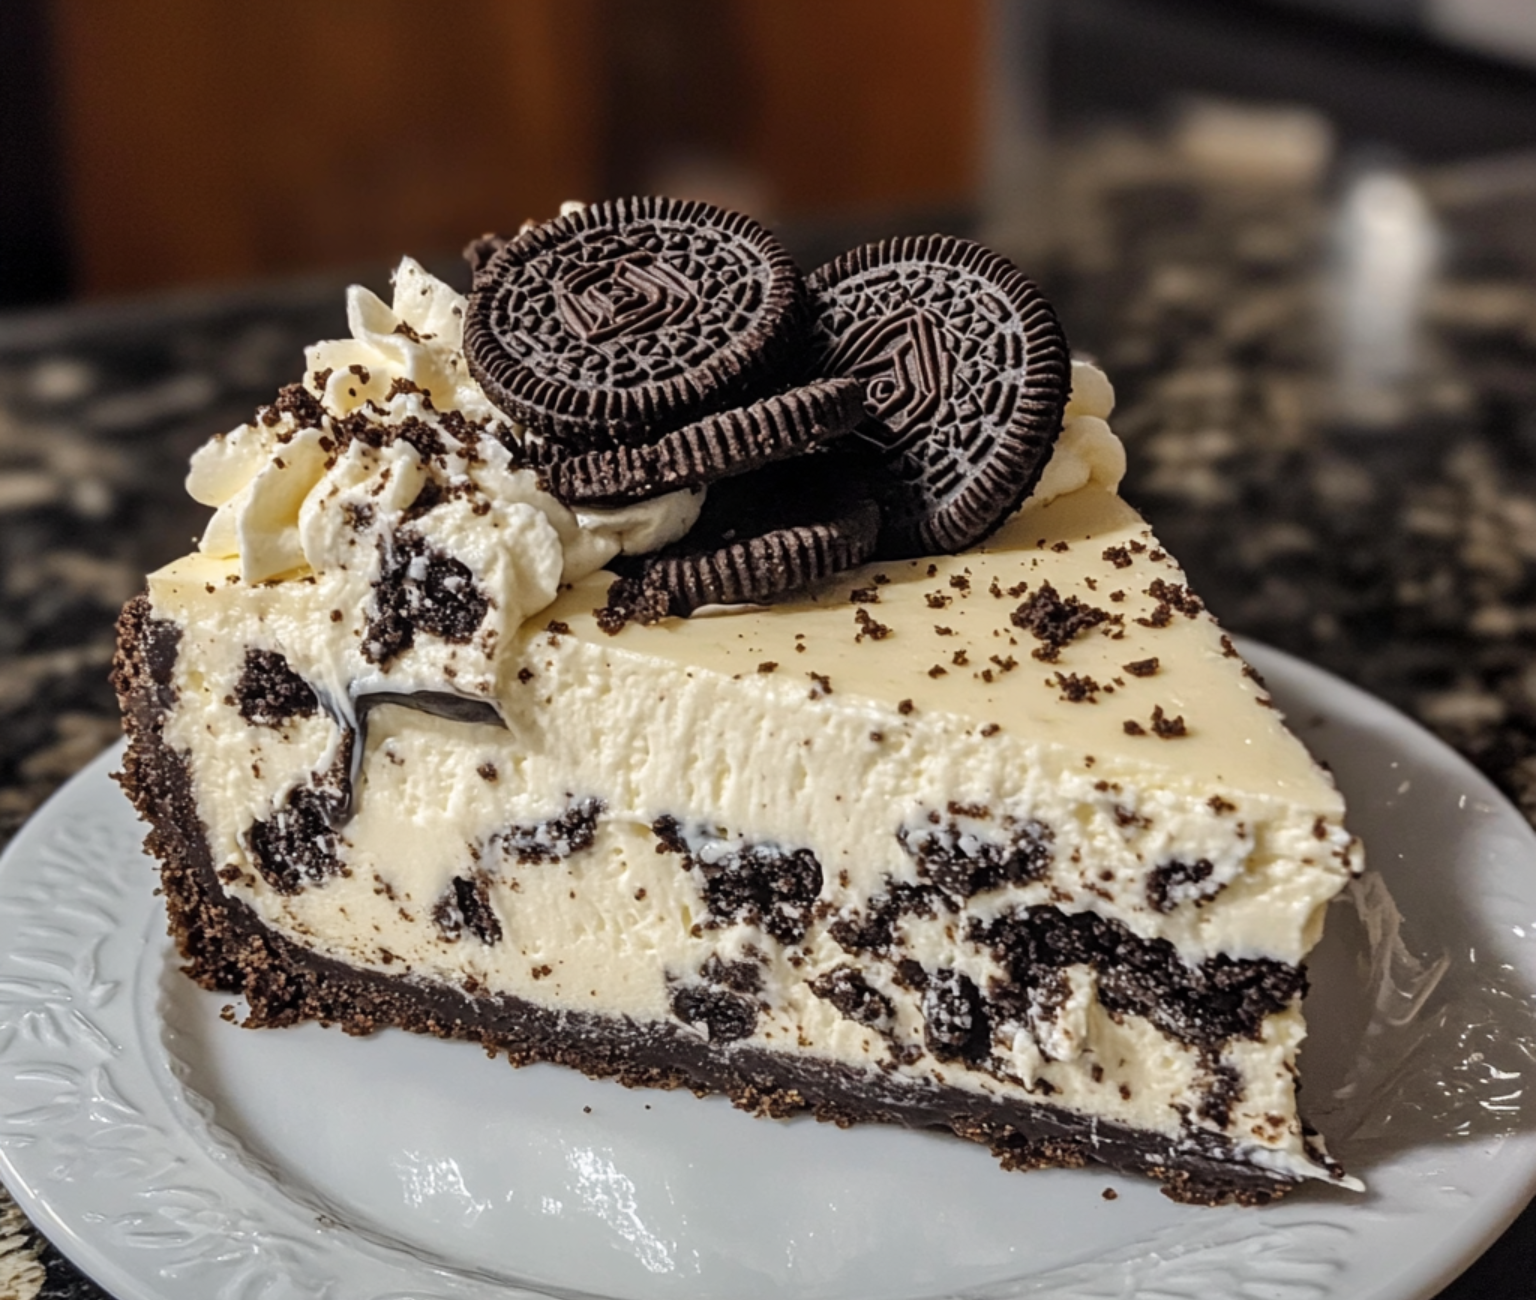
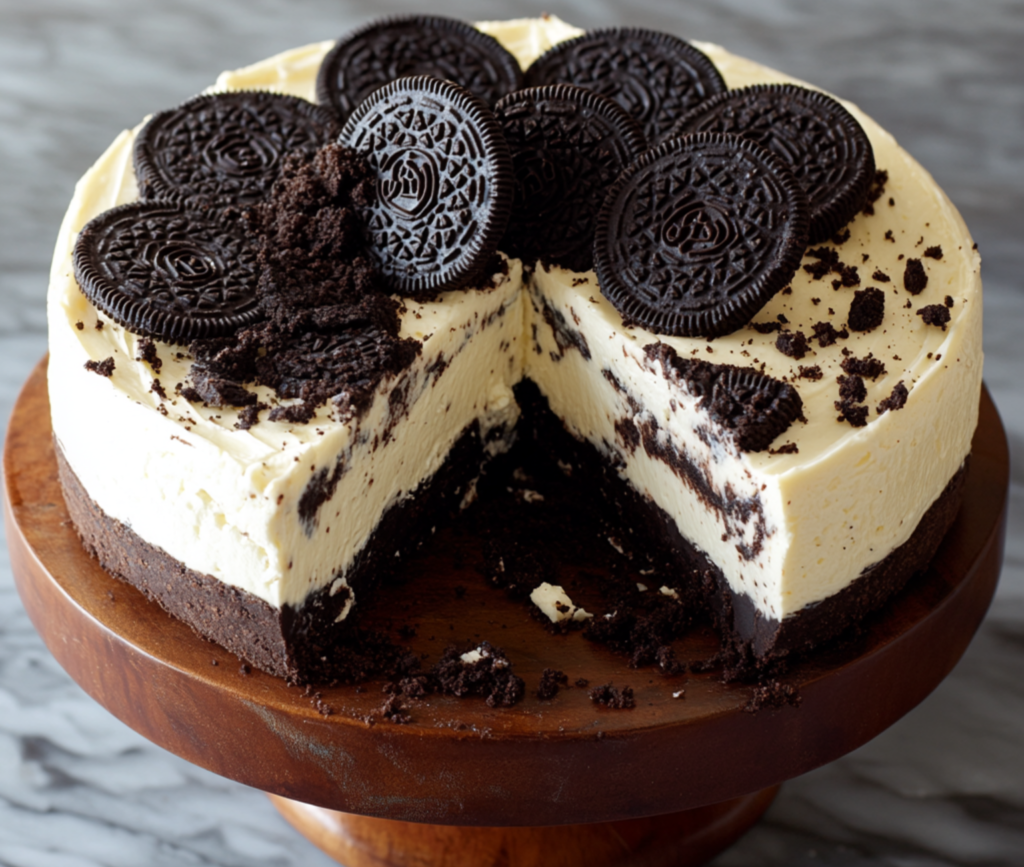
One of the standout features of the fantastic creamy Oreo cheesecake is its unique combination of textures and flavors. Each bite provides a perfect balance between the crunchy Oreo crust, the smooth cheesecake filling, and the surprise of Oreo chunks sprinkled throughout.
Print
Fantastic Creamy Oreo Cheesecake | Easy & Delicious Recipe
Description
A delicious slice of creamy Oreo cheesecake with a crunchy Oreo crust and velvety smooth cheesecake filling, topped with Oreo crumbles and a drizzle of chocolate. Perfectly chilled and served on a white plate, this decadent dessert is ideal for any occasion.
Ingredients
- For the Crust:
- 24 Oreo cookies (crushed)
- 1/4 cup melted butter
- For the Cheesecake Filling:
- 24 oz cream cheese (softened)
- 1 cup sugar
- 1 cup heavy cream
- 3 large eggs
- 1 tsp vanilla extract
- 12 Oreo cookies (roughly chopped)
- For the Topping:
- Whipped cream (optional)
- Extra Oreo crumbles (optional)
Instructions
- Prepare the Crust:
- Preheat your oven to 325°F (163°C).
- Crush the Oreo cookies and mix them with melted butter until well combined.
- Press the mixture into the bottom of a springform pan to form a crust. Bake for 10 minutes, then set aside to cool.
- Make the Cheesecake Filling:
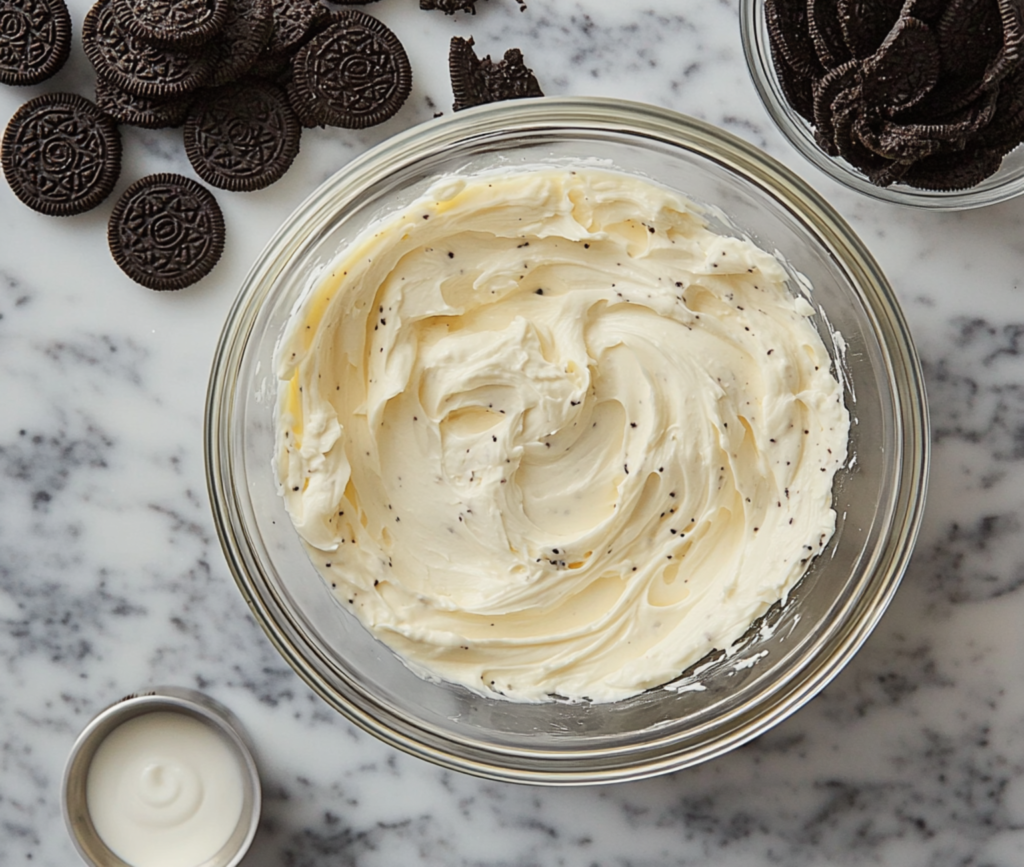
- In a large bowl, beat the softened cream cheese until smooth and creamy.
- Gradually add sugar and continue beating until well incorporated.
- Mix in the eggs one at a time, then add the vanilla extract and heavy cream. Beat until the mixture is smooth.
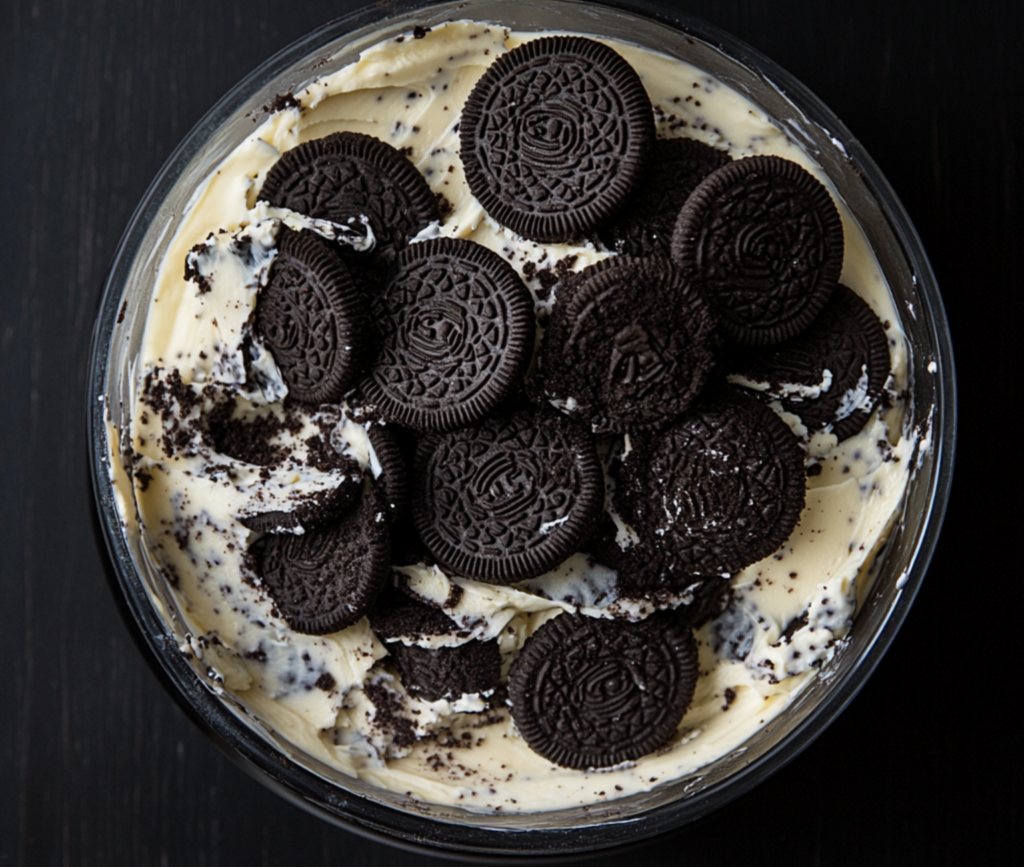
- Fold in the chopped Oreo cookies.
- Bake the Cheesecake:
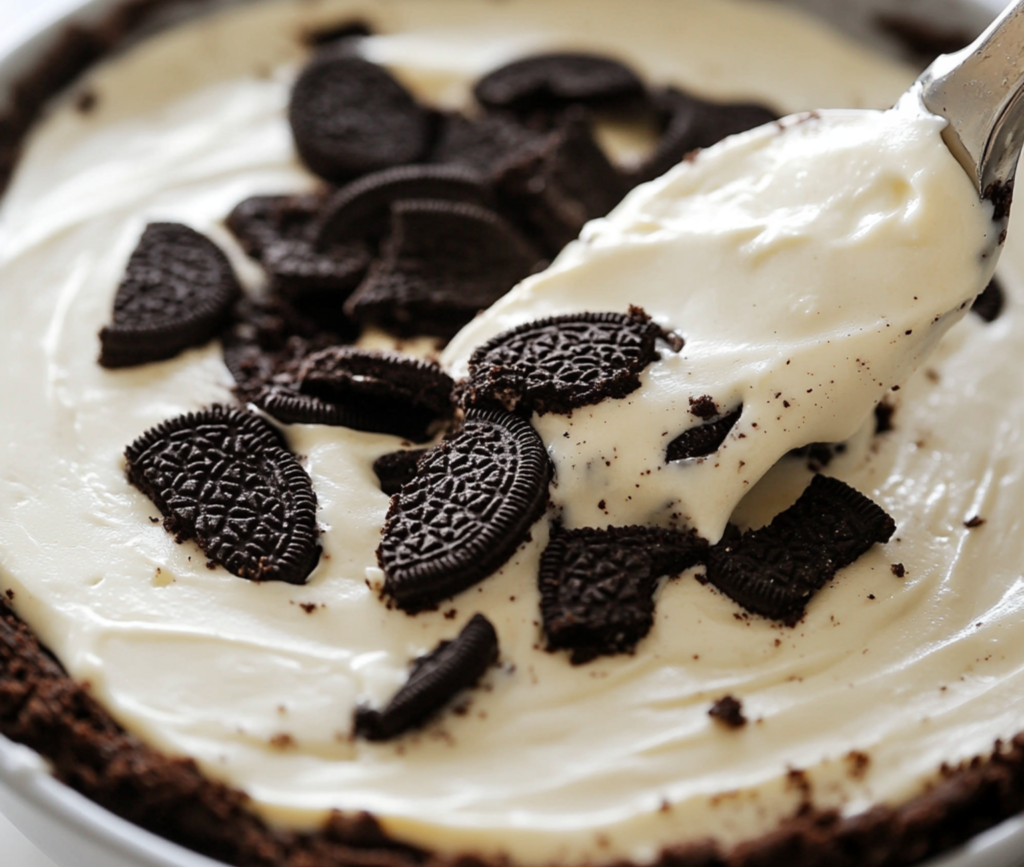
- Pour the cheesecake filling onto the prepared crust and smooth the top with a spatula.
- Bake in the preheated oven for 60-70 minutes, or until the edges are set and the center is slightly jiggly.
- Turn off the oven and let the cheesecake cool in the oven with the door slightly open for an hour.
- Refrigerate for at least 4 hours or overnight before serving.
- Garnish and Serve:
- Once chilled, top with whipped cream and Oreo crumbles if desired.
- Slice and serve your delicious Oreo cheesecake.
The Oreo crust adds a crispy bite, which pairs beautifully with the creamy, melt-in-your-mouth cheesecake center. Meanwhile, those Oreo chunks nestled within the cheesecake provide a fun crunch and extra flavor, taking this dessert to a whole new level. So, if you’ve never tried this creamy Oreo cheesecake recipe before, you’re in for a treat!
Why Oreo Cheesecake is Perfect for Any Occasion
Whether you’re planning a celebration or simply craving a sweet treat, this fantastic creamy Oreo cheesecake is the ultimate dessert. that suits just about any occasion. And honestly, who can resist that combination of cookies and cream?
Plus, this dessert is not only incredibly satisfying but also surprisingly easy to make. With a few simple ingredients, you can whip up an impressive and crowd-pleasing treat that looks as good as it tastes. This easy Oreo cheesecake recipe is the go-to dessert that always leaves guests wanting more.
Balance of Flavors in Fantastic Creamy Oreo Cheesecake
What makes this Oreo cheesecake recipe stand out from the rest? It’s all about the balance of flavors. The sweetness of The Oreo crust adds a crispy bite, which pairs beautifully with the creamy, melt-in-your-mouth cheesecake center.
Oreo Cheesecake Basics
Ingredients Breakdown for the Best Oreo Cheesecake
To make this fantastic creamy Oreo cheesecake, you’ll need a few key ingredients that work together to create the perfect dessert. Each one plays a vital role in bringing out the unique textures and flavors of this cheesecake. Let’s break it down:
- Oreo Cookies: Of course, the star of the show! You’ll need these both for the crust and to fold into the creamy filling. The cookies add that iconic flavor and satisfying crunch.
- Cream Cheese: The base of the cheesecake filling, providing the rich and creamy texture we all love.
- Sugar: This sweetens the cheesecake and balances out the tanginess of the cream cheese.
- Heavy Cream: Adds creaminess to the filling, making it extra smooth.
- Vanilla Extract: Enhances the flavor of the cheesecake, adding a subtle sweetness that complements the Oreos.
- Butter: Used in the crust to bind the crushed Oreo cookies and give them a solid structure.
By using high-quality ingredients, you’ll notice the difference in both the taste and texture of your Oreo cheesecake. If you can, opt for full-fat cream cheese and heavy cream to ensure that your cheesecake turns out rich and indulgent.
Alternative Ingredients for Special Diets
If you’re making this creamy Oreo cheesecake recipe for guests with specific dietary needs, don’t worry! There are simple swaps you can make without compromising the flavor.
- Gluten-Free Option: Use gluten-free Oreo cookies to make the crust and fold into the cheesecake.
- Vegan Option: Replace the cream cheese with a plant-based alternative, and use coconut cream instead of heavy cream for a vegan twist on this classic dessert.
These alternatives are easy to find and work wonderfully in this recipe, ensuring that everyone can enjoy a slice of your fantastic Oreo cheesecake.
Why High-Quality Ingredients Matter
Using fresh, high-quality ingredients will make all the difference in your Oreo cheesecake. Creamy and tangy cream cheese paired with rich, velvety heavy cream creates the foundation for that luscious cheesecake filling. Meanwhile, crisp Oreo cookies ensure the crust has the perfect crunch and flavor.
When you’re selecting your ingredients, consider choosing brands known for their quality, as these can impact the final result. The better the ingredients, the more impressive your cheesecake will taste!
Step-by-Step Guide to Making Fantastic Creamy Oreo Cheesecake
Now that you know the ingredients, let’s dive into the process of creating this fantastic creamy Oreo cheesecake. It’s easy, even for beginners, and with these step-by-step instructions, you’ll have a delicious, impressive dessert in no time.
Step 1: Preparing the Oreo Crust
The first step is to create the Oreo crust, which forms the foundation of your cheesecake. Here’s how you do it:
- Crush the Oreos: Place your Oreo cookies (filling and all) in a food processor and pulse until they’re fine crumbs. If you don’t have a food processor, you can place the cookies in a zip-top bag and crush them with a rolling pin.
- Add Melted Butter: Mix the crushed Oreos with melted butter until the mixture resembles wet sand. This helps bind the crumbs together, forming a firm base.
- Press Into the Pan: Transfer the mixture to a springform pan and press it firmly into the bottom to form an even layer. Make sure the crust reaches up the sides a bit to create a nice edge for the cheesecake filling.
The crunchy Oreo crust adds a delicious texture contrast to the creamy filling, and the buttery richness makes it all the more irresistible.
Step 2: Creating the Creamy Cheesecake Filling
Now for the heart of the Oreo cheesecake recipe — the creamy, tangy cheesecake filling. Follow these steps to ensure it turns out smooth and luscious:
- Beat the Cream Cheese: In a large mixing bowl, beat the softened cream cheese until it’s smooth and creamy. This is important because you want to avoid any lumps in your cheesecake.
- Add Sugar and Vanilla: Gradually add the sugar and vanilla extract, continuing to beat the mixture until everything is well combined and smooth.
- Incorporate Heavy Cream: Slowly add the heavy cream, mixing on low speed. This step ensures the filling is light and silky, giving your cheesecake that melt-in-your-mouth texture.
Take your time with the filling, making sure everything is well blended and smooth. It’s essential for achieving that perfect creamy Oreo cheesecake consistency!
Step 3: Adding the Oreo Pieces to the Batter
Once your filling is smooth and creamy, it’s time to add some extra Oreo goodness:
- Fold in the Oreo Pieces: Gently fold in chopped Oreo pieces. This step ensures that there are delightful chunks of Oreo scattered throughout the cheesecake, adding both texture and flavor to every bite.
- Pour the Filling Over the Crust: Carefully pour the filling into your prepared crust, smoothing the top with a spatula. Make sure the Oreo pieces are evenly distributed for a beautiful cross-section once it’s sliced.
Step 4: Baking the Cheesecake
Baking the cheesecake properly is crucial to avoid cracks and ensure the right texture. Follow these tips:
- Preheat and Prepare: Preheat your oven to 325°F (163°C). Place the springform pan with your cheesecake into a larger roasting pan, creating a makeshift water bath. This helps prevent the cheesecake from drying out and cracking.
- Bake Slowly: Bake the cheesecake for 60–70 minutes or until the edges are set, but the center is still slightly jiggly. The water bath creates steam in the oven, allowing the cheesecake to bake gently and evenly.
Step 5: Cooling and Setting the Cheesecake
Cooling the cheesecake correctly is key to getting the perfect texture:
- Cool Gradually: Turn off the oven and let the cheesecake sit in the oven with the door slightly open for about an hour. This gradual cooling process helps prevent cracks on the surface.
- Refrigerate: Once cooled, transfer the cheesecake to the fridge and let it chill for at least 4 hours, but ideally overnight. This will allow the cheesecake to firm up and set beautifully.
Variations and Customization Ideas
Now that you’ve mastered the basics of this fantastic creamy Oreo cheesecake, why not take it up a notch? There are countless ways to make this dessert your own, whether you’re adding a unique topping or catering to specific dietary needs. Let’s explore some creative variations and customization options!
Oreo Cheesecake Variations
If you’re looking to add some extra flair to your Oreo cheesecake recipe, here are a few fun ideas to get you started:
- Chocolate Ganache Topping: One way to elevate your cheesecake is by adding a rich, smooth chocolate ganache. To do this, simply melt chocolate with a bit of heavy cream and pour it over the chilled cheesecake. The ganache will harden slightly, giving you a beautiful, shiny finish that pairs perfectly with the creamy filling and crunchy Oreo crust.
- Caramel Swirl Oreo Cheesecake: For a sweet and salty twist, swirl some caramel sauce into the cheesecake filling before baking. This adds a luscious ribbon of caramel throughout the cheesecake, which complements the Oreo flavor beautifully.
- Peanut Butter Oreo Cheesecake: Love the combination of peanut butter and chocolate? Stir in some creamy peanut butter into the cheesecake batter, or layer it on top before adding your filling. It adds a rich, nutty flavor that works wonderfully with the Oreo cheesecake.
- No-Bake Oreo Cheesecake: If you’re short on time, you can make a no-bake version of this easy Oreo cheesecake. Simply skip the baking step and refrigerate the cheesecake for a few hours until it sets. The texture will be a bit softer, but it’s still every bit as delicious.
Making Oreo Cheesecake for Special Diets
Got guests with dietary restrictions? No problem! This fantastic creamy Oreo cheesecake can be easily adapted to suit various needs.
- Gluten-Free Oreo Cheesecake: Oreos now come in gluten-free versions, so you can still enjoy this treat without the gluten. Simply swap the regular Oreos for the gluten-free variety, and proceed with the recipe as usual. The rest of the ingredients are naturally gluten-free, making this an easy adjustment for anyone with celiac disease or gluten sensitivity.
- Vegan Oreo Cheesecake: If you’re looking to make a vegan version, there are plenty of plant-based alternatives available. Use dairy-free cream cheese and coconut cream in place of the traditional ingredients. You can also opt for vegan-friendly Oreo cookies, as many varieties are already free from animal products. The result? A delicious Oreo cheesecake that everyone can enjoy, regardless of dietary preferences!
Why Customizing Your Oreo Cheesecake Is Fun
One of the best things about this creamy Oreo cheesecake recipe is its versatility. You can easily customize it to suit your tastes or the occasion you’re celebrating. Whether you’re adding a decadent ganache or making it vegan-friendly, these variations are sure to impress your friends and family.
Serving and Presentation Tips
Once your fantastic creamy Oreo cheesecake is perfectly chilled and set, it’s time to think about how to serve and present it. Presentation plays a big role in making any dessert more appealing, and with this Oreo cheesecake, you’ve got plenty of options to make it look just as irresistible as it tastes.
How to Serve Oreo Cheesecake for Best Results
When serving this creamy Oreo cheesecake recipe, you want to make sure each slice holds its shape while looking tempting on the plate. Here’s how to get it right:
- Chill for a Perfect Slice: After chilling the cheesecake in the fridge for several hours (ideally overnight), it will firm up beautifully. This will make it easier to cut clean, neat slices.
- Warm Your Knife: To get those picture-perfect slices, dip your knife in warm water, wipe it clean, and then slice through the cheesecake. Warming the knife ensures smooth, precise cuts and prevents the creamy filling from sticking to the blade.
- Serve at the Right Temperature: Serve the cheesecake straight from the fridge for a firm texture, or let it sit out for about 10 minutes if you prefer a softer, creamier consistency. Either way, it’ll taste amazing!
Garnishing and Presentation Ideas
Enhance the visual appeal of your fantastic creamy Oreo cheesecake with some simple yet effective garnishing ideas. Here are a few ways to make your cheesecake stand out:
- Oreo Crumbles: Sprinkle some crushed Oreos over the top of the cheesecake before serving. This adds extra crunch and ties the whole Oreo theme together beautifully.
- Whipped Cream Swirls: Pipe dollops of whipped cream around the edges of the cheesecake for an elegant touch. You can even place a mini Oreo or half an Oreo on top of each swirl for an extra treat.
- Chocolate Drizzle: A quick drizzle of melted chocolate or ganache can add a luxurious finish to your cheesecake. It not only looks gorgeous but also enhances the flavor by adding a touch of extra sweetness.
Storing and Freezing Oreo Cheesecake
If you’ve got leftovers (which may not happen because this cheesecake is so good!), it’s important to store it properly to maintain its freshness.
- Storing in the Fridge: Cover the cheesecake tightly with plastic wrap or store it in an airtight container. It will stay fresh in the fridge for up to 5 days. This ensures that the Oreo cheesecake retains its flavor and texture.
- Freezing for Later: Cheesecake freezes surprisingly well! To freeze, slice the cheesecake into individual portions and wrap each slice tightly in plastic wrap, followed by aluminum foil. You can store the slices in a freezer-safe bag or container for up to 2 months. When you’re ready to enjoy, thaw the slices in the fridge overnight for the best texture.
FAQs About Fantastic Creamy Oreo Cheesecake
We understand that making a fantastic creamy Oreo cheesecake can raise a few questions, especially if you’re a first-timer. Here are some frequently asked questions, along with helpful answers, to ensure your cheesecake turns out perfectly every time!
How Long Does Oreo Cheesecake Last in the Fridge?
Your Oreo cheesecake will stay fresh for up to 5 days if stored properly in the fridge. Make sure to cover it tightly with plastic wrap or store it in an airtight container to prevent it from drying out or absorbing any unwanted fridge odors.
Can I Freeze Oreo Cheesecake?
Yes! Oreo cheesecake freezes exceptionally well. To do this, slice the cheesecake into individual portions and wrap each slice tightly in plastic wrap, followed by aluminum foil. Place the slices in a freezer-safe container or bag, and freeze for up to 2 months. When you’re ready to enjoy, just thaw the slices in the fridge overnight. They’ll be just as creamy and delicious as when they were freshly made.
What is the Best Way to Prevent Cracks in the Cheesecake?
One of the biggest concerns when making cheesecake is avoiding cracks on the surface. Here are a few tips:
- Use a water bath: This helps the cheesecake cook evenly and prevents the edges from setting too quickly.
- Avoid overbaking: The center of the cheesecake should still have a slight jiggle when it’s done baking. Overbaking can cause cracks to form as the cheesecake cools.
- Cool it gradually: After baking, let the cheesecake cool in the oven with the door slightly open for about an hour. This gradual cooling helps prevent cracks from forming.
Do I Need to Use a Water Bath When Baking Oreo Cheesecake?
While it’s not strictly necessary, using a water bath is highly recommended. A water bath creates steam in the oven, which helps the cheesecake bake evenly and prevents it from drying out or cracking. To create a water bath, place your springform pan with the cheesecake into a larger roasting pan, and fill the roasting pan with hot water until it reaches halfway up the sides of the springform pan.
Can I Use Store-Brand Cream Cheese Instead of Name Brands?
Absolutely! You can use either store-brand or name-brand cream cheese in your Oreo cheesecake recipe. Just be sure to use full-fat cream cheese for the best texture and flavor. Avoid using reduced-fat or whipped cream cheese, as these can affect the consistency of your cheesecake.
Can I Make Oreo Cheesecake Without a Springform Pan?
If you don’t have a springform pan, you can still make this delicious Oreo cheesecake by using a regular 9-inch cake pan. Just make sure to line the pan with parchment paper to make removing the cheesecake easier. The presentation may not be as neat, but the flavor will still be amazing!
Nutritional Information
For those who are curious about the nutritional details of this fantastic creamy Oreo cheesecake, this section will provide a general overview. While cheesecake is undoubtedly an indulgent treat, there are ways to enjoy it without feeling too guilty. Let’s explore the calorie content and a few tips for making a lighter version of this delicious dessert.
Caloric Content and Nutritional Breakdown
A typical slice of Oreo cheesecake can contain anywhere from 400 to 600 calories, depending on the size of the slice and the specific ingredients used. Here’s a rough estimate of what you can expect in one standard slice of cheesecake:
- Calories: 500
- Fat: 35g
- Saturated Fat: 20g
- Carbohydrates: 45g
- Sugar: 35g
- Protein: 7g
Keep in mind that these values can vary slightly based on the brand of ingredients you use, as well as any additional toppings like whipped cream, chocolate ganache, or caramel sauce.
Tips for Making a Lighter Version of Oreo Cheesecake
If you’re looking for ways to enjoy this creamy Oreo cheesecake while cutting back on some of the calories and fat, here are a few simple substitutions that can make a big difference:
- Use Reduced-Fat Cream Cheese: Swapping full-fat cream cheese for a reduced-fat or light version can help reduce the fat content while still maintaining a creamy texture.
- Try Greek Yogurt: Some recipes incorporate Greek yogurt into the cheesecake filling. It adds creaminess and tang while cutting back on calories and fat.
- Skip the Ganache: While chocolate ganache is delicious, skipping this layer or reducing the amount can save a significant number of calories.
- Smaller Slices: Portion control is another way to indulge without overdoing it. Simply cutting smaller slices can help you enjoy the cheesecake while sticking to your dietary goals.
Nutritional Comparison for a Lighter Version
By using these substitutions, you can cut down the calories to around 300–400 calories per slice, depending on the ingredients and toppings you choose. This lighter version still retains the delicious Oreo cheesecake flavor but with fewer calories and less guilt.
Final Thoughts and Conclusion
After going through the entire process of making this fantastic creamy Oreo cheesecake, it’s clear why this dessert is such a hit. From its crunchy Oreo crust to the smooth, creamy filling loaded with Oreo pieces, this cheesecake is a dessert lover’s dream. It’s indulgent, rich, and incredibly satisfying — the perfect sweet treat for any occasion, whether you’re hosting a gathering or simply treating yourself to something special.
Why You Should Try Making a Fantastic Creamy Oreo Cheesecake
There’s something magical about making a cheesecake from scratch, especially when it’s as delicious as this one. The balance of flavors between the sweet Oreo cookies and the tangy cream cheese creates a perfect harmony, while the textures — from the crunchy crust to the creamy filling — make each bite a delight. Furthermore, this cheesecake stands out because it’s easy to make yet looks and tastes like something you’d get from a bakery.
In addition, this easy Oreo cheesecake recipe is versatile. Whether you stick to the classic version or try one of the variations we discussed, you can easily customize it to suit your tastes and dietary needs. And with the helpful tips on storing and freezing, you can enjoy this dessert for several days (if it lasts that long!).
Perfect for Sharing
Moreover, one of the best things about this cheesecake is that it’s perfect for sharing. Whether you’re bringing it to a family gathering, a potluck, or a party, it’s sure to impress everyone. Not only is the fantastic creamy Oreo cheesecake delicious, but it’s also visually stunning, especially when garnished with Oreo crumbles, whipped cream, or a drizzle of chocolate.

