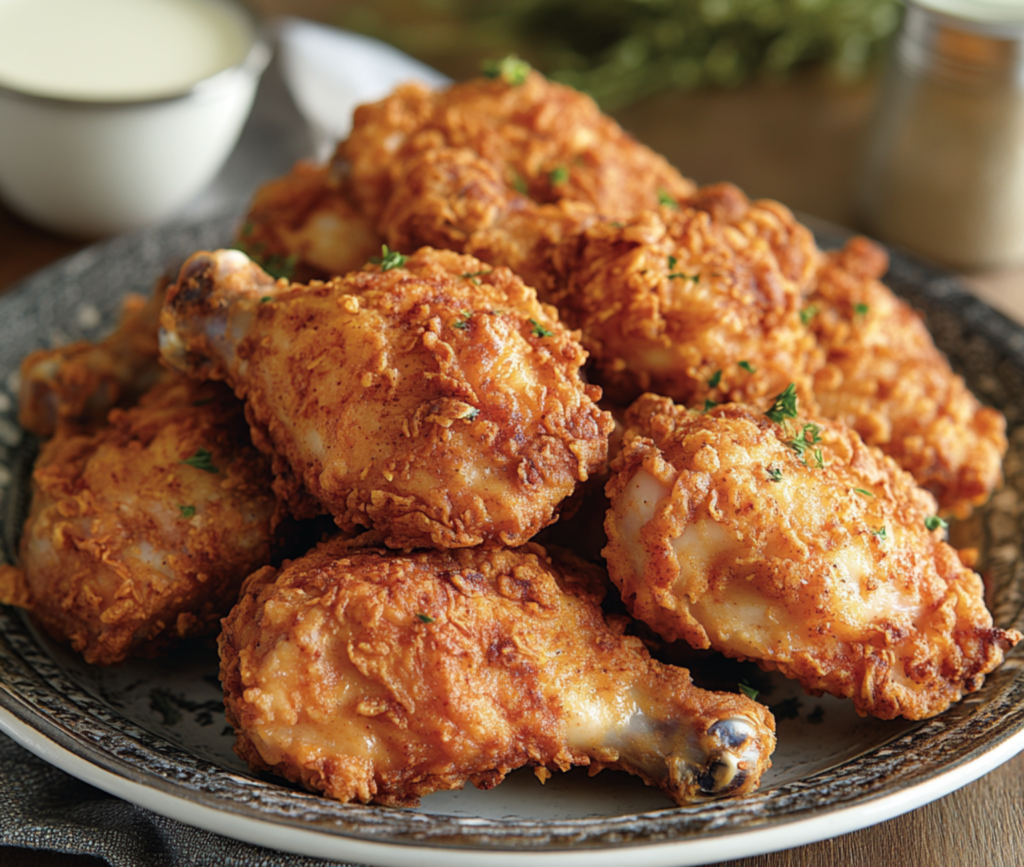
Ingredients & Preparation
The Essential Ingredients for Pan Fried Chicken Gravy
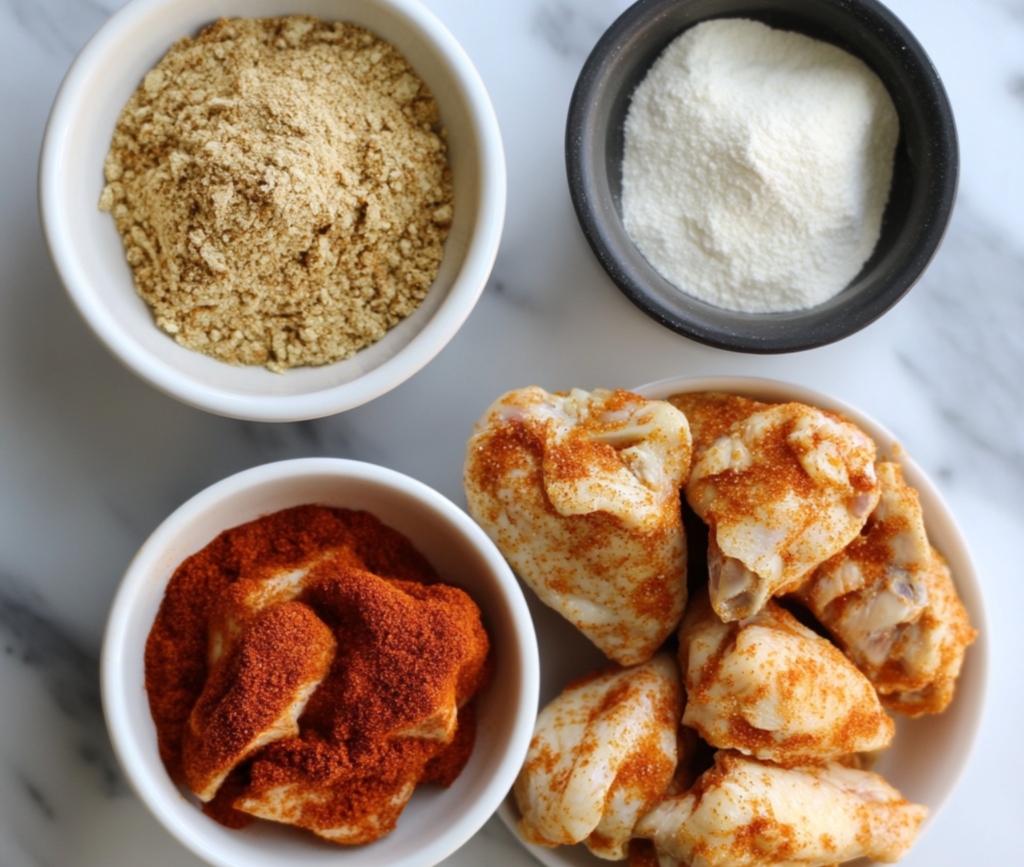
To achieve that crispy fried chicken with a smooth, creamy gravy, it’s all about getting the right ingredients. Here’s what you’ll need:
- Chicken: Bone-in or boneless, it’s up to you. Bone-in chicken tends to give a juicier result, but boneless cooks faster.
- Flour: For that irresistible crispy coating. You’ll also use some to make the gravy.
- Seasoning: A blend of garlic powder, paprika, and black pepper works wonders for flavor. Add a pinch of poultry seasoning to enhance the taste.
- Eggs and Milk: For dipping the chicken, ensuring the flour sticks beautifully.
- Cooking Oil: You’ll need oil with a high smoke point for frying—think vegetable oil or canola oil.
- Chicken Stock or Broth: This adds depth to your creamy gravy.
- Milk or Cream: The star of the show for the gravy, giving it that velvety texture.

Pan Fried Chicken Gravy – Simple Comfort Food Recipe
Description
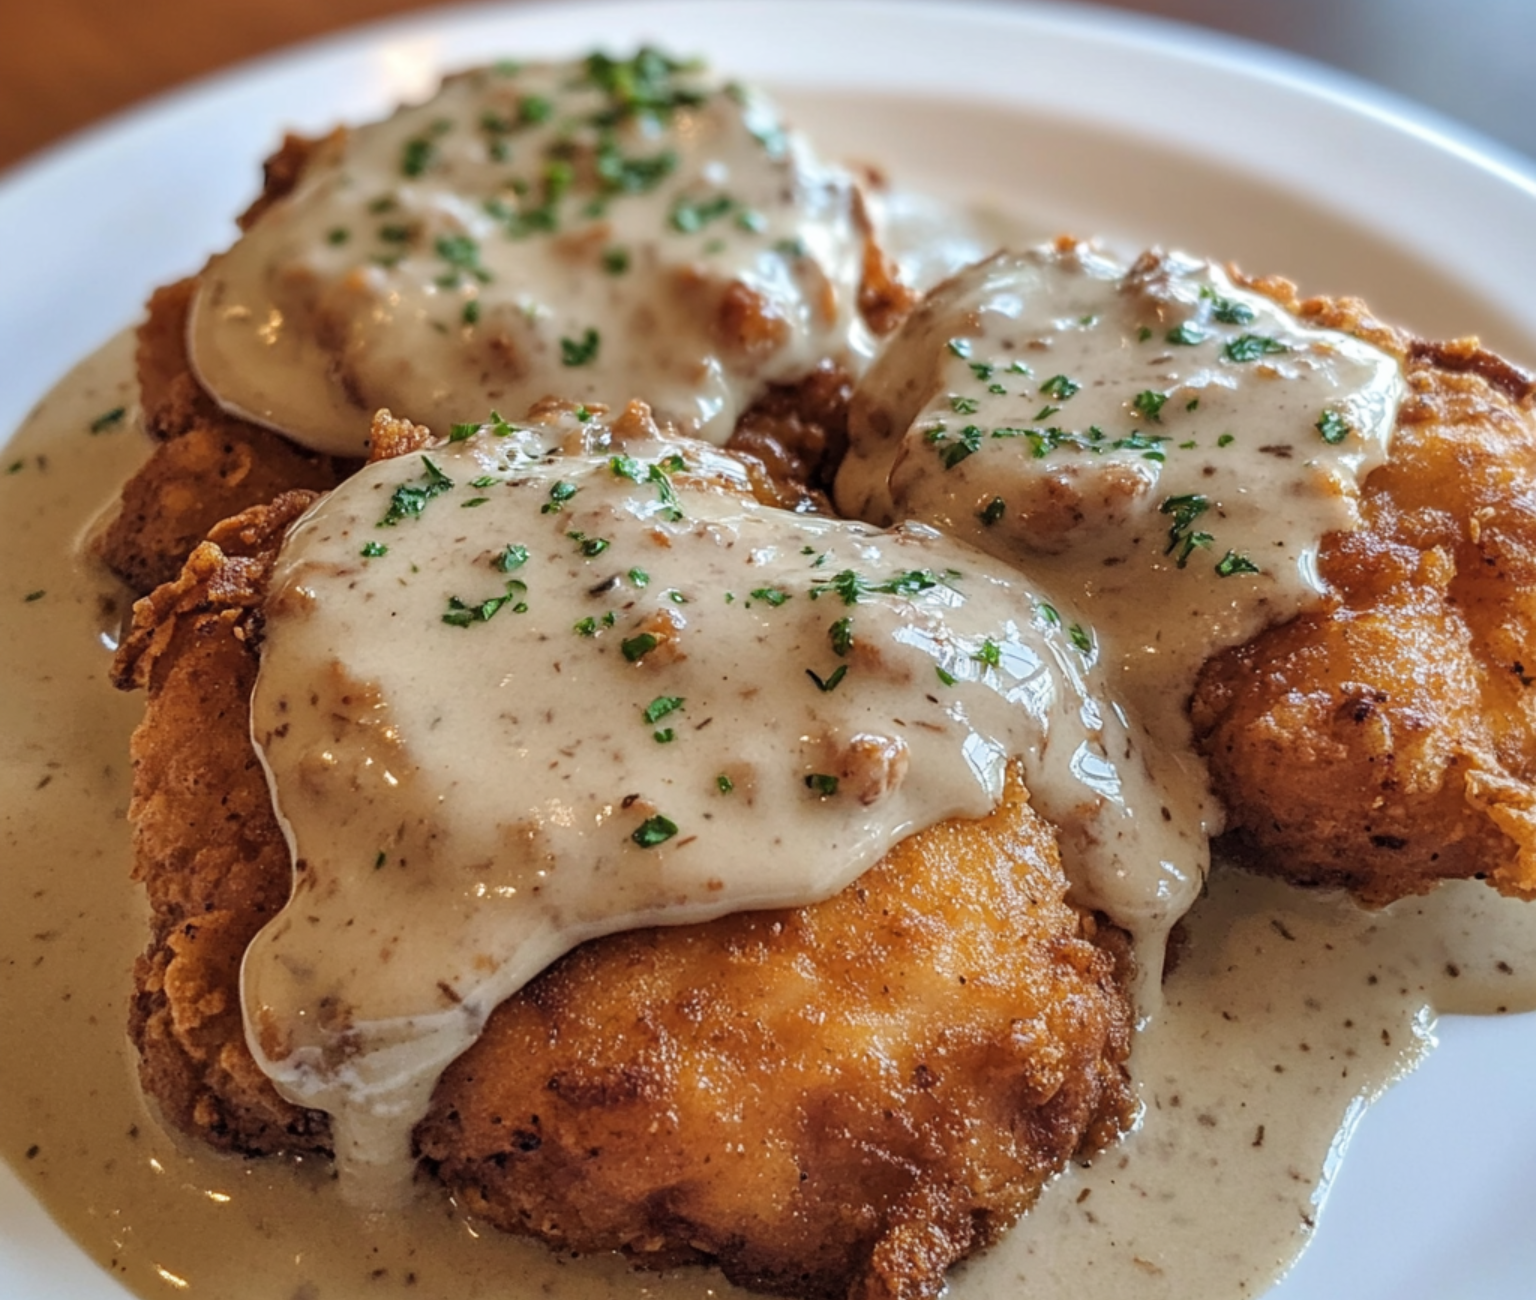
Golden, crispy fried chicken served with a rich, creamy homemade gravy. A classic Southern comfort food dish that’s easy to make and perfect for any meal.
Ingredients
For the Chicken:
- 4 boneless chicken thighs or breasts
- 1 ½ cups all-purpose flour
- 1 tsp garlic powder
- 1 tsp paprika
- 1 tsp black pepper
- 1 tsp onion powder
- 1 tsp ground cumin
- ½ tsp salt
- 2 large eggs
- 1 cup milk (or a dairy-free alternative like almond milk)
- 1 cup vegetable oil (for frying)
For the Gravy:
- 2 tbsp reserved frying oil
- 2 tbsp all-purpose flour
- 1 cup chicken broth or stock
- 1 cup milk (or dairy-free alternative)
- Salt and pepper to taste
Instructions
- Prepare the Chicken:
In a bowl, whisk together the flour, garlic powder, paprika, black pepper, onion powder, cumin, and salt. In a separate bowl, beat the eggs and milk together. Coat each piece of chicken in the flour mixture, then dip it into the egg mixture, and coat again in the flour for extra crispiness. - Fry the Chicken:
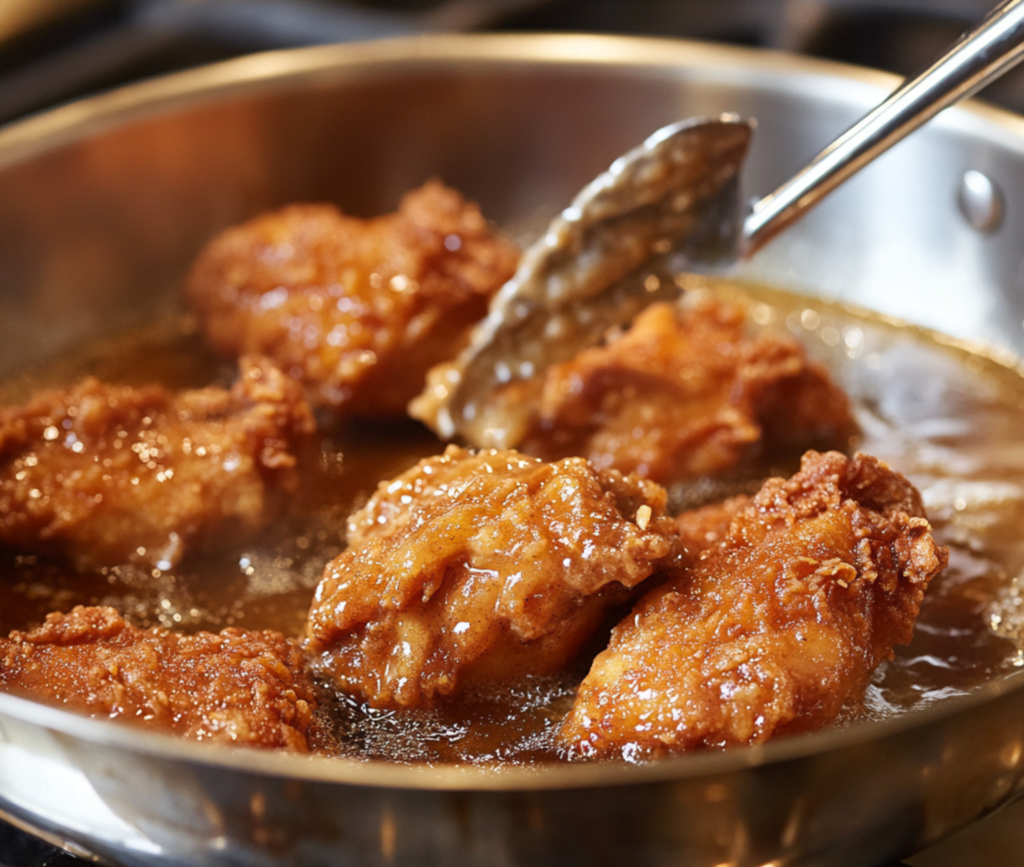
Heat vegetable oil in a large skillet over medium-high heat. Fry the chicken for 6-8 minutes on each side, or until golden brown and cooked through (internal temperature of 165°F). Remove the chicken and let it drain on paper towels. - Make the Gravy:
In the same skillet, carefully discard most of the oil, leaving about 2 tablespoons along with the flavorful bits. Add the flour to the pan and stir constantly for 1-2 minutes over low heat to form a roux. Slowly whisk in the chicken broth and milk, stirring until the mixture thickens. Season with salt and pepper to taste. - Serve:
Pour the creamy gravy over the crispy fried chicken and serve with your favorite sides like mashed potatoes or steamed vegetables.
Step-by-Step Preparation for Pan Fried Chicken
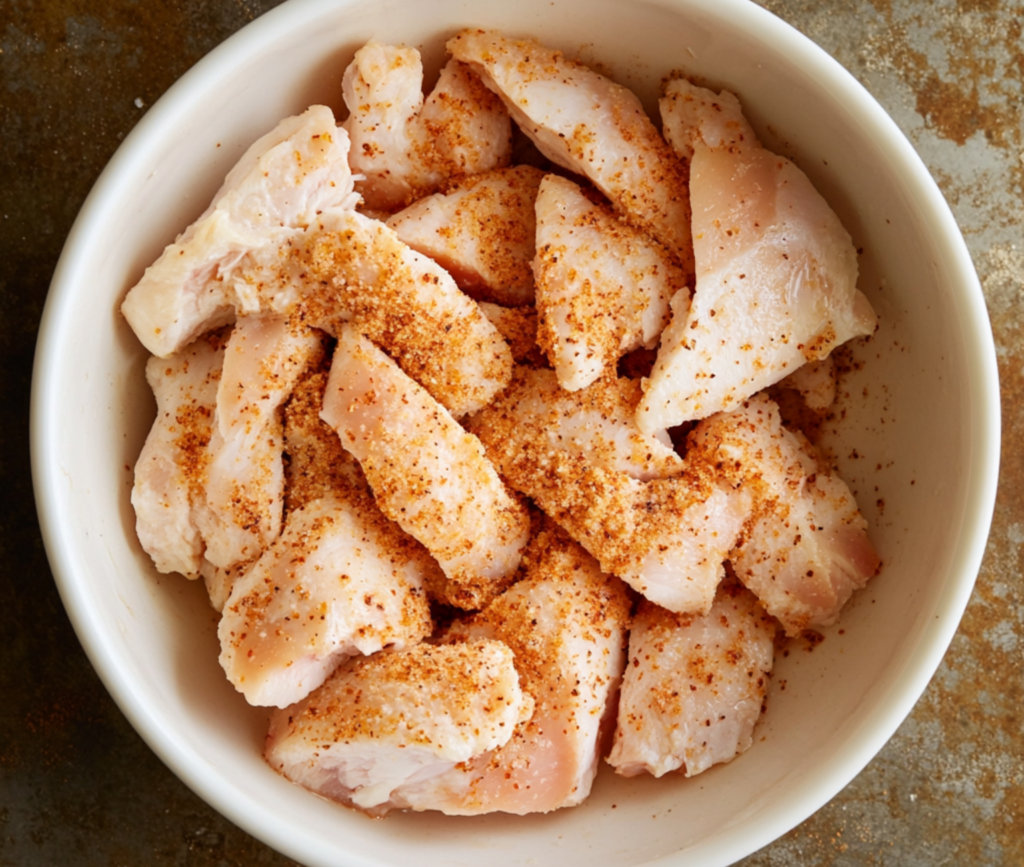
- Season the Chicken: Start by seasoning your chicken generously. This is where you layer the flavors. Combine the paprika, garlic powder, and poultry seasoning in a bowl and rub it onto the chicken.
- Prepare the Flour Coating: In a large bowl or plastic bag, mix flour, a dash of salt, and a bit more seasoning. This flour will give your chicken that signature crunch.
- Double Dipping for Extra Crispiness: Before you fry, dip each piece of chicken in a mixture of beaten eggs and milk. Then dredge it in the flour mixture. For even more crunch, repeat the process—yes, double dipping is the secret!
Substitutions and Variations
Maybe you’re out of certain ingredients, or maybe you just want to try something different. No problem!
- Gluten-Free Option: Swap the all-purpose flour for gluten-free flour.
- Dairy-Free Version: Use almond milk for the coating and gravy if you’re avoiding dairy.
- Seasoning Variations: Want to kick it up a notch? Add a touch of Cajun seasoning or Italian herbs to the flour mix for a flavor twist.
Cooking the Pan Fried Chicken to Perfection
Now that your chicken is coated and ready, it’s time to bring that golden crisp to life. Frying chicken can be intimidating, but with the right tips and techniques, you’ll master it like a pro in no time.
How to Pan Fry Chicken for That Perfect Crisp
Frying chicken can be a balancing act between achieving a crispy exterior and ensuring the meat stays juicy inside. Follow these steps, and you’ll get it just right every time:
- Heat the Oil: Start by heating your oil in a large skillet or cast iron pan. You’ll want to bring the oil to around 350°F (175°C). It’s crucial to heat the oil before adding the chicken—otherwise, your chicken might soak up too much oil and become greasy instead of crispy.
- Fry in Batches: Don’t overcrowd the pan! Fry the chicken in small batches, making sure each piece has enough space to sizzle. Frying too many pieces at once lowers the oil temperature, leading to soggy chicken instead of that perfect golden crust.
- Fry Until Golden Brown: Fry the chicken for about 6-8 minutes on each side, or until it reaches a golden brown color. The exact cooking time will depend on the size and thickness of the chicken pieces. Larger pieces may take longer, so adjust accordingly.
- Check for Doneness: Use a meat thermometer to ensure the chicken is cooked through. The internal temperature should reach 165°F (75°C). If you don’t have a thermometer, poke the thickest part of the chicken with a fork—if the juices run clear, you’re good to go.
- Drain on Paper Towels: Once your chicken is fried to perfection, remove it from the pan and drain on paper towels. This helps soak up any excess oil and keeps the chicken crispy.
Troubleshooting Common Issues
Frying chicken can be tricky, but don’t fret if you encounter some bumps along the way. Here’s how to avoid and fix common frying problems:
- Soggy Skin: If your chicken isn’t getting crispy, it’s likely because the oil isn’t hot enough or the pan is overcrowded. Always keep an eye on the oil temperature.
- Burnt Exterior, Raw Inside: Yikes! If your chicken looks perfect on the outside but is undercooked inside, your oil is probably too hot. Lower the heat slightly and give the chicken more time to cook through.
- Dry Chicken: To avoid drying out the meat, don’t overcook it. Keep a close watch and use a thermometer to gauge doneness.
What Oil is Best for Frying?
When frying chicken, the type of oil you use can make a big difference. You want an oil with a high smoke point that doesn’t impart too much flavor. Vegetable oil and canola oil are both excellent choices because they stay neutral and let the chicken’s flavors shine through. For a deeper understanding of the best oils for frying chicken, you can check out The 5 Best Oils for Deep Frying Chicken for more tips on which oils work best.
For more tips on frying, check out these great Fried Chicken Mistakes Everyone Makes to avoid common pitfalls and perfect your frying technique.
Making the Creamy Gravy for Your Pan Fried Chicken
Once your chicken is fried to perfection, it’s time to make the star accompaniment—creamy gravy. A rich, smooth, flavorful gravy can take your pan fried chicken to the next level, turning a delicious meal into an unforgettable comfort food experience.
How to Make Gravy from Pan Drippings
Gravy made from pan drippings captures all the flavor left behind from frying the chicken. Here’s how you can whip up the perfect creamy gravy:
- Remove Excess Oil: After frying the chicken, carefully pour off most of the oil from the pan, leaving about 2 tablespoons along with the crispy bits (or fond) stuck to the bottom. These browned bits are loaded with flavor and will help give the gravy a rich taste.
- Add the Flour: Stir in 2 tablespoons of the reserved flour from your dredging mix. Stir constantly over medium-low heat to form a roux. This will help thicken the gravy and give it that lovely creamy texture. Cook the flour for about 2 minutes to get rid of the raw flour taste, but be careful not to burn it.
- Pour in Chicken Stock: Slowly whisk in about 1 cup of chicken stock or broth. Scrape up any of the flavorful bits stuck to the bottom of the pan as you whisk. Bring the mixture to a boil, then reduce the heat and let it simmer. The gravy will start to thicken as it simmers, so keep stirring!
- Add the Milk or Cream: Once the gravy has thickened slightly, gradually whisk in about 1 cup of milk or cream, depending on how rich you want the gravy to be. Bring it to a gentle boil and then reduce the heat again, stirring constantly to prevent lumps. Simmer until the gravy reaches your desired consistency—thick, creamy, and smooth.
- Season to Taste: Don’t forget to taste your gravy! Add salt, pepper, and any other seasonings you feel it needs. If you want to elevate the flavor even more, a dash of garlic powder or thyme can do wonders.
Creamy Gravy Variations
Gravy is versatile, so don’t be afraid to experiment! Here are a few fun variations to try:
- Mushroom Gravy: Add sautéed mushrooms to the gravy for an earthy twist. Cook the mushrooms in the pan before making the roux, and then proceed as usual.
- Onion Gravy: Caramelize some onions in the pan before starting the roux. This adds a natural sweetness and extra depth of flavor to your gravy.
- Spicy Gravy: Kick up the heat by adding a pinch of cayenne pepper or a splash of hot sauce to your gravy. Perfect for those who like their comfort food with a bit of zing!
How to Thicken or Thin Your Gravy
Gravy consistency can be a personal preference, so here’s how to adjust it:
- To Thicken: If your gravy is too thin, let it simmer a bit longer to reduce or whisk in a slurry made from 1 tablespoon of flour or cornstarch mixed with cold water.
- To Thin: If the gravy is too thick, simply add a little more milk or chicken broth, stirring until the consistency is right.
If you’re curious about how to master the art of gravy, you might find this article on How to Make Homemade Gravy helpful for additional tips and tricks.
Best Side Dishes to Pair with Pan Fried Chicken Gravy
Now that your pan fried chicken and creamy gravy are ready, it’s time to think about what side dishes will complement this hearty, comforting meal. The beauty of fried chicken with creamy gravy is that it pairs wonderfully with a wide range of classic sides, bringing even more warmth and flavor to your plate.
The Perfect Sides for Pan Fried Chicken Gravy
- Mashed Potatoes
One of the all-time favorite sides, mashed potatoes are the perfect vessel for soaking up that rich, creamy gravy. Creamy, buttery mashed potatoes add a smooth, velvety texture that balances the crunch of the chicken. For an extra flavor boost, mix in some garlic, or top them with fresh chives or parsley. - Biscuits or Cornbread
Nothing says Southern comfort like a fluffy biscuit or a slice of warm cornbread. The soft, tender crumb of biscuits is perfect for mopping up the gravy, while the slight sweetness of cornbread adds a delicious contrast to the savory chicken and gravy. Plus, they’re easy to whip up while your chicken is frying! - Green Beans or Steamed Vegetables
To balance out the richness of the fried chicken and gravy, adding a vegetable side is always a good idea. Green beans are a classic choice—steam them lightly and toss with butter and a squeeze of lemon juice for a fresh, vibrant flavor. You could also opt for steamed broccoli, carrots, or even sautéed spinach to add color and nutrition to your plate. - Coleslaw
The cool crunch of coleslaw provides a nice contrast to the crispy chicken. Whether you go with a classic mayo-based coleslaw or a tangy vinegar slaw, the refreshing crispness will cut through the richness of the fried chicken and gravy. Plus, it adds a light, fresh element to the meal. - Macaroni and Cheese
Looking for something extra indulgent? Macaroni and cheese is the ultimate comfort food side dish that pairs perfectly with pan fried chicken gravy. The creamy cheese sauce blends wonderfully with the savory gravy, creating a match made in comfort food heaven.
How to Plate and Garnish Your Pan Fried Chicken Meal
Presentation isn’t just about making your meal look pretty; it also helps enhance the overall dining experience. Here are a few tips to plate your fried chicken with creamy gravy like a pro:
- Layering: Place your mashed potatoes or biscuits on the plate first, then top with a piece of crispy fried chicken. Drizzle the creamy gravy generously over the top, letting it cascade down the sides of the chicken and potatoes.
- Garnishing: Sprinkle a little fresh parsley or chives over the top of your plate for a pop of color. Not only does it look beautiful, but it also adds a subtle herbaceous note that complements the dish perfectly.
Tips and Tricks for the Perfect Pan Fried Chicken Gravy
Now that you’ve got your sides lined up, it’s time to focus on mastering the art of frying chicken and making gravy. Even if this isn’t your first time frying chicken, a few expert tips can take your dish from good to unforgettable. Let’s dig into some insider tricks to ensure every bite is crispy, juicy, and bursting with flavor.
Pro Tips for Crispy and Flavorful Chicken
- Season the Flour Generously
The key to deeply flavorful pan fried chicken is seasoning. Don’t just season the chicken—season the flour, too! This is where all the flavor lies. Add paprika, garlic powder, and a bit of black pepper or cayenne for a spicy kick. You can even add a pinch of thyme or oregano for a subtle herbal note. - Double Dredging for Extra Crispiness
Want that extra crunchy bite? After the first dip in the egg and flour mixture, let the chicken rest for a few minutes, then dip it again. This double dredging creates an extra thick, crispy coating that holds up well even when paired with creamy gravy. - Use a Meat Thermometer
One of the easiest ways to ensure your chicken is cooked perfectly every time is to use a meat thermometer. Fry the chicken until it reaches an internal temperature of 165°F (75°C). This way, you avoid dry or undercooked meat, which is a common issue when frying thicker cuts like chicken thighs or drumsticks. - Let the Chicken Rest Before Frying
After dredging the chicken in flour, let it rest for about 10-15 minutes before frying. This step helps the coating stick better to the chicken and prevents it from falling apart in the pan. - Fry at the Right Temperature
It’s crucial to maintain the oil at the right temperature—around 350°F (175°C). Too hot, and the coating will burn before the chicken cooks through; too low, and the chicken will turn out greasy and soggy. Use a cooking thermometer to keep things in check.
Common Mistakes to Avoid
- Overcrowding the Pan
Frying too many pieces of chicken at once is a surefire way to end up with unevenly cooked meat. When the pan is overcrowded, the oil temperature drops, causing the chicken to steam rather than fry. Make sure you leave enough space around each piece, frying in batches if necessary. - Using Too Little Oil
Skimping on oil is a common mistake when frying chicken. There should be enough oil in the pan to submerge the chicken halfway. This ensures the chicken fries evenly and gets that crispy golden crust we all crave. - Not Letting the Oil Heat Properly
Patience is key when frying chicken. If the oil isn’t hot enough, the chicken will absorb too much oil, resulting in a greasy texture. Always make sure the oil is at the right temperature before adding the chicken. - Skipping the Resting Step
Once your chicken is done frying, don’t forget to let it rest for a few minutes on paper towels. This not only helps drain any excess oil but also allows the chicken to settle, keeping it juicy on the inside while maintaining a crispy exterior.
For more expert tips on avoiding common pitfalls when frying, check out The Best Tips for Frying Chicken for some great advice from the pros.
Gravy Tips for That Perfect Creamy Texture
- Constantly Whisk the Gravy
To avoid lumps in your creamy gravy, make sure you’re constantly whisking as you add the flour and liquid. This will help create a smooth, silky gravy that pairs perfectly with your crispy chicken. - Don’t Rush the Roux
Cooking the flour in the pan drippings for a few minutes is key to developing a deep, rich flavor in your gravy. But be careful not to rush this step—if you don’t cook it long enough, the gravy will taste like raw flour. If you cook it too long, it can burn. Watch the color carefully; you want a light golden brown. - Adjust the Consistency as Needed
If the gravy ends up too thick, simply add a little more chicken stock or milk to thin it out. If it’s too thin, let it simmer for a bit longer or whisk in a small amount of cornstarch slurry to thicken.
Season as You Go
Both your chicken and gravy will benefit from a light hand with seasoning throughout the process. Taste your gravy as it cooks, adjusting salt, pepper, and herbs to your preference. Remember, it’s easier to add seasoning later than to fix an overly salty dish!
Storing and Reheating Your Pan Fried Chicken Gravy
After enjoying your delicious meal, you might find yourself with some leftovers. Good news! Pan fried chicken with creamy gravy stores well and can be just as tasty the next day if you follow the proper steps for storing and reheating. Let’s dive into how to keep your leftovers fresh and ensure they’re just as crispy and flavorful when you reheat them.
How to Store Leftover Pan Fried Chicken and Creamy Gravy
It’s important to store your fried chicken and gravy separately to maintain the best texture and flavor. Here’s how to do it:
- Storing Fried Chicken:
After the chicken has completely cooled, place the pieces in an airtight container or wrap them tightly with plastic wrap or foil. You can store the chicken in the refrigerator for up to 3-4 days. If you want to store it longer, freezing is a great option. Place the chicken in a freezer-safe container or bag, removing as much air as possible to avoid freezer burn. Frozen fried chicken can last up to 2-3 months. - Storing Creamy Gravy:
Your gravy can be stored in a separate airtight container in the refrigerator for up to 3-4 days as well. When reheating, you may need to add a little extra milk or stock to thin it out as gravy tends to thicken in the fridge. Freezing gravy is also an option. Use a freezer-safe container and freeze for up to 2-3 months.
Reheating Tips for Fried Chicken
The challenge with reheating fried chicken is maintaining that perfect crunch while ensuring the chicken stays moist on the inside. Follow these methods for the best results:
- Reheating in the Oven:
The oven is the best way to reheat fried chicken and keep it crispy. Preheat your oven to 375°F (190°C). Place the chicken on a baking sheet lined with a wire rack (this helps air circulate around the chicken, keeping it crispy on all sides). Heat for 15-20 minutes, or until the chicken is heated through. If the chicken was frozen, let it thaw in the fridge overnight before reheating. - Reheating in the Air Fryer:
If you have an air fryer, this is another excellent option. It’ll re-crisp the chicken nicely without drying it out. Set your air fryer to 350°F (175°C) and heat the chicken for 5-7 minutes, or until hot and crispy. - Avoid Microwaving the Chicken:
While the microwave is convenient, it will likely leave your chicken soggy, and nobody wants that! The coating will lose its crunch, and the chicken might dry out. Stick with the oven or air fryer for the best texture.
Reheating Creamy Gravy
Reheating gravy is simple, but you’ll want to keep a few things in mind to maintain its creamy texture:
- Reheat on the Stovetop:
Pour the leftover gravy into a small saucepan and heat it over low to medium heat, stirring occasionally. If the gravy has thickened too much, add a splash of milk or chicken broth to thin it out and stir until it’s smooth and creamy again. - Microwave Option for Gravy:
If you’re in a hurry, you can also reheat the gravy in the microwave. Transfer the gravy to a microwave-safe bowl, cover it with a microwave-safe lid or plastic wrap, and heat in 30-second intervals, stirring in between to ensure even heating.
FAQs About Pan Fried Chicken with Creamy Gravy
As delicious and straightforward as pan fried chicken with creamy gravy may seem, there are always a few common questions that pop up when cooking this comforting dish. In this section, we’ll answer some frequently asked questions to ensure your dish turns out perfectly every time.
1. Can I Use Boneless Chicken for Pan Fried Chicken Gravy?
Absolutely! While bone-in chicken is often preferred for its juiciness and flavor, boneless cuts like chicken breasts or thighs work just as well. Boneless chicken will cook faster, so keep an eye on it to avoid overcooking. Boneless breasts may benefit from being pounded slightly thinner to ensure even cooking.
2. Can I Make the Creamy Gravy Ahead of Time?
Yes, you can prepare the creamy gravy ahead of time. Simply follow the steps to make the gravy and store it in an airtight container in the fridge for up to 3 days. When you’re ready to serve, gently reheat it on the stovetop, stirring occasionally. You may need to add a bit of milk or chicken broth to thin the gravy if it thickens too much during storage.
3. What’s the Best Oil for Frying Chicken?
The best oils for frying chicken are those with high smoke points, such as vegetable oil, canola oil, or peanut oil. These oils allow the chicken to fry evenly and become crispy without imparting unwanted flavors. Avoid oils with low smoke points like olive oil, which can burn quickly and affect the taste.
4. How Can I Ensure My Pan Fried Chicken Stays Crispy?
To keep your fried chicken crispy, here are a few essential tips:
- Don’t Overcrowd the Pan: Fry in batches to maintain the oil temperature and ensure the chicken fries evenly.
- Rest the Chicken on a Wire Rack: After frying, place the chicken on a wire rack (over paper towels) to drain excess oil without trapping steam, which can make the coating soggy.
- Serve Immediately: Fried chicken is best enjoyed fresh out of the fryer. If you need to keep it warm before serving, place it in a low oven (around 200°F or 90°C) on a wire rack.
5. Can I Use Whole Wheat Flour Instead of All-Purpose Flour?
Yes, you can use whole wheat flour as a substitute for all-purpose flour. However, keep in mind that whole wheat flour may result in a slightly denser and nuttier coating. You might also want to mix it with some cornstarch to lighten the texture.
6. How Can I Fix Lumpy Gravy?
Lumpy gravy is a common issue, but it’s easy to fix. If your gravy turns out lumpy, strain it through a fine-mesh sieve to remove the lumps. Alternatively, you can use an immersion blender to blend the gravy until it’s smooth. Prevent lumps from forming in the first place by whisking the flour thoroughly into the fat and by continuously stirring while adding liquid.
7. Can I Make Gluten-Free Fried Chicken with Gravy?
Yes, you can easily make this dish gluten-free! Use a gluten-free flour blend or cornstarch instead of regular flour for dredging the chicken. For the gravy, substitute the all-purpose flour with gluten-free flour or cornstarch, following the same steps to make the roux.
Conclusion and Call to Action
Now that you’ve learned how to make pan fried chicken with creamy gravy, you’re ready to bring a delicious, comforting meal to your table. With crispy, golden chicken and a rich, velvety gravy, this dish is bound to become a family favorite. Whether you’re indulging in classic side dishes like mashed potatoes or biscuits, or experimenting with fun gravy variations, there’s plenty of room for creativity.
Wrap-Up
Pan fried chicken with creamy gravy is more than just a meal; it’s a comforting experience that brings people together. From selecting the perfect ingredients, frying the chicken to perfection, and whipping up that smooth gravy, you now have all the tools to make this dish with confidence. Remember, it’s all about patience, preparation, and enjoying the process. Each bite of crispy chicken dipped in creamy gravy will remind you why this Southern classic remains so beloved.
Call to Action
If you tried this recipe, we’d love to hear how it turned out! Feel free to share your tips, favorite side dishes, or gravy variations in the comments below. Don’t forget to share this recipe with friends and family on social media, so they can enjoy it too!
For more mouthwatering recipes like this, subscribe to our newsletter or follow us on social media for the latest updates. Keep cooking, keep experimenting, and enjoy every bite!

